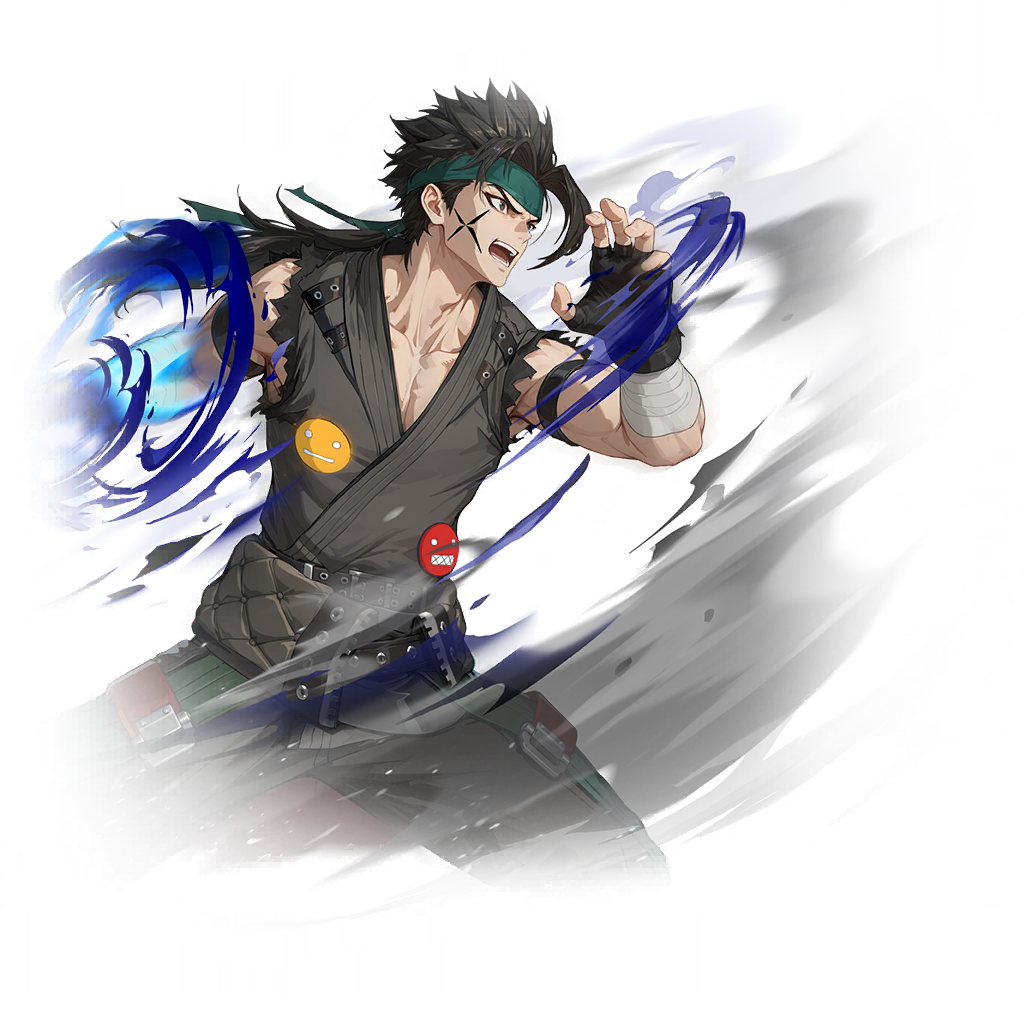
[First Man] Cha
Rankings
Irregular
High Ranker
Pros
- Good Damage
- Spammable Energy Decrease
- Survivability is decent [When Maxed]
Cons
- Needs Grouping
- Needs DEF Decrease
Rapport Item
Special Move - Primordial Lethal Skill: Great Forest
Cha becomes invincible, Teleports to an enemy, dealing 400% of Cha's ATK as DMG to enemies in range 5 times, sending them Airborne for 3 sec with each hit.
When Cha's Special Move ends, his remaining Active Skill Cooldown is decreased by 50%
Each use of this skill increases the ATK coefficient by 600%. (Max: 5 stacks)
Active Skill - Primordial Chapter 1: Surging Stream
Cha becomes immune to status effects, quickly evades to the rear, then delivers powerful solid punches, dealing 400% of his ATK as DMG to enemies in range 3 times and pushing them away. This attack ignores 50% of the enemy's DEF.
Each use of this skill increases the ATK coefficient by 400%. (Max: 5 stacks)
Active Skill - Primordial Chapter 2: Turbulent Waves
Cha launches Piercing primordial solid punches to deal 200% of ATK as DMG 10 times to the enemy.
Each use of this skill increases the ATK coefficient by 400% (Max: 5 stacks)
Passive - Primordial Fist
When every one of Cha's direct attacks lands, decreases the target's Energy by 150. Cha's ATK increases by 80% and DEF increases by 100% for 10 sec after using the skill. (Max: 6 stacks, duration resets when stacks refresh)
Additionally, Basic Attack Pierce is fixed at 0, and ATK fluctuates by 3% for every 1% increase or decrease.
His basic attacks pierce targets.
EE Stat
Physical Resistance
Level 1 Effect
Cha recovers 300 Energy when using Primordial Chapter 1: Surging Stream.
Level 2 Effect
Target’s Swiftness decreases by 50 for 10 sec when Primordial Chapter 1: Surging Stream lands.
Level 3 Effect
Cha's DEF increases by 80% for 12 sec each time Primordial Chapter 2: Turbulent Waves lands. (Max: 5 stacks)
Level 4 Effect
Cha’s ATK SPD increases by 100 for 10 sec at the start of the battle.
Revolution 4: Primordial Lethal Skill: Great Forest
Primordial Lethal Skill: Great Forest always lands as a Critical Hit. When used, enhances the Active Skill Cooldown Decrease effect and resets Cooldown.
Revolution 5: Primordial Chapter 2: Turbulent Waves
When Cha uses Primordial Chapter 2: Turbulent Waves, he creates a Hit Barrier with 10 durability that lasts for 12 sec. ATK increases by 80% and DEF increases by 100% while the barrier is active.
Revolution 6 [PvP ONLY]
Cha’s ATK increases by 50% and ACC by 180 in Arenas.
(Cannot be removed with buff removal skills.)
For detailed information on which investment is needed, please refer to the "Investment Guide" section.
Notes
Bari is the current Best in Slot because of the extra survivability, but in terms of damage output it is the worst out of all the options.
El is a decent pick, providing both damage and survivability.
Alocasia is ok, but it's better to wait until it receives a buff.
Mago will likely become his Best in Slot after it receives a buff.
Sundance is a great pick now, adding Max HP% Damage to his AoE Basic Attacks.
Doris and Runda are both viable options, but it's better to have them on support units.
For detailed information on stats and upgrades, please check the Investment Guide section below.
General Information
What does this unit provide to the team?
High AoE Damage, High AoE Energy Decrease, Swiftness Decrease
What does this unit need from the team?
Grouping, Survivability, DEF Decrease, HP Recovery Block, Energy, Buff Removal
Which enemies should you avoid?
Enemies with Multi-Hit Attacks, but with the right supports they are not an issue
Which enemies is this unit good against?
Units that rely on their Special Moves
Unit Synergies
Basic Teams
These are just example teams and are by no means the best possible combinations. We avoid using units that are not easily obtainable or common.
Mono-Color Team
Multi-Color Team
Rankings
Deficit < 350
Ranker
Deficit > 350
S
Requirements
+30
Lv. 6
Gear Configuration
+0
+4
+0
+0
If upgrading Slot 3 can get your EVA to be higher than the enemy ACC, upgrading Slot 3 could be worth it.
If your Deficit is higher than 300 / 350, Slot 4 Resistances are pretty much ineffective and can be left to +0.
The flat ATK, DEF and HP stats are useless.
Ignition Weapon
+16
+12
+12
+16
Effect Resistance+16
Physical PiercePhysical Pierce, Crit Rate Increase, Crit DMG Increase, ACC, EVA, Effect Resistance, Effect Hit
You can run Critical DMG Increase instead on Slot 4 if you don't feel like you need the protection from Status Effects.
Additional Notes
At this level of investment he will need a bit more help from the team to stay alive, but he is completely viable even at 350 deficit.
Rankings
Deficit < 350
Irregular
Deficit > 350
High Ranker
Requirements
+35
Lv. 6
Gear Configuration
+0
+5
+0
+0
If upgrading Slot 3 can get your EVA to be higher than the enemy ACC, upgrading Slot 3 could be worth it.
If your Deficit is higher than 300 / 350, Slot 4 Resistances are pretty much ineffective and can be left to +0.
The flat ATK, DEF and HP stats are useless.
Ignition Weapon
+20
+16
+16
+20
Effect Resistance+20
Physical PiercePhysical Pierce, Crit Rate Increase, Crit DMG Increase, ACC, EVA, Effect Resistance, Effect Hit
You can run Critical DMG Increase instead on Slot 4 if you don't feel like you need the protection from Status Effects.
Revolution
- ACC (Level 20)
- ATK SPD (Level 20)
- Basic Attack Pierce (Level 20)
- ATK (Level 20)
- Critical DMG Increase (Level 20)
- Effect Hit (Level 20)
Rankings
Deficit < 350
Irregular
Deficit > 350
High Ranker
Requirements
+40
Lv. 6
Gear Configuration
+0
+5
+0
+0
If upgrading Slot 3 can get your EVA to be higher than the enemy ACC, upgrading Slot 3 could be worth it.
If your Deficit is higher than 300 / 350, Slot 4 Resistances are pretty much ineffective and can be left to +0.
The flat ATK, DEF and HP stats are useless.
Ignition Weapon
+20
+20
+20
+20
Effect Resistance+20
Physical PiercePhysical Pierce, Crit Rate Increase, Crit DMG Increase, ACC, EVA, Effect Resistance, Effect Hit
You can run Critical DMG Increase instead on Slot 4 if you don't feel like you need the protection from Status Effects.
Revolution
- ACC (Level 20)
- ATK SPD (Level 20)
- Basic Attack Pierce (Level 20)
- ATK (Level 20)
- Critical DMG Increase (Level 20)
- Effect Hit (Level 20)
