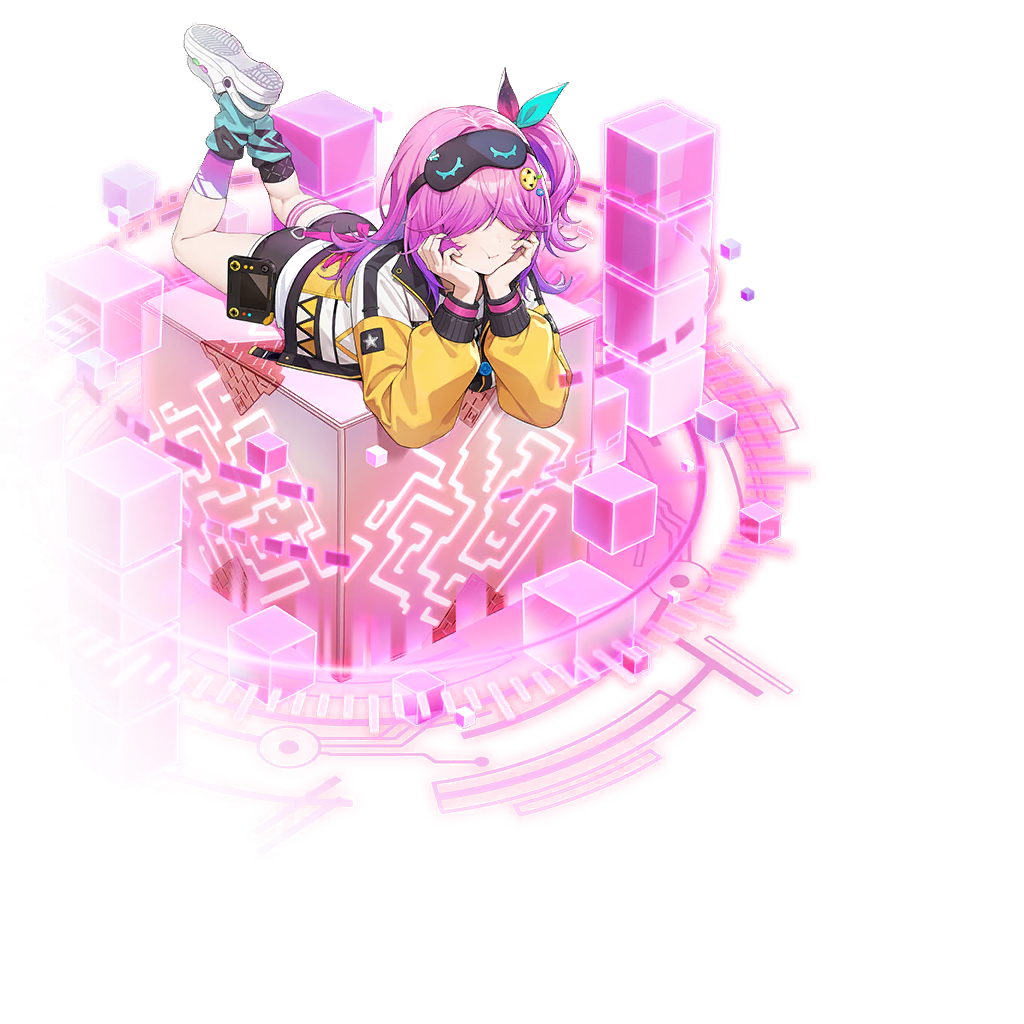
[Opera Holder] Repellista




Rankings
Pros
- Sufficient Self-Survivability
- EVA Decrease & ACC Increase
- Good Range of Buffs and Debuffs
Cons
- No Team Survivability
Rapport Item
Special Move - Opera
Repellista activates the Tower’s mightiest Lighthouse Opera for 5 sec, dealing 400% of her ATK as DMG to enemies in range 5 times and immobilizing them for 5 sec.
While Opera is active, all enemies’ EVA decreases by 50% and Energy by 100 every second.
While Opera is active, all allies’ ATK and DEF increase by 400% and ACC by 50%.
Repellista becomes Invincible while using this skill.
Active Skill - I have control
Repellista commands all allies to attack the enemy with the highest ATK by designating them as a target for 10 sec.
Additionally, she deals 300% of her ATK as DMG to the target every second and decreases their EVA by 80%.
Active Skill - Hi, Jack!
Repellista deals 800% of her ATK as DMG to all enemies and removes 2 buffs.
For each buff removed, she increases ATK and DEF of all allies by 20% for 12 sec. (Max 10 stacks)
If the target is an enemy designated by I have control, removes all buffs.
Passive - Reclusive Watcher
If there are allies other than Repellista on the battlefield, she enters Conceal for 5 sec. (Cooldown: 10 sec)
While Concealed, Repellista’s HP cannot drop below 1.
EE Stat
Physical Resistance
Level 1 Effect
I have control is enhanced to decrease the target’s DEF by 80%.
Level 2 Effect
I have control is enhanced to decrease the target’s Physical Resistance by 60%.
Level 3 Effect
I have control is enhanced to increase all allies’ Swiftness by 40 for 10 sec when Repellista designates a target.
Level 4 Effect
Hi, Jack! is enhanced to grant a minimum of 5 stacks of buffs even if no buffs were removed.
Revolution 4: I have control
I have control is enhanced to decrease the target’s Energy by 800 and increase their remaining Active Skill Cooldown by 15 sec.
If the designated target is eliminated while targeted, the cooldown of I have control resets.
Revolution 5: Opera
Opera is enhanced and when Opera activates, destroys all enemies’ HP Barriers and blocks HP Recovery for 8 sec.
Generates a Barrier equal to 2000% of ATK for 8 sec and recovers HP equal to 400% ATK every second for all allies.
Revolution 6 [PvP ONLY]
Repellista’s Swiftness increases by 50 and Effect Hit by 95 in PvP content.
(Cannot be removed with buff removal skills.)


For detailed information on which investment is needed, please refer to the "Investment Guide" section.
Best in Slot
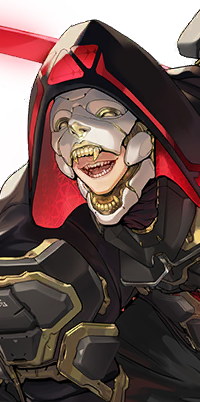

Notes
Abgrund is going to provide decent survivability and will allow her to spam the Special Move quite a bit.
I would avoid Bari, because it will likely be wasted while concealed.
El can be fine, but Abgrund feels more consistent.
Doris, Runda and Rafflesia can be used, but will provide no survivability for her.
Click a preset for full stat and substat details.
General Information
What does this unit provide to the team?
ACC Increase, EVA Decrease, Swiftness Increase, HP Recovery Block, Barrier Break, Energy Decrease, Active Skill Cooldown Increase, Buff Removal
What does this unit need from the team?
Survivability
Which enemies should you avoid?
Nobody
Which enemies is this unit good against?
Enemies with a lot of EVA
Unit Synergies



Basic Teams
These are just example teams and are by no means the best possible combinations. We avoid using units that are not easily obtainable or common.
Mono-Color Team




Survivability-wise, every team member has to provide for themselves, but it should be enough.
Multi-Color Team



Requirements

+20
Lv. 4
Gear Configuration
+0
+0
+0
+0
If upgrading Slot 3 can get your EVA to be higher than the enemy ACC, upgrading Slot 3 could be worth it.
If your Deficit is higher than 300 / 350, Slot 4 Resistances are pretty much ineffective and can be left to +0.
The flat ATK, DEF and HP stats are useless.
Requirements

+30
Lv. 6
Gear Configuration
+0
+0
+0
+0
If upgrading Slot 3 can get your EVA to be higher than the enemy ACC, upgrading Slot 3 could be worth it.
If your Deficit is higher than 300 / 350, Slot 4 Resistances are pretty much ineffective and can be left to +0.
The flat ATK, DEF and HP stats are useless.
Revolution
 2100
2100
 6200
6200
 0
0
- Effect Resistance (Level 20)
Requirements
+40
Lv. 6
Gear Configuration
+0
+0
+0
+0
If upgrading Slot 3 can get your EVA to be higher than the enemy ACC, upgrading Slot 3 could be worth it.
If your Deficit is higher than 300 / 350, Slot 4 Resistances are pretty much ineffective and can be left to +0.
The flat ATK, DEF and HP stats are useless.
Revolution
3500
29950
400
- Effect Resistance (Level 20)
- Max Cooldown Reduction (Level 20)