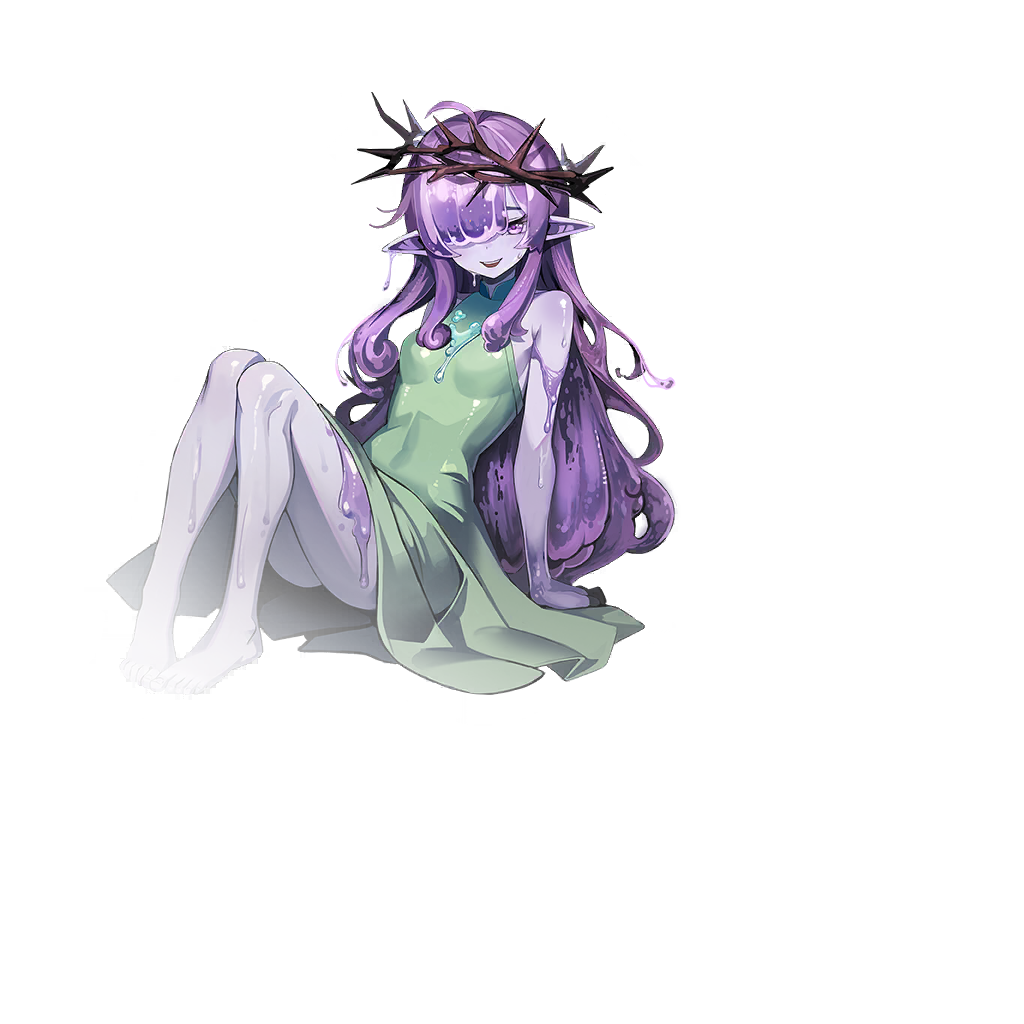
[Dream Decision] Cherry La
Rankings
Ranker
Ranker
Cherry has insane damage, for some reason they gave an SSR unit an uncapped AoE Max HP damage.
She isn't without flaws, as she needs to apply a debuff on enemies for her Max HP damage to trigger, making her hard to play against enemies with Debuff removals.
She relies a lot on allies to group enemies up for her.
Her utility is good and could be used as a Sub DPS in a variety of teams.
Rapport Item
Special Move - Shinsu Tornado
Cherry La falls into a deep sleep for 3 sec, then wakes up and creates a tornado targeting the enemy with the highest ATK, dealing 800% of her ATK as DMG and sending them Airborne for 3 sec.
The tornado follows the target for 10 sec, dealing 800% of Cherry La's ATK as DMG every second and reducing Red Element Resistance by 8% for 10 sec. (Max: 5 stacks)
Active Skill - Small Whirlwind
Cherry La creates a shockwave around her that deals 800% of her ATK as DMG and summons five Small Whirlwinds randomly on the battlefield for 8 sec.
When the Small Whirlwinds collide with enemies, they deal 400% of Cherry La's ATK as DMG and sends the enemies Airborne for 3 sec before disappearing.
Active Skill - Gale Force
Cherry La grants herself and the ally with the highest ATK (excluding herself) a Gale Force effect that allows them to evade enemy skills 3 times for 8 sec and increases EVA by 80% for 10 sec.
Passive - Gentle Breeze
Cherry La increases all allies' MOV SPD by 60% for 10 sec at the start of the battle. If the target is a Red Element ally, increases their Swiftness by 40 for 10 sec.
Additionally, each time she uses a Special Move during the battle, the ATK of Cherry La and the ally with the highest ATK (excluding herself) is increased by 40% for 30 sec. (Max: 5 stacks)
EE Stat
Lifesteal
Level 1 Effect
Reduces the MOV SPD of enemies hit by Small Whirlwind's small whirlwind by 40% for 10 sec.
Level 2 Effect
Enhances Small Whirlwind's shockwave to Knock Back hit enemies for 2 sec.
Level 3 Effect
Cherry La recovers 300 Energy at the start of the battle.
Level 4 Effect
Cherry La recovers her HP equal to 50% of the DMG dealt using Shinsu Tornado.
Revolution 4: Shinsu Tornado
Shinsu Tornado always lands and when the Red Element Resistance Decrease from this skill reaches maximum stacks, deals 12% of the target's Max HP as additional DMG.
Revolution 5: Gentle Breeze
Gentle Breeze effects cannot be removed with buff removal skills.
Additionally, each time Cherry La uses a Special Move, decreases her remaining Active Skill cooldown and the ally's with the highest ATK (excluding herself) by 2 sec.
Revolution 6 [PvP ONLY]
Increases ATK by 50% and Effect Hit by 95 in Arenas.
(This buff cannot be removed with buff removal skills.)
For detailed information on which investment is needed, please refer to the "Investment Guide" section.
Notes
Bari is a safe pick, as it will protect her from random oneshots.
Rafflesia is also decent because it can block Status Effects that might interrupt Cherry while she is casting the Special Move.
For detailed information on stats and upgrades, please check the Investment Guide section below.
General Information
What does this unit provide to the team?
AoE Max HP Damage, Swiftness Buff, ATK Buff, EVA Increase, Skill Block, Red Element Resistance Decrease
What does this unit need from the team?
Grouping and Survivability
Which enemies should you avoid?
Enemies with Debuff Removal
Which enemies is this unit good against?
Anyone, as long as you can apply the Red Element Resistance Decrease debuff
Unit Synergies
Basic Teams
These are just example teams and are by no means the best possible combinations. We avoid using units that are not easily obtainable or common.
Mono-Color Team
Beta also helps with an early grouping and he can be used at 0 dupes.
Anaak is here for the HP Recovery block and Xia Xia is easily replaceable, you could also leave the slot empty.
Multi-Color Team
Bam and Evan are here as extra insurance, but can be replaced with other survivability options.
Rankings
Deficit < 350
S+
Deficit > 350
Ranker
Requirements
+20
Lv. 4
Gear Configuration
+0
+0
+0
+4
If upgrading Slot 3 can get your EVA to be higher than the enemy ACC, upgrading Slot 3 could be worth it.
If your Deficit is higher than 300 / 350, Slot 4 Resistances are pretty much ineffective and can be left to +0.
The flat ATK, DEF and HP stats are useless.
Ignition Weapon
+0
+12
+12
+16
Magic Resistance+16
Physical ResistancePhysical Resistance, Magic Resistance, Effect Resistance, Effect Hit, ACC, EVA
If your deficit is too high and Resistance builds don't work anymore, go Effect Res on Slot 4 and look for Effect Hit/Res, ACC and EVA.
Revolution
- Effect Hit (Level 10)
- Swiftness (Level 10)
Rankings
Deficit < 350
Ranker
Deficit > 350
Ranker
Requirements
+30
Lv. 6
Gear Configuration
+0
+0
+0
+5
If upgrading Slot 3 can get your EVA to be higher than the enemy ACC, upgrading Slot 3 could be worth it.
If your Deficit is higher than 300 / 350, Slot 4 Resistances are pretty much ineffective and can be left to +0.
The flat ATK, DEF and HP stats are useless.
Ignition Weapon
+12
+16
+16
+20
Magic Resistance+20
Physical ResistancePhysical Resistance, Magic Resistance, Effect Resistance, Effect Hit, ACC, EVA
If your deficit is too high and Resistance builds don't work anymore, go Effect Res on Slot 4 and look for Effect Hit/Res, ACC and EVA.
Revolution
- Effect Hit (Level 10)
- Swiftness (Level 10)
Rankings
Deficit < 350
Ranker
Deficit > 350
Ranker
Requirements
+35
Lv. 6
Gear Configuration
+0
+0
+0
+5
If upgrading Slot 3 can get your EVA to be higher than the enemy ACC, upgrading Slot 3 could be worth it.
If your Deficit is higher than 300 / 350, Slot 4 Resistances are pretty much ineffective and can be left to +0.
The flat ATK, DEF and HP stats are useless.
Ignition Weapon
+20
+20
+20
+20
Magic Resistance+20
Physical ResistancePhysical Resistance, Magic Resistance, Effect Resistance, Effect Hit, ACC, EVA
If your deficit is too high and Resistance builds don't work anymore, go Effect Res on Slot 4 and look for Effect Hit/Res, ACC and EVA.
Revolution
- Effect Hit (Level 10)
- Swiftness (Level 10)
