Beginner Guide
Guide on all the in-game systems and how to progress on a brand new account. Special Thanks to Oracle.
Welcome to Tower of God: New World!

As soon as you start the game you will have the option to follow or skip a tutorial.If it is your first time playing it could be a good idea to follow it, just to familiarize a bit with the interface and some basic mechanics. After following it, you will finally be able to acces the home page and have a look around at the different tabs and menus. It might seem overwhelming, but fear not, in this guide we will try to give you all the information you need for a pleasant and successful experience with this game!
Terms and Definitions
Quick overview of some terms that you will see used throughout the Guide and that are common in the community:
| Term | Definition |
|---|---|
| Deficit | Difference in levels between the Enemy Links and your Highest Link |
| 0 Dupes | You have the unit without any additional copy |
| G1 - 3 | Green tier, 1 to 3 stars. Indicates the amount of dupes you have on a unit |
| B1 - 3 | Blue tier, 1 to 3 stars. Indicates the amount of dupes you have on a unit |
| P1 - 3 | Purple tier, 1 to 3 stars. Indicates the amount of dupes you have on a unit |
| R1 - 3 | Red tier, 1 to 3 stars. Indicates the amount of dupes you have on a unit |
| O1 - 4 | Orange tier, 1 to 4 stars. Indicates the amount of dupes you have on a unit |
| RB1 - 4, R5 | Rainbow tier, 1 to 5 stars. Indicates the amount of dupes you have on a unitDue to the overlap with R1-3 it is normally RB instead, except for R5 that is the maximum number of stars and has no overlap. |
| EE | Exclusive Equipment |
| IW | Ignition Weapon |
| BM | Black Market |
| EX | Highest Rarity in the game, for now only Family Heads have this rarity |
| FH | Family Head unit, right now used also to refer to the EX rarity |
| ATK Scaling DPS Unit | These are units that deal the majority of their Damage with attacks that scale with ATK.This damage can Crit and is affected by the Enemy's Resistance and DEF. |
| Max HP Scaling DPS Unit | These are units that deal the majority of their Damage with attacks that scale with the Enemy's Max HP.This damage CANNOT Crit and is NOT affected by the Enemy's Resistance and DEF, if it deals 60% Max HP, it will remove 60% of the Enemy HP. |
| AYihwa | [Healing Flame] Yihwa Yeon |
| HRA | High Ranker Arena |
| AE | Alliance Expedition |
| ToA | Tower of Alliances |
| HTA | Hell Train Arena |
| CL | Champion's League |
| Rev / Revo | Revolution |
| Res | Resistances (Magic or Physiscal) |
| BEE | Bonus Elimination Energy |
| BAP | Basic Attack Pierce |
| SMP | Special Move Pierce |
| Max CDR / CDR | Max Cooldown Reduction |
New Player System
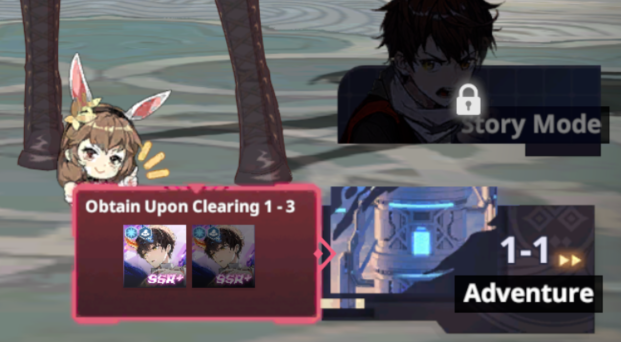
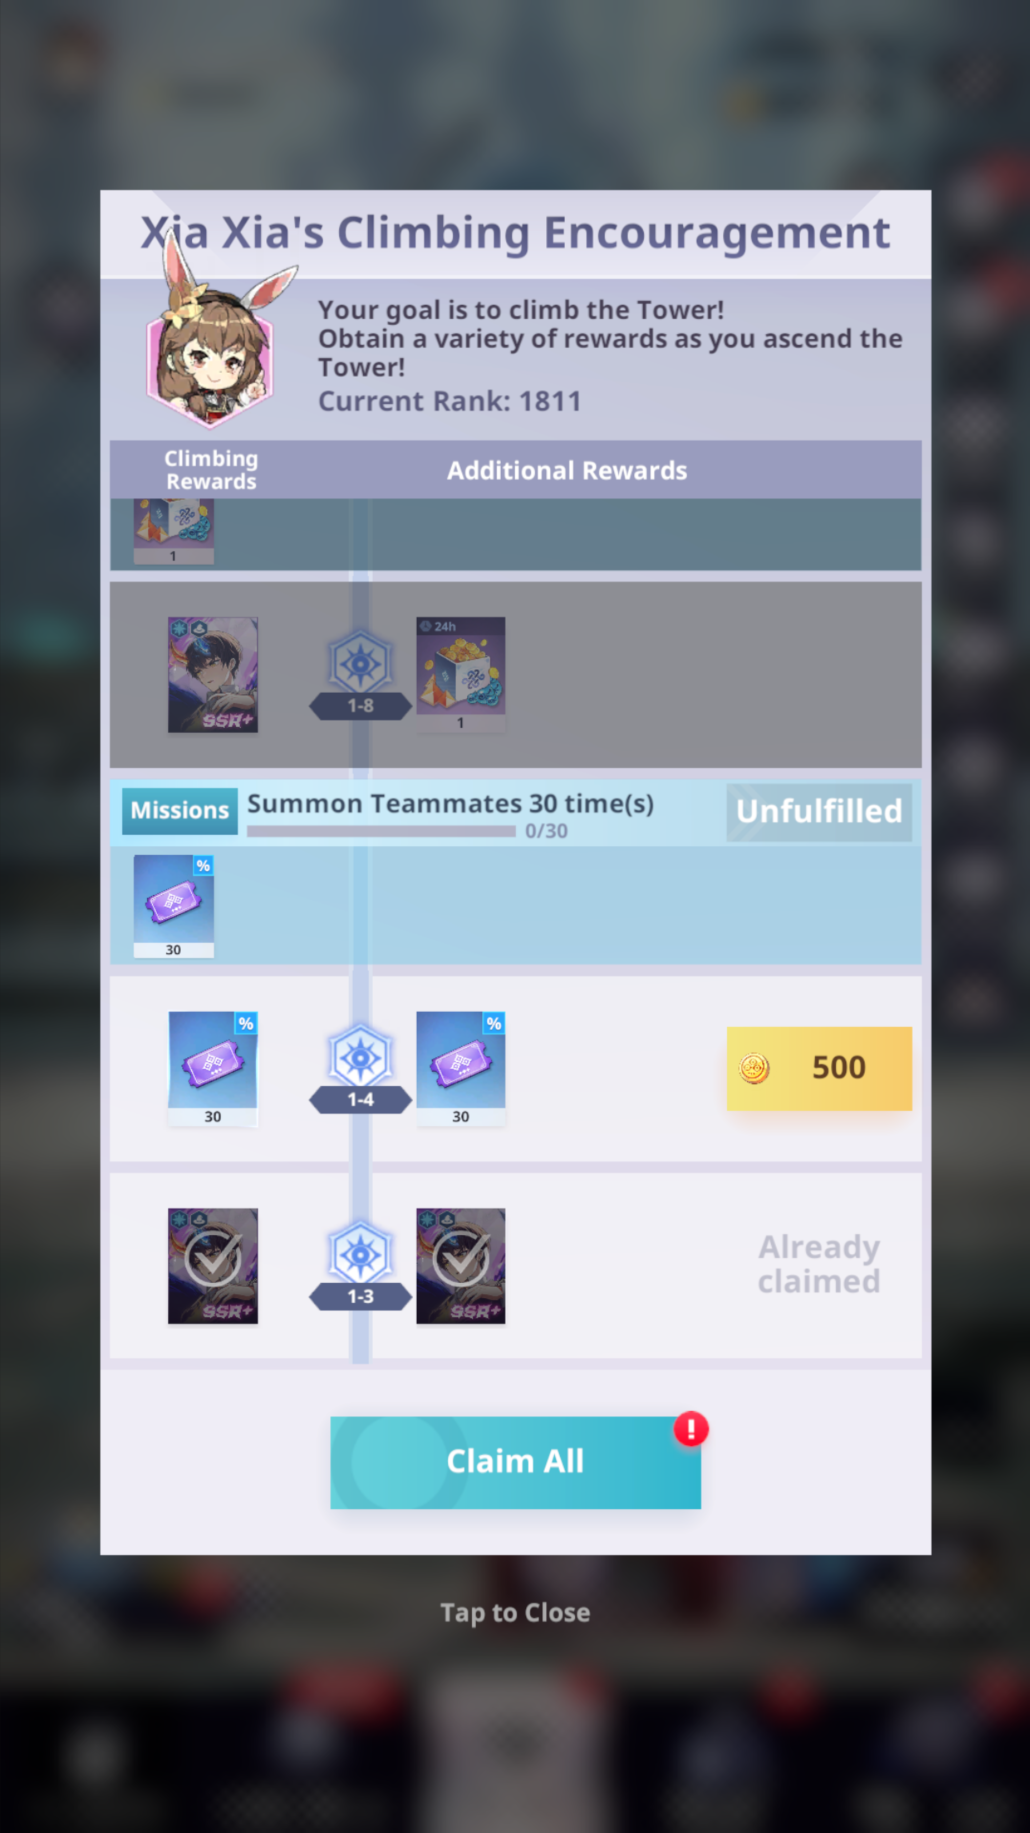
1. Xia Xia's Climbing Encouragement
You will get rewards by completing missions and reaching specific floors in Adventure. Key rewards include:


Note: Some tiers will ask for Red Suspendium, this is a Premium currency that can only be purchased with Real Money, therefore not accessible to F2P Players.
Note: Initially you might be short on Shinsu required to level up your links, in those cases DO NOT open the Shinsu boxes but do the Trial Area, Story Mode and Agency Service Center instead.
Summon Banners and Priorities
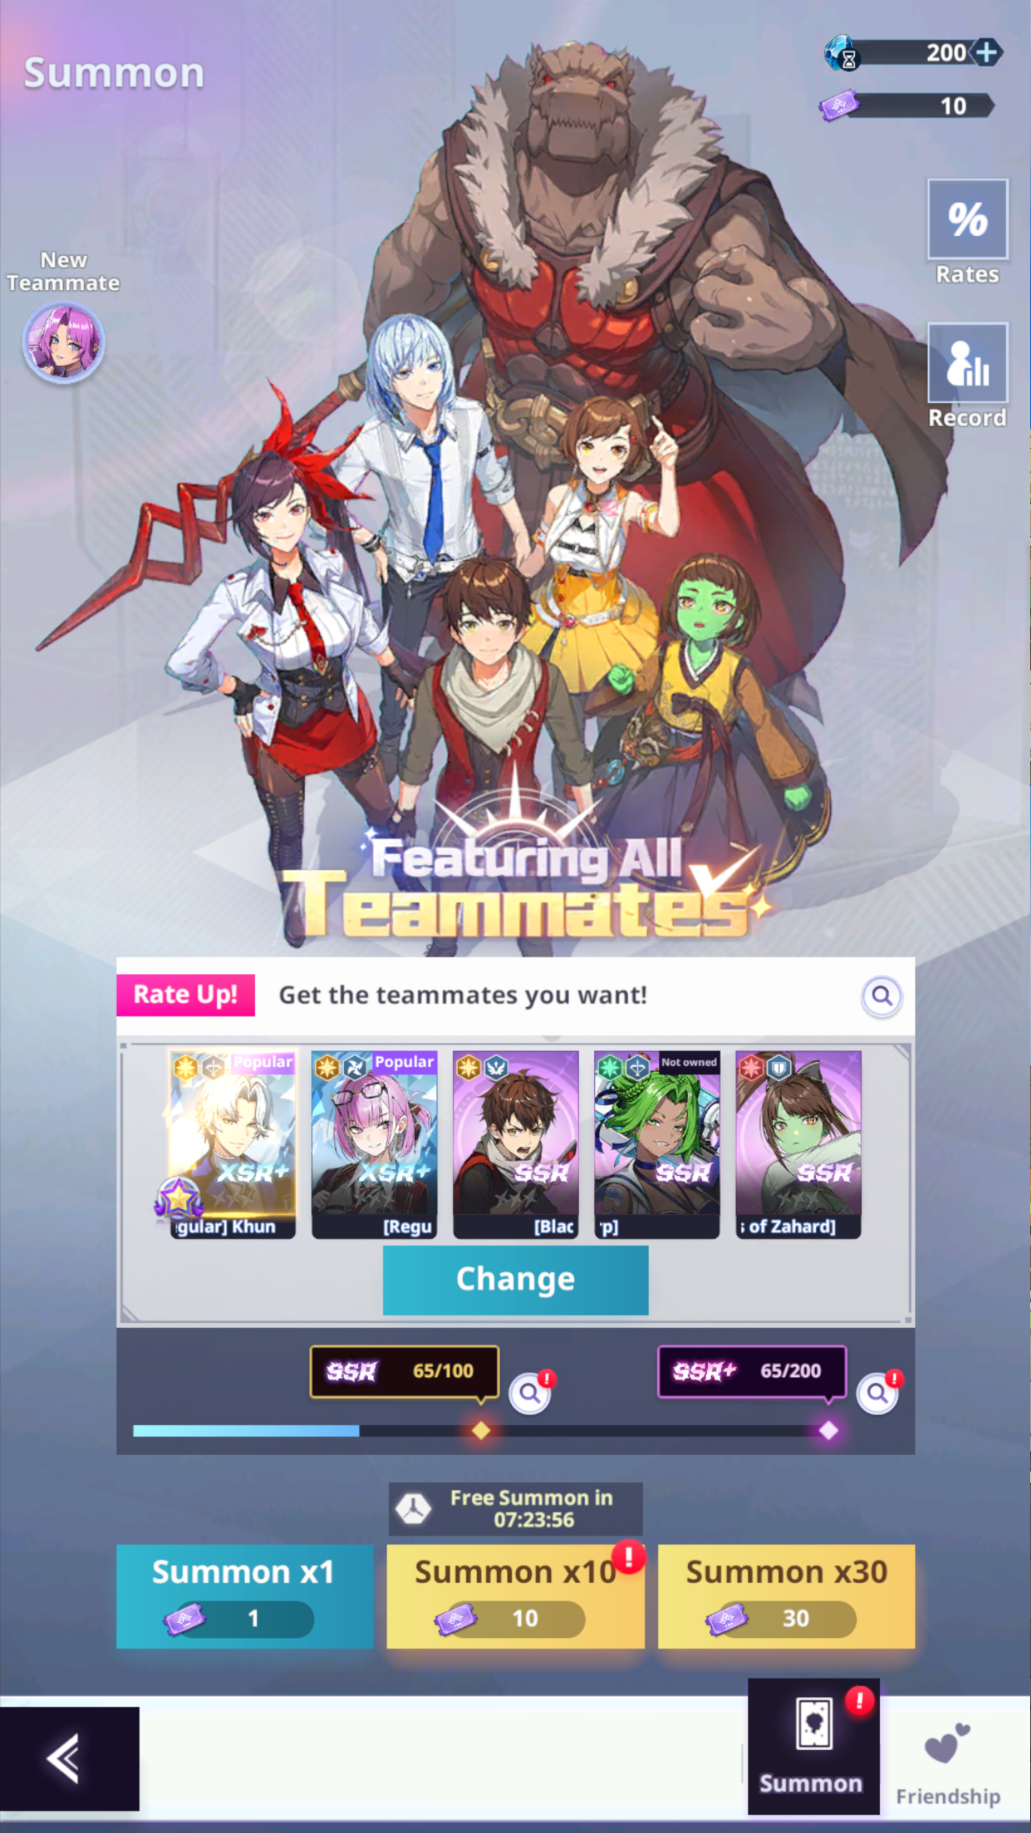
Normal Summon Banner
This is the standard banner that will always be available for you to pull on, and you get 5 free pulls every day on this banner.
You get a free SSR/XSR+ of your choice after 100 summons, and after 200 summons you get to select 5 SSR+ units and you will be assigned one of them at random, this counter resets after you get the SSR+ unit.
DO NOT use suspendium on this banner, use ONLY the Normal Summon tickets you will receive.
The most important units to get are the following: [Ordered left to right in terms of priority]




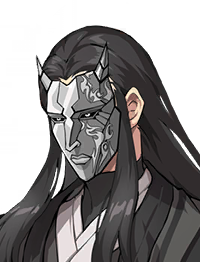

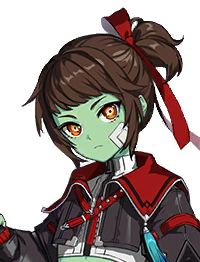











 Units that didn't make it in the list are not that worthwile and can be ignored.Still pull on the remaining units for archive purposes when you have enough resources to spare.
For the SSR+ Pity, I would prioritize getting as many SSR+ units that are helpful at 0 dupes and then fill the remaining slots with units you are trying to max.
Units that you could select here are: [Priority will change based on your needs]
Units that didn't make it in the list are not that worthwile and can be ignored.Still pull on the remaining units for archive purposes when you have enough resources to spare.
For the SSR+ Pity, I would prioritize getting as many SSR+ units that are helpful at 0 dupes and then fill the remaining slots with units you are trying to max.
Units that you could select here are: [Priority will change based on your needs]

























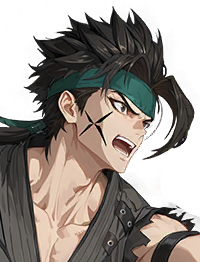
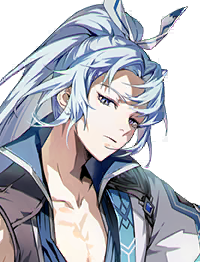





 Units with a Green border are good at 0 Dupes, but get considerably better when maxed.
Units with a Orange border can be removed once they are at 0 Dupes, more copies are not that important at first.
Units with a Red border are strong when maxed, but not so useful at 0 Dupes.
Units with a Green border are good at 0 Dupes, but get considerably better when maxed.
Units with a Orange border can be removed once they are at 0 Dupes, more copies are not that important at first.
Units with a Red border are strong when maxed, but not so useful at 0 Dupes.
Black Market
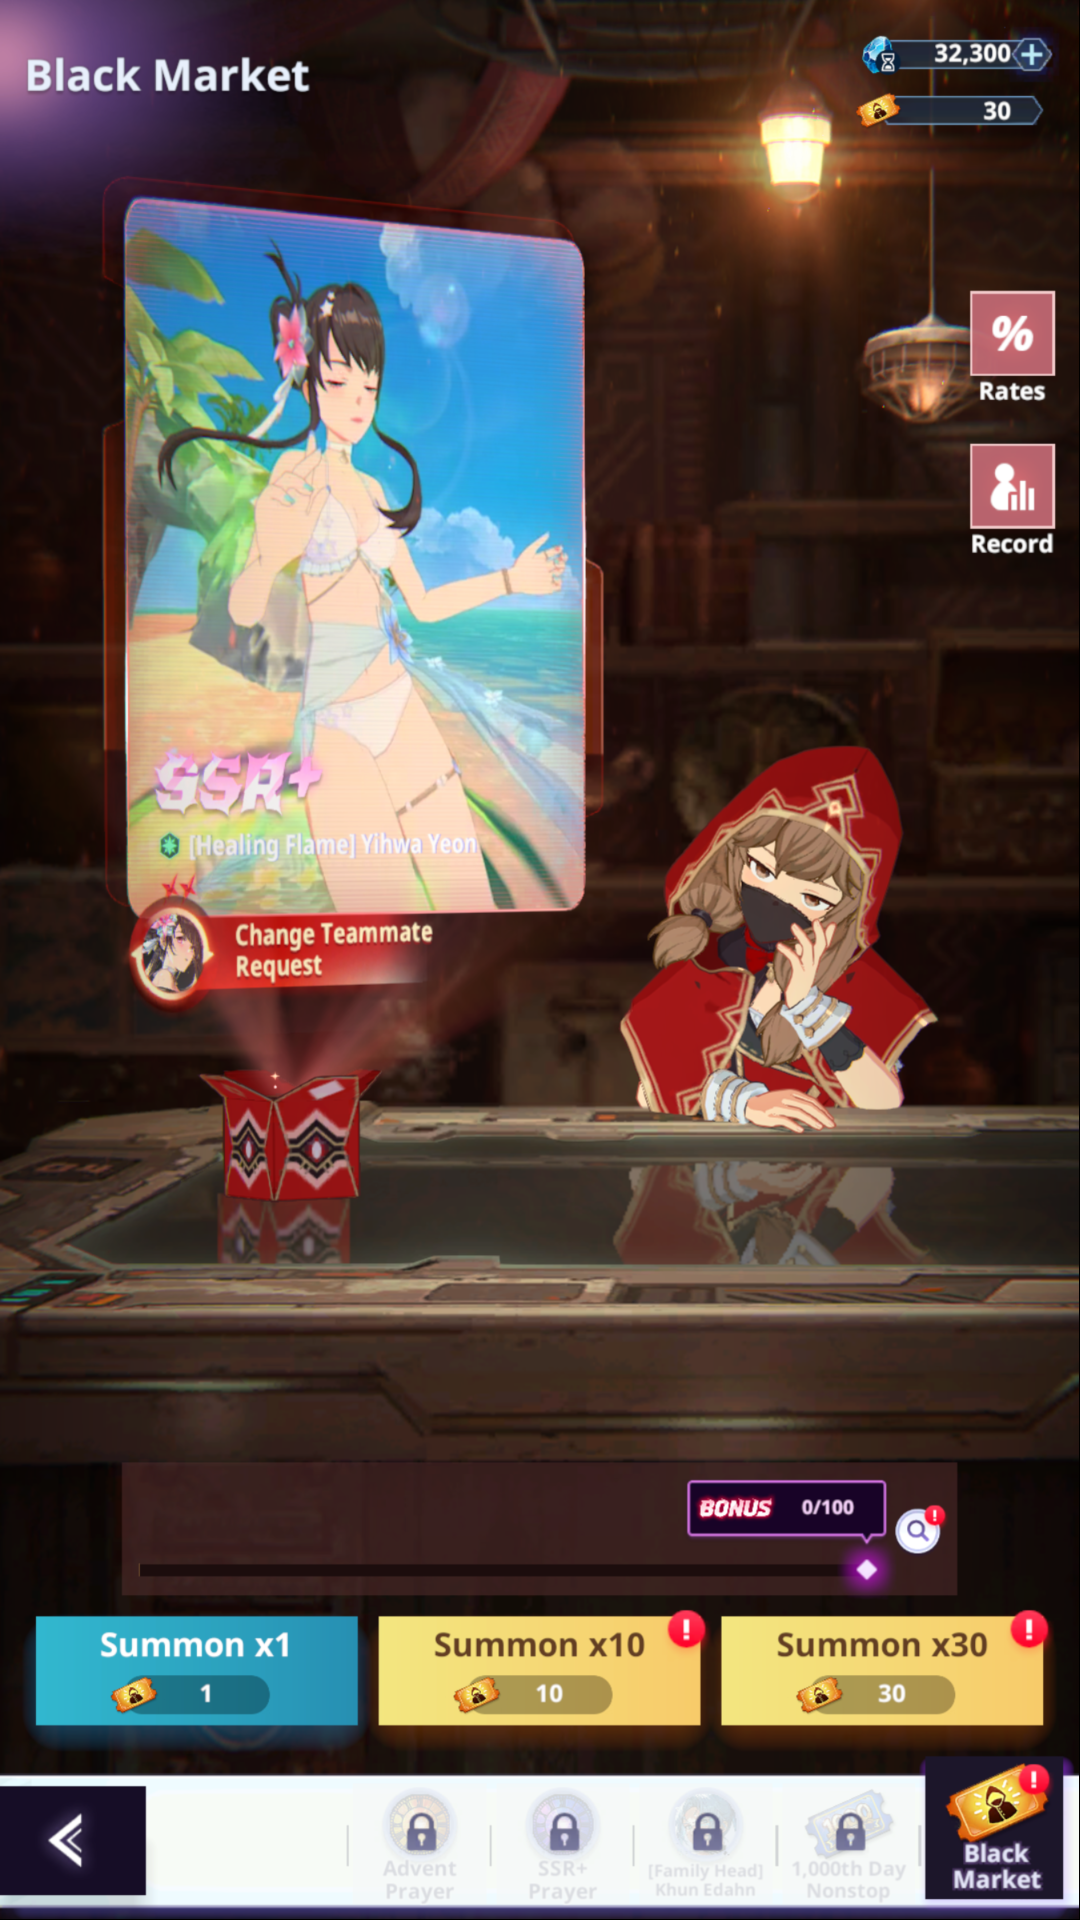
This banner is where you can get SSR+ and above units.
The Black Market has 100 Pity and a 2% rate, which means, on average, you will need ~750 Black Market tickets for a R5 SSR+ unit.
This banner is the main way you are going to summons for new and old units.
I will now list the preferred picks per category/type of units.
If you need DPS units:
If you need Survivability Support units:
If you need Debuff/Utility Support units:
If you need Frontline units:
Since they are already giving us a half-built SSR+ Yihwa, I would recommend maxing her first.
Note: If there is currently a EX banner running, especially Khun Edahn, Luslec and Urek, it would be a better idea to use your Black Market tickets on them first.
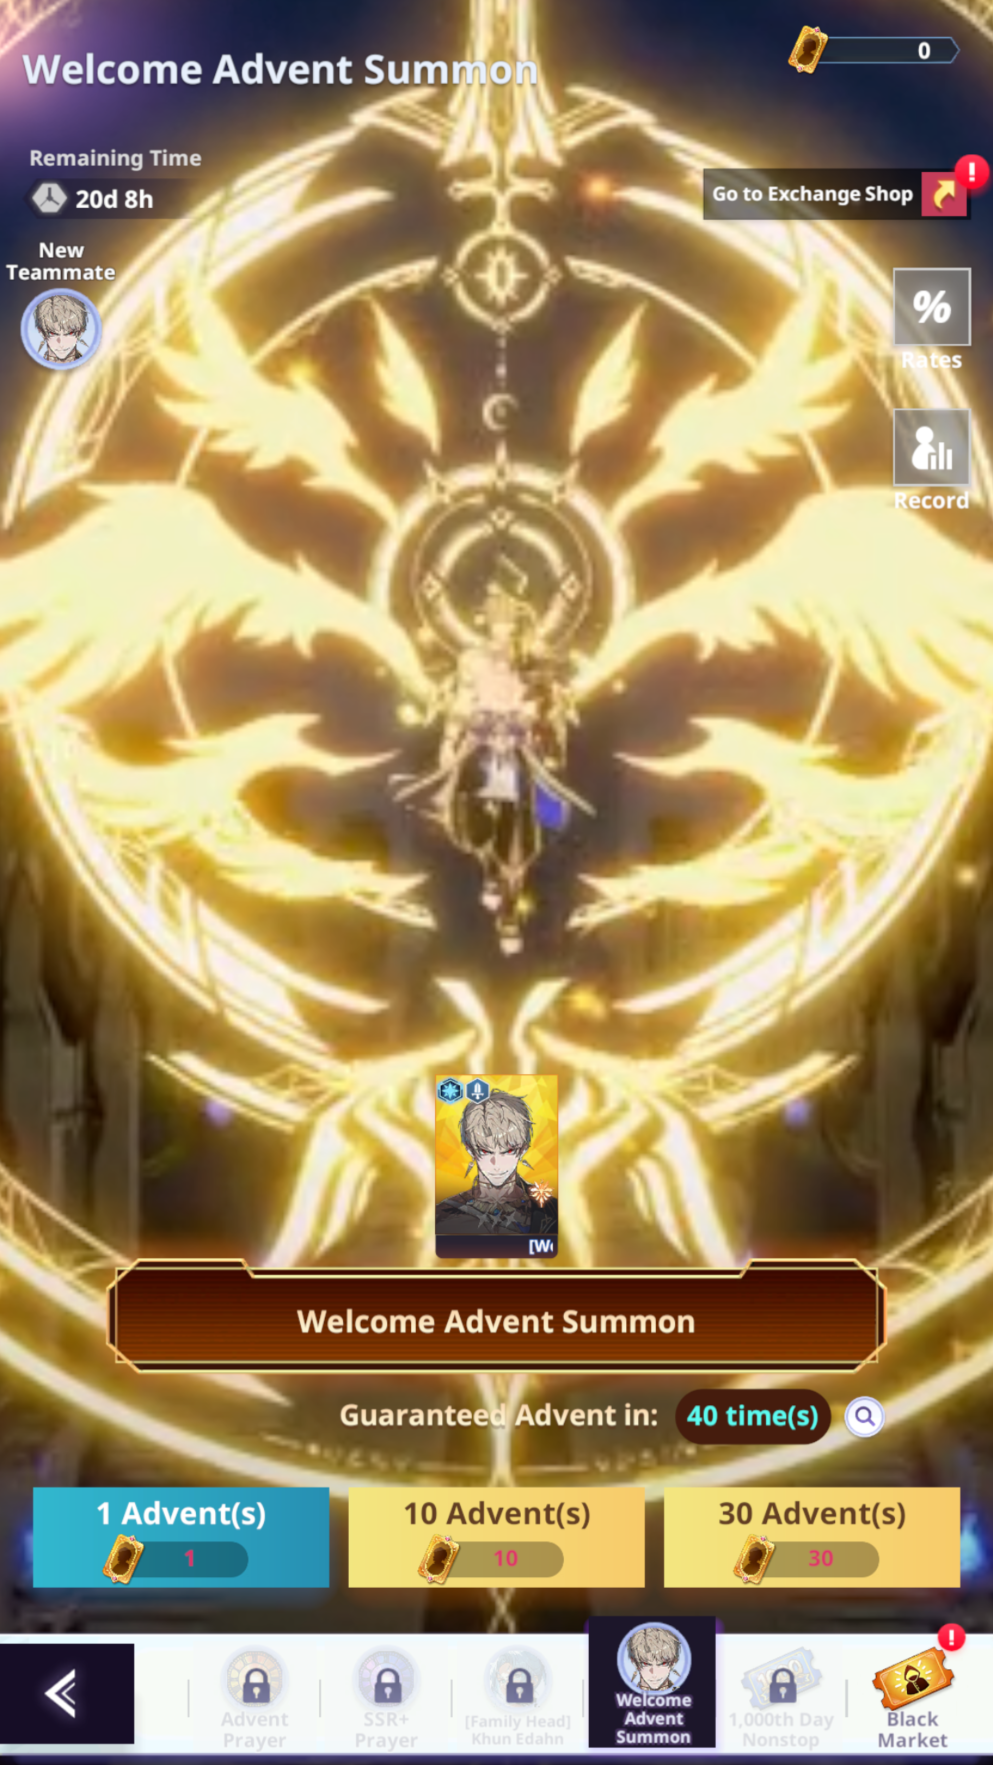
Welcome Family Head Advent Summon

Note: If there is an EX banner when you start playing, you might want to summon on that first.
Note: If they add Luslec and/or Khun Edahn to this banner as well, the priority would be Khun Edahn > Luslec > Urek.
Team Building Basics
Note: If you start when there is an EX unit banner, obviously you can use them in place of any team shown here.
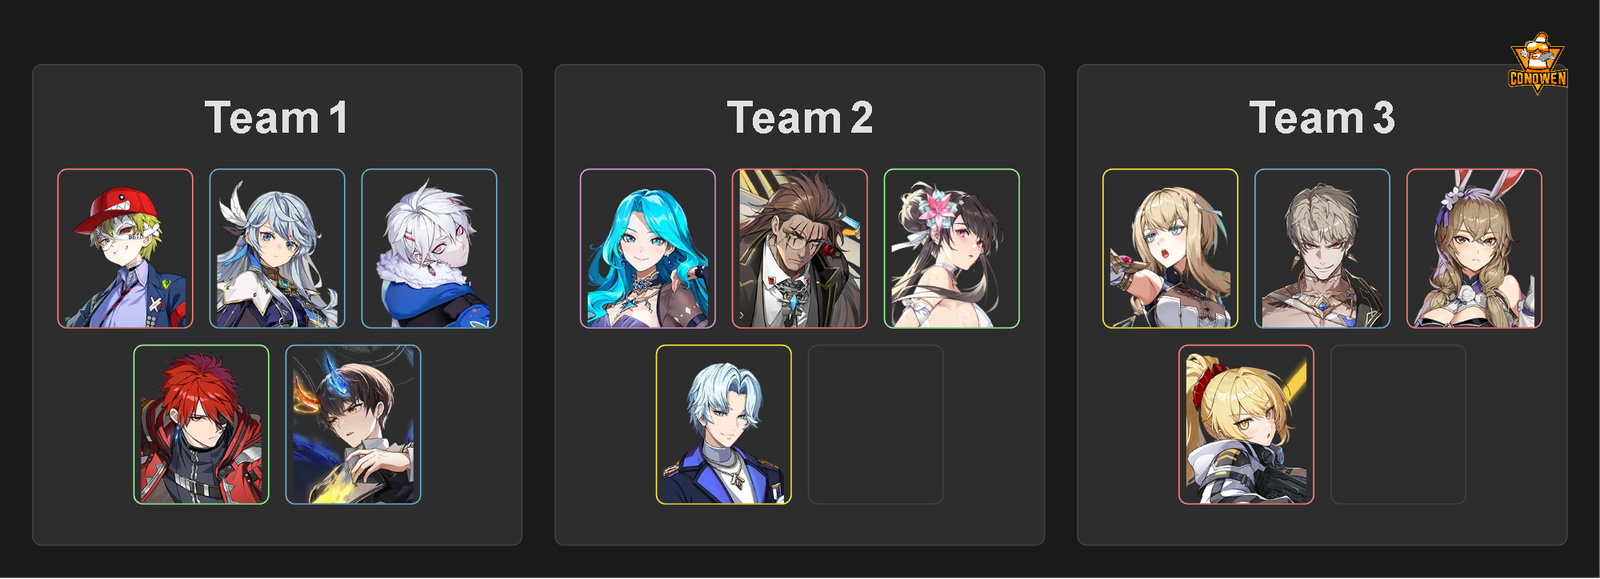
- Bari - Urek, Dumas, Yura, Yihwa, Sharon, Hockney, Sachi, Lefav
- El - Revolution Bam, Khun Edahn
- Runda - Xia Xia
- Doris - Data Mascheny/Beta
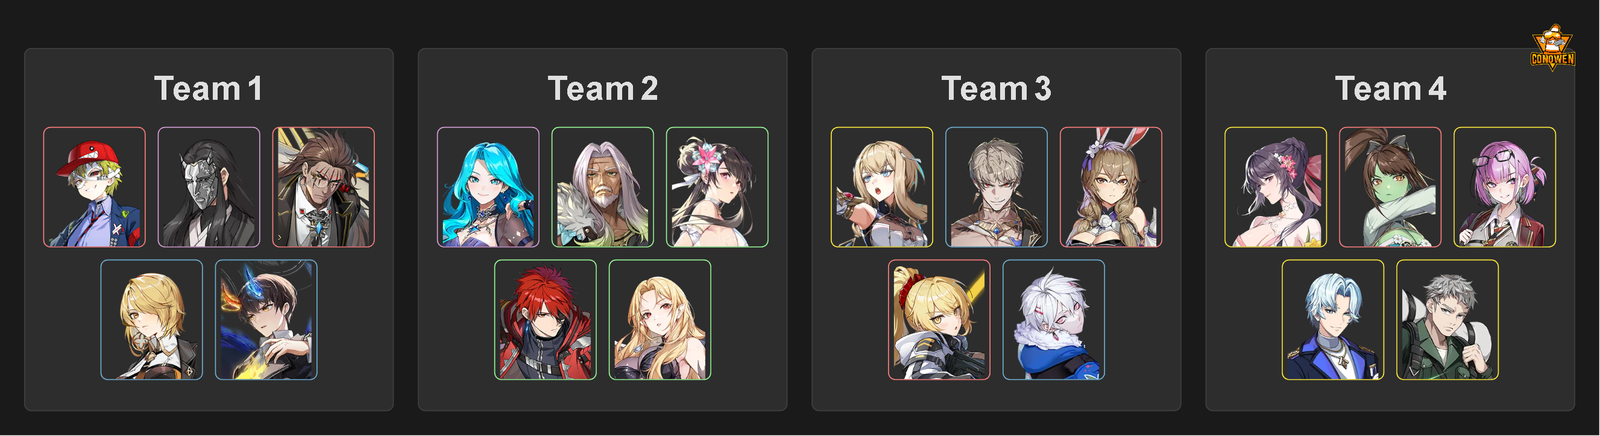
- Bari - Urek, Yirang, Hockney, Anaak, Robadon, Yura, Alphine, Sharon, Sachi, Dumas, Reflejo, Lefav, Hockney
- El - Hugo, Revolution Bam, Edahn, Rashut
- Runda - Xia Xia, Yihwa
- Rafflesia - Evan
- Doris - Beta
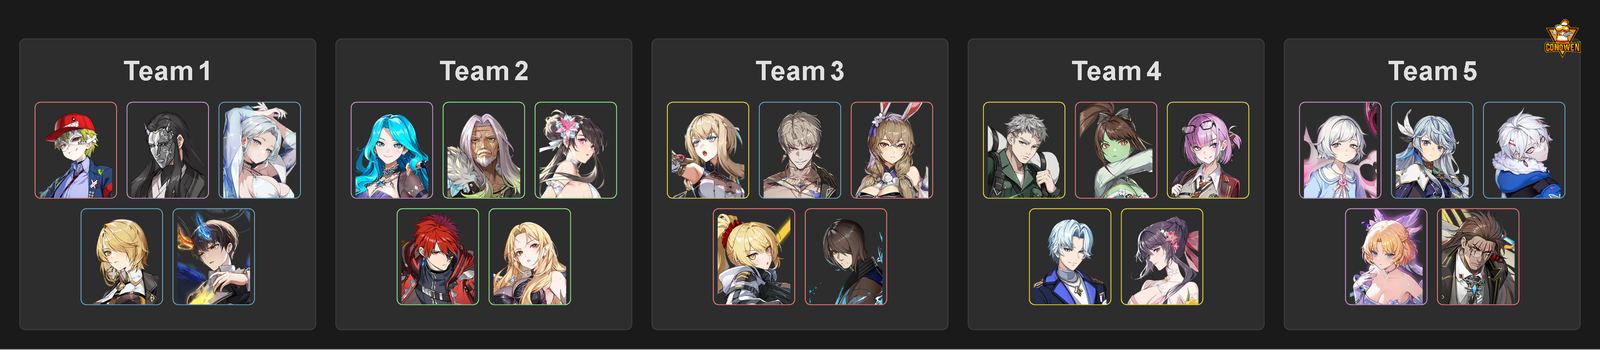
- Bari - Urek, Yirang, Hockney, Anaak, Yihwa, Robadon, Yura, Alphine, Sharon, Sachi, Reflejo, Lefav, Hockney, Cassano, Garam
- El - Revolution Bam, Edahn, Rashut, Amizu
- Sundance - Sachi
- Rafflesia - Evan, Revolution Bam
- Runda - Hugo, Xia Xia, Yihwa, Dumas
- Doris - Anna, Data Mascheny, Beta
Adventure
Normal Adventure
This is the default content of the game in which you have to deploy up to 5 teams to battle and defeat the enemies. Clearing this content will reward you with Black Market Ticket, Normal Summon Tickets and Suspendium. Every Stage you pass, the AFK Loot you earn will be increased (Link EXP, Shinsu, Coins).Hard Adventure
This is a secondary content of the game, unlocked after clearing Normal Adventure F30-60, that will reward you with a good amount of Link Growth Materials upon clearing stages and with an increase in the Pioneer Remnants you obtain from the AFK Loot. In the later stages it is significantly harder than Normal Adventure, due to the insane amount of ACC and EVA that the enemies have and, more importantly, due to the fact that the enemies have Ignition Weapon set effects and Revolution unlocked.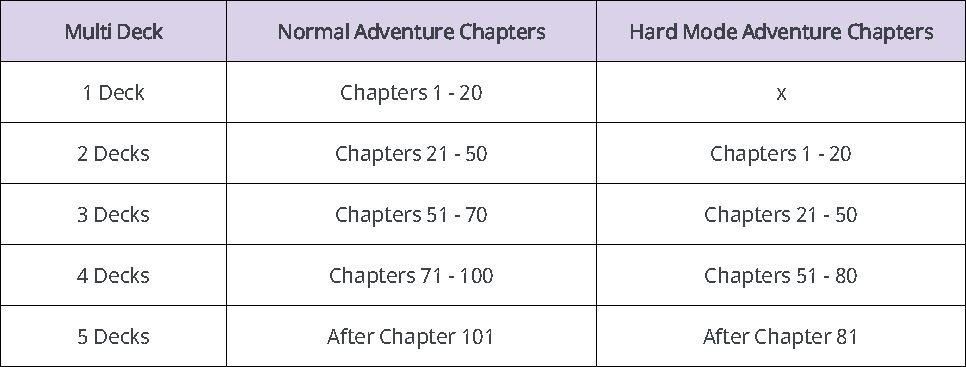
Story Mode
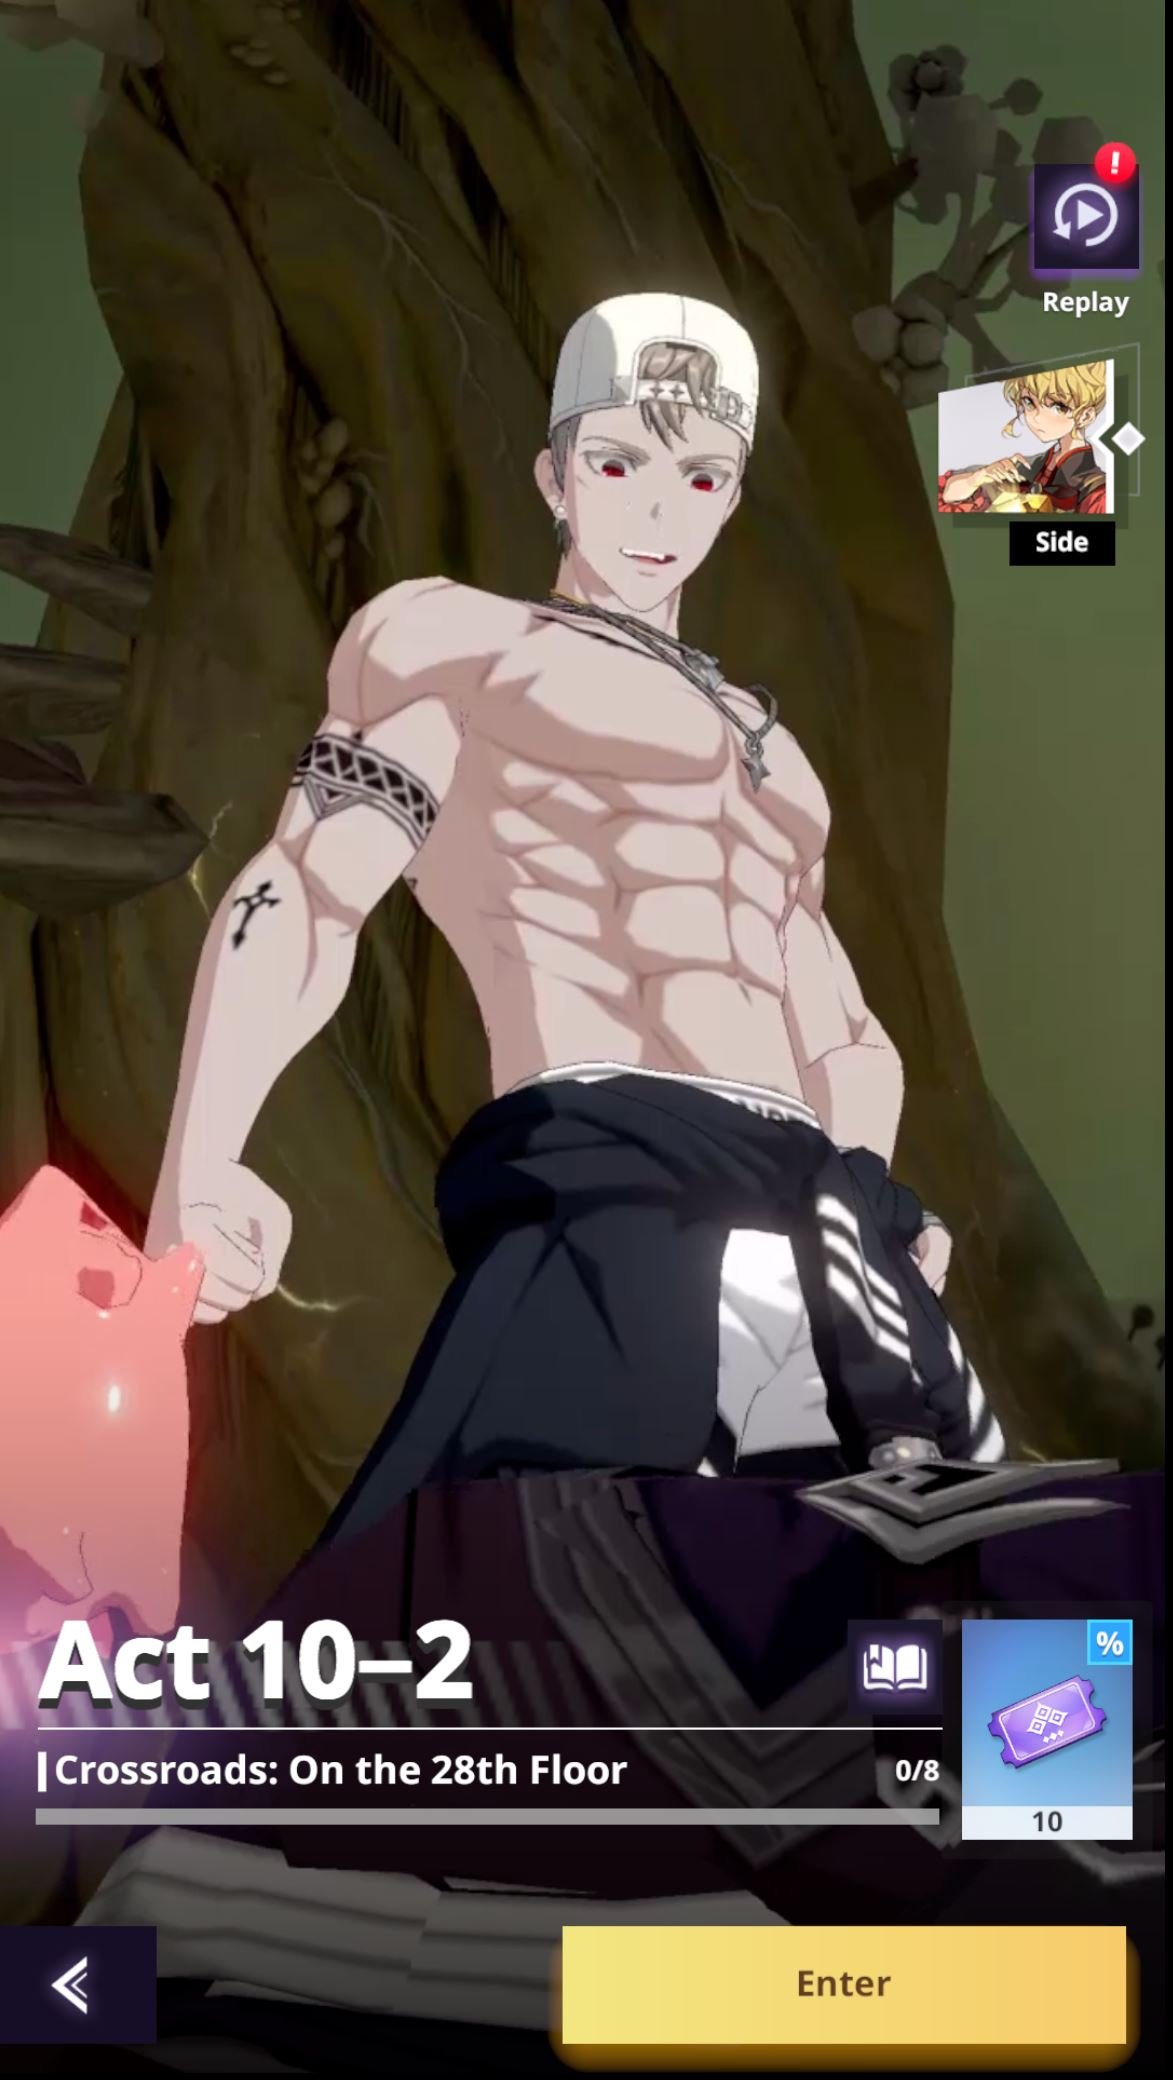
The Story Mode is a good source of Shinsu and Normal Summon tickets, but you can only obtain the rewards once. From my point of view it takes a long time to complete, especially the initial Acts, but eventually you should get them done.
Missions
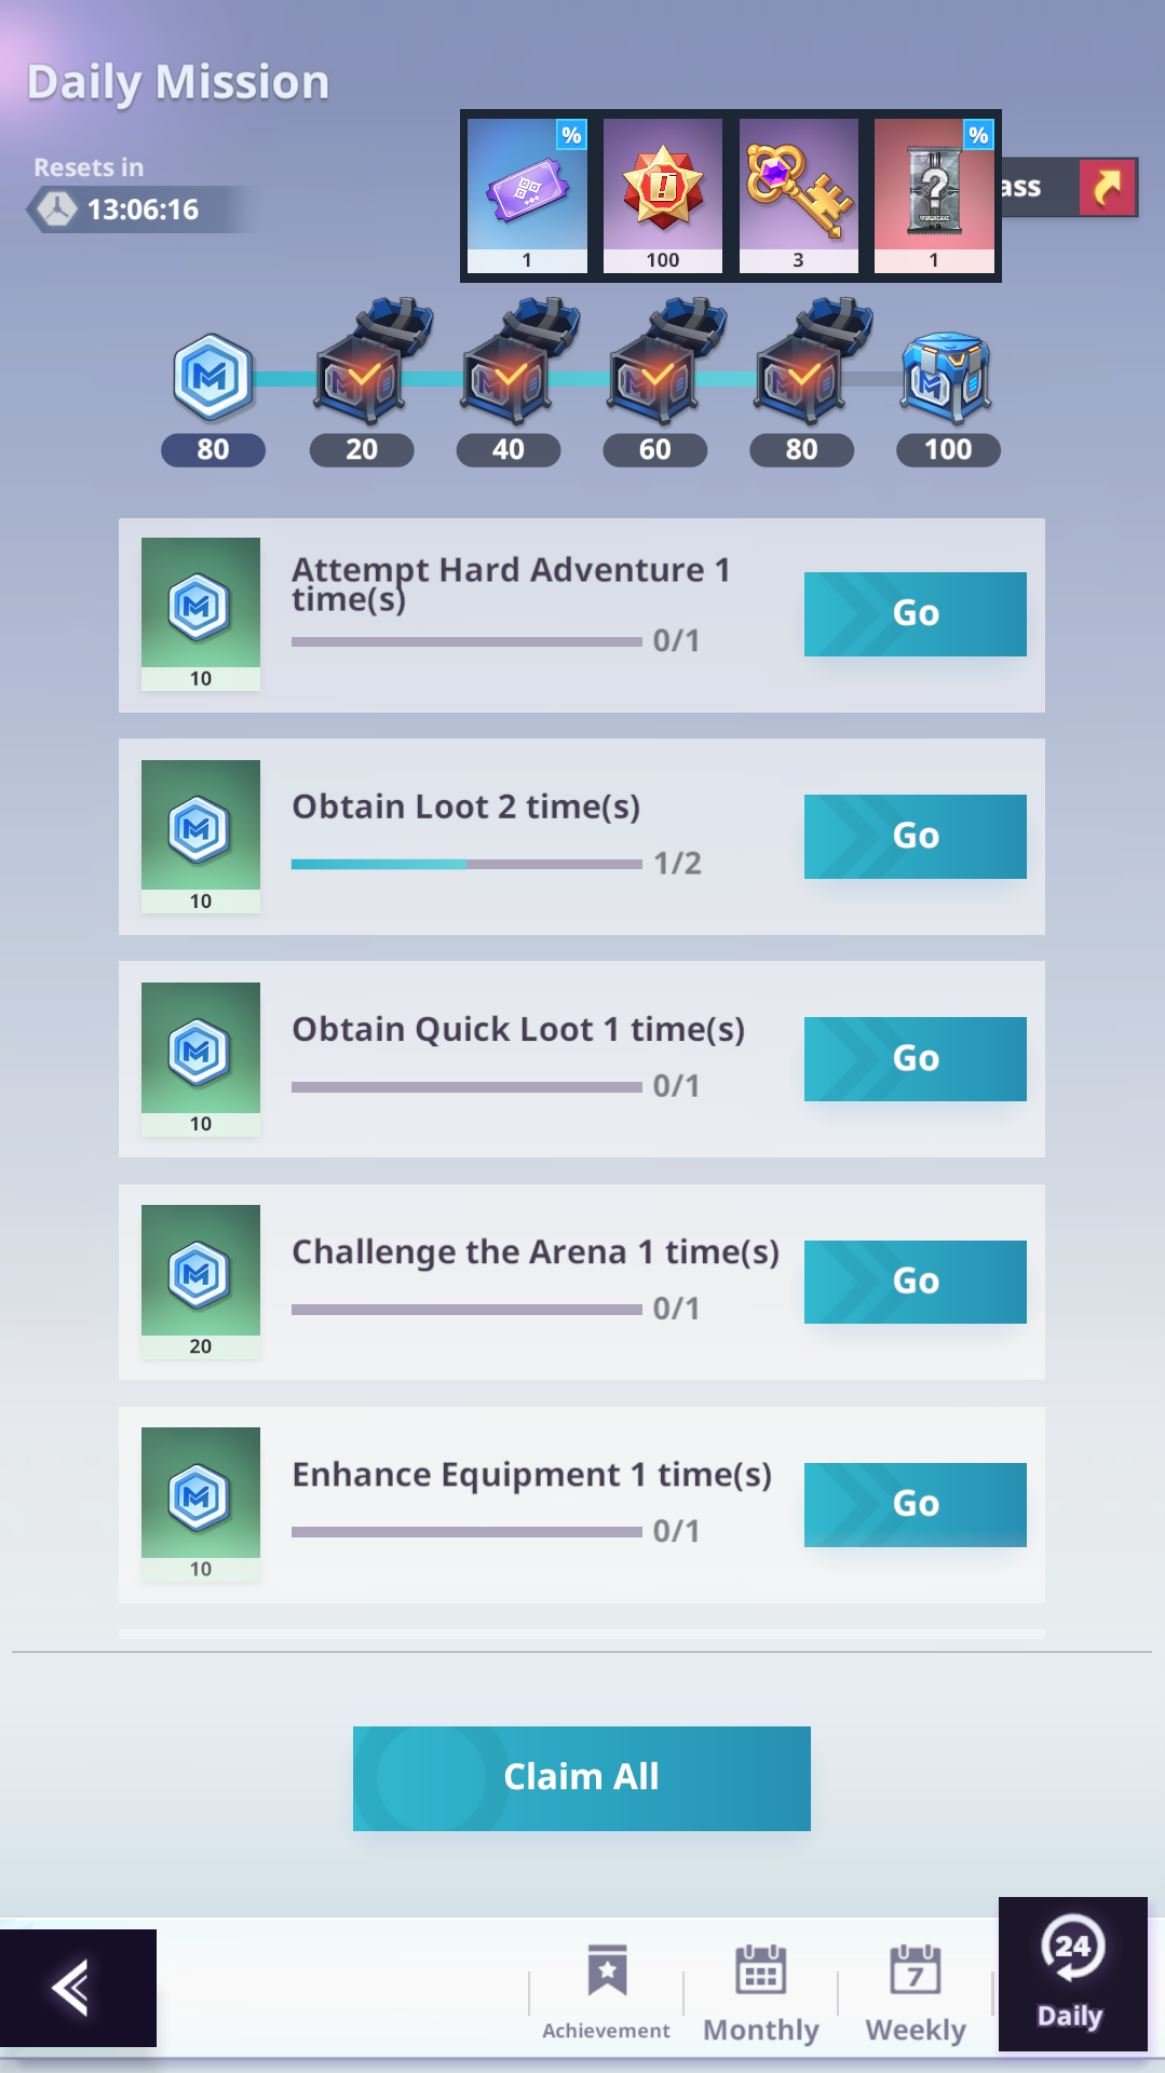
These are activities that you have to complete every Day, Week and Month to get additional rewards. The rewards are important and add up quickly, so remember to do them and don't skip them! From the Weekly and Monthly Missions you also gain some Revolution materials based on your Adventure Progression. The amount you get is not insane, but it is one of the few ways to get them.
Unit Basics
Range
One of the first things to consider of a unit is whether the unit is close-range or long-range. This will have an impact on the decision on what to build on them, as their survivability will be impacted by this.Damage Type
Each units deals one, and ONLY one, type of Damage, either Magic or Physical. To understand which type of damage a unit deals, open their page (image on the right), and look at the 3 small icons in the top left corner. The one in the middle is the Damage Type icon, if it is a Staff the Type is Magic, if it is a Atom the Type is Physical.Proficiency
There isn't much to this system, it is made up of 10 levels and at max level you unlock the Exclusive Equipment. You earn experience by using instruction manuals or having a unit take part in a fight. In total a unit will get 10 ACC and 10 EVA from Proficiency, which is a negligible amount. It is important to note that you are also going to earn 600 Suspendium when taking a unit to Proficiency Lv. 10. When you have spare instruction manuals, use them to take all your units to Lv. 10 Proficiency.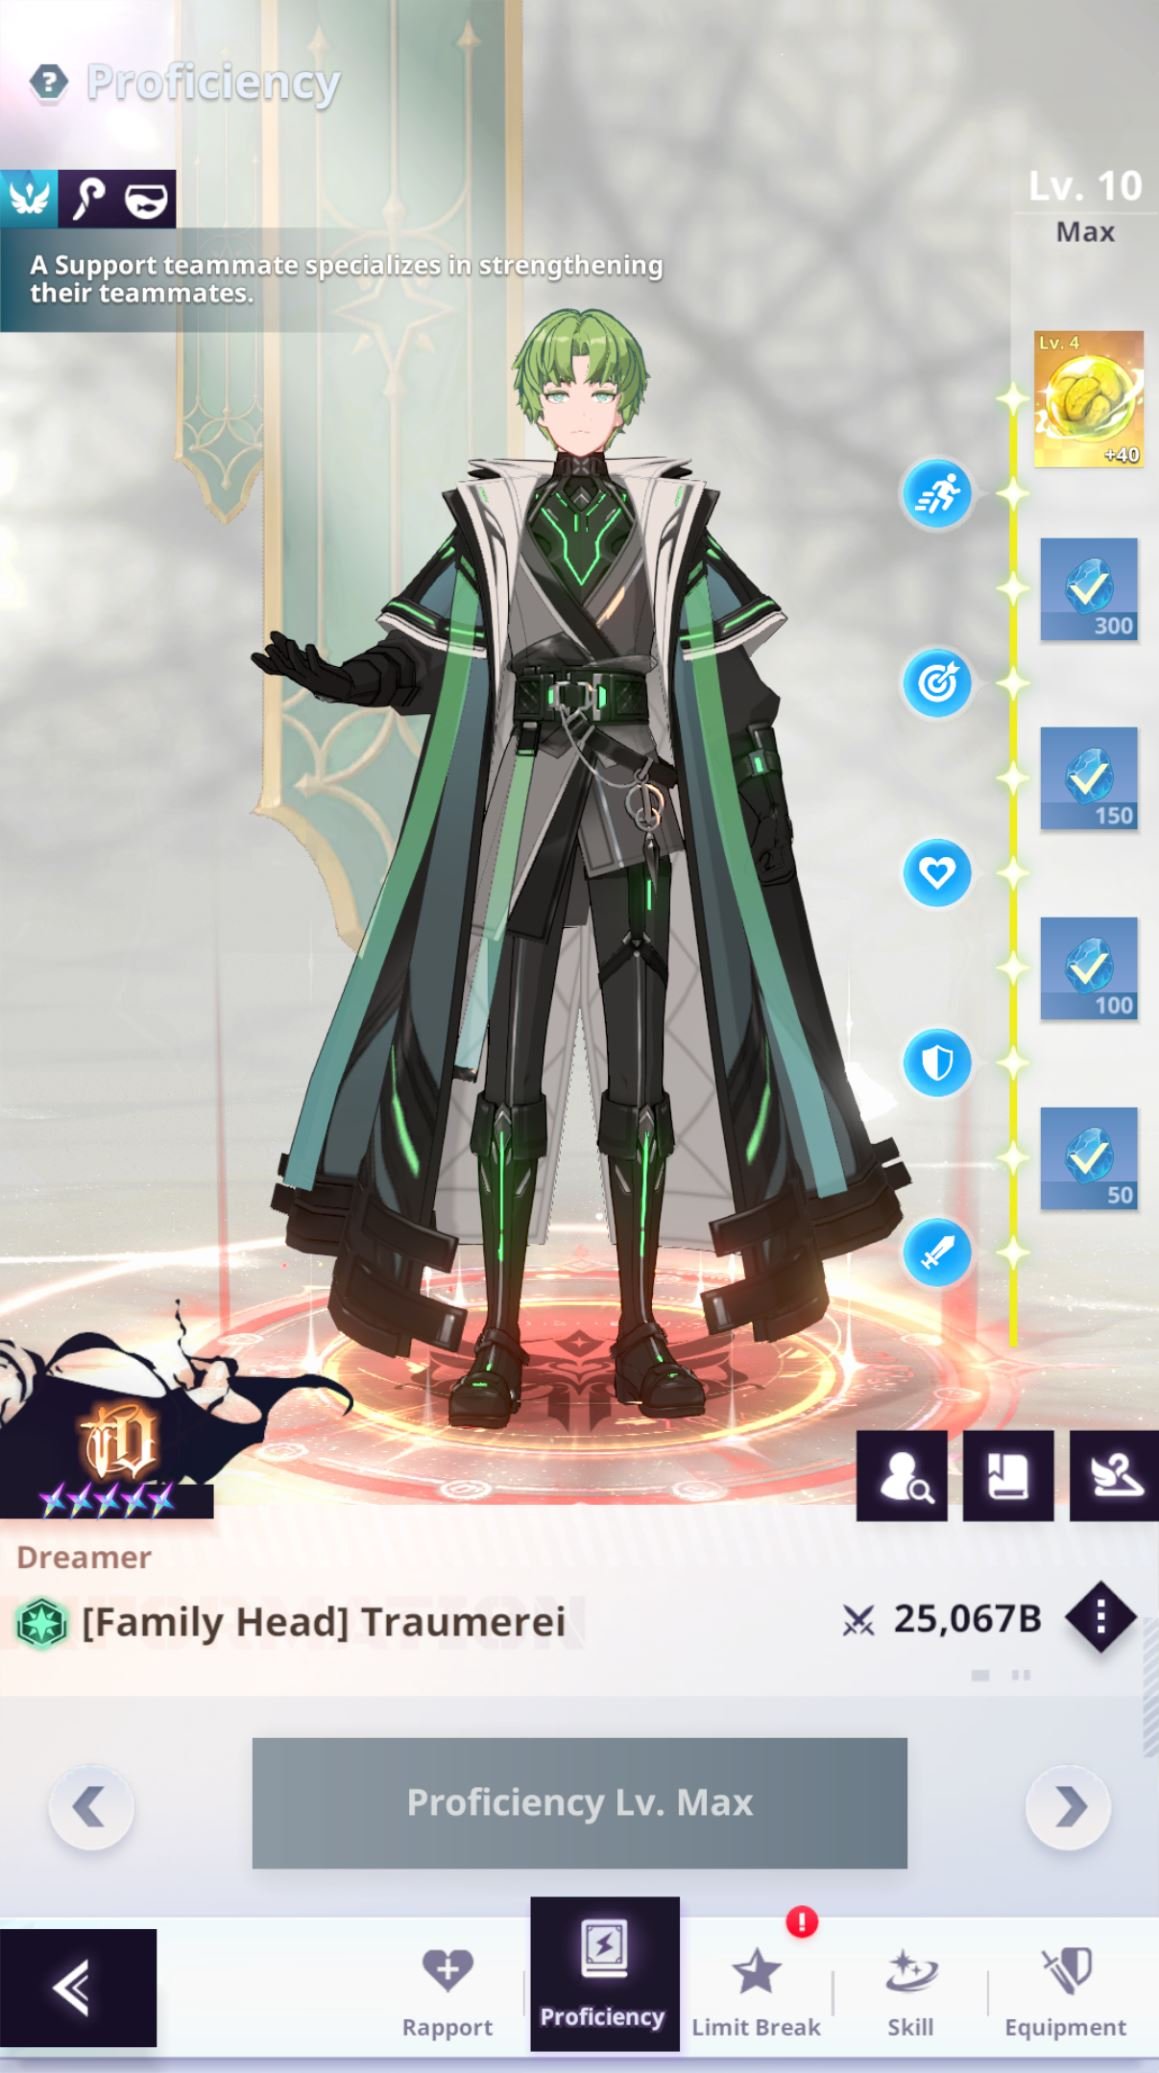
Rapport
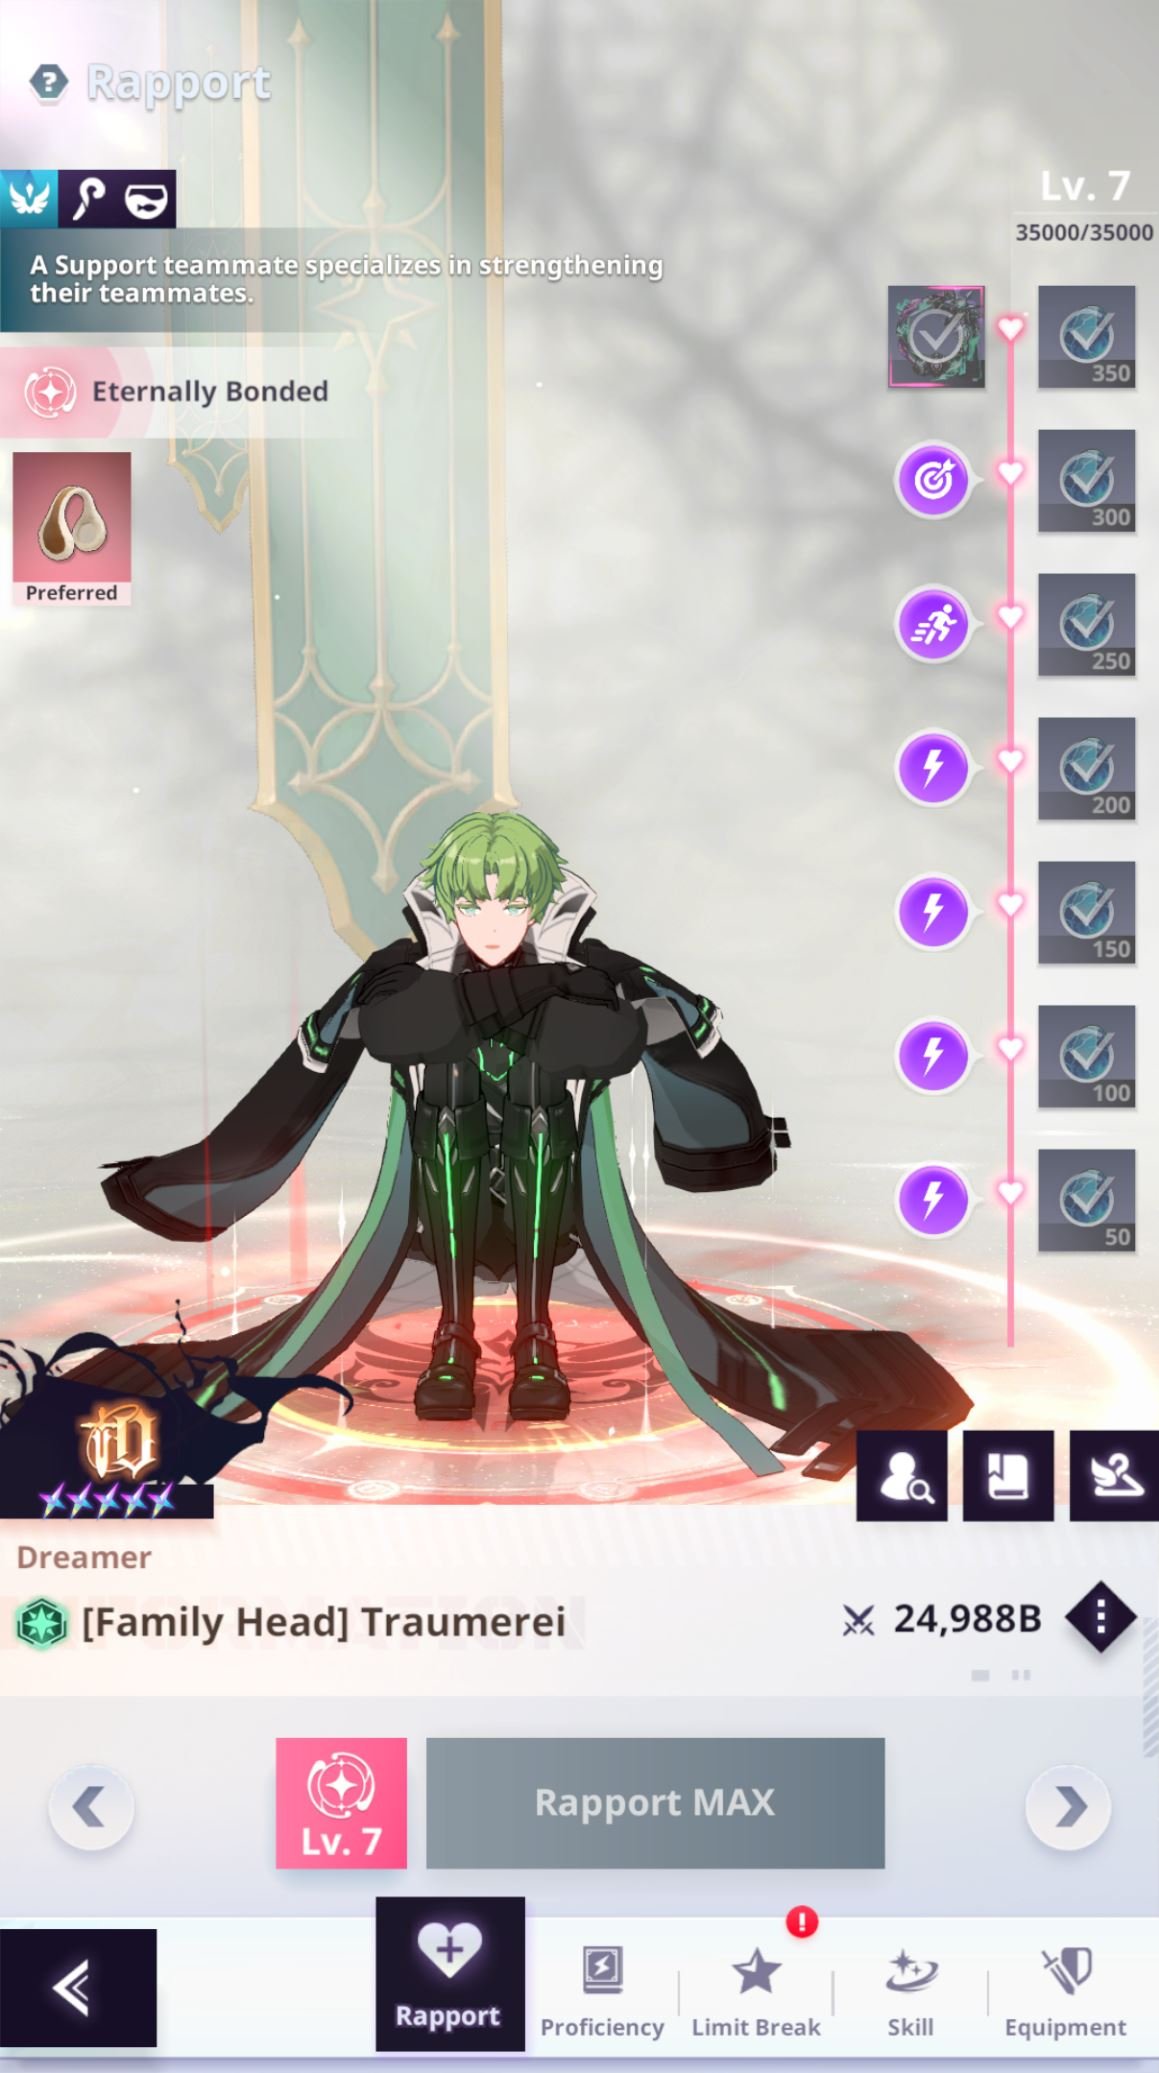
You can give gifts to units to increase their Rapport level.Their favourite gifts will give 200 exp, Neutral gifts will give 100 exp, and gifts they dislike will give 50 exp. You get useful stats for improving rapport with a unit:| Lv. | Total Gifts | Suspendium |
|---|---|---|
| 1 | 1 | 50 |
| 2 | 5 | 100 |
| 3 | 14 | 150 |
| 4 | 38 | 200 |
| 5 | 87 | 250 |
| 6 | 161 | 300 |
| 7 | 175 | 350 |
| TOTAL | 1400 |
Exclusive Equipment
After reaching Proficiency Lv 10 you unlock the Exclusive Equipment. The EE has 4 Effects that will improve a part of the unit's kit, they are unlocked at +0, +10, +20 and +30. At +5 you unlock an additional stat, and this gets improved at +15, +25, +35 and +40. You need the EE at +20 before you can unlock the Carrier for the Ignition Weapon. Going +40 is pretty expensive, as it only provides some basic stats and is NOT worth it most of the times. I recommend stopping at +35 for your key units, and +30 for everyone else.Gear
You can equip 4 Gear pieces to every Unit and they provide some important stats: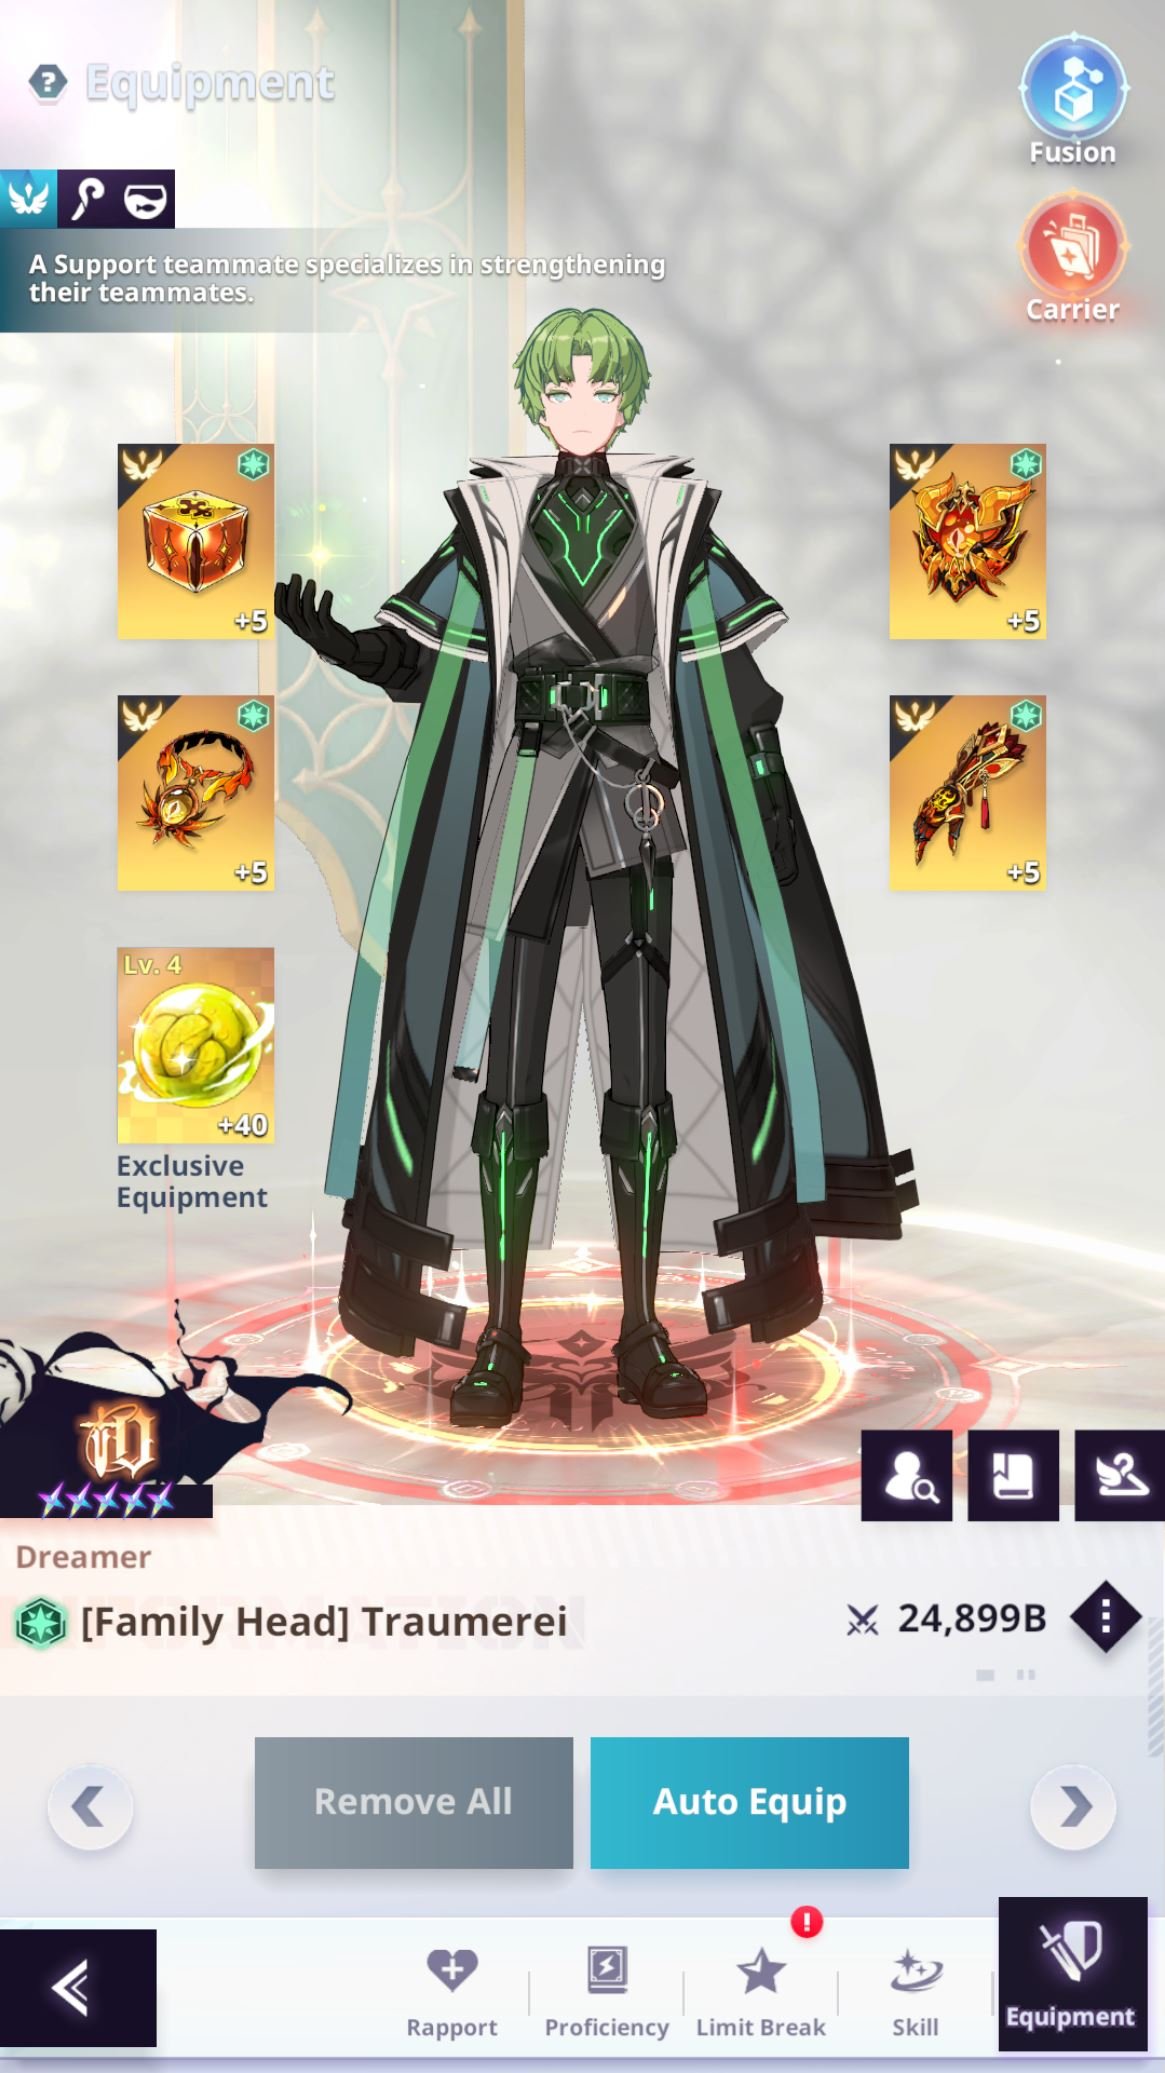
| Unit Group | Slot 1 | Slot 2 | Slot 3 | Slot 4 |
|---|---|---|---|---|
| STR | ACC: 195 | Critical Hit Rate: 19.5%Critical DMG Increase: 39% | EVA: 195 | Magic Resistance: 9.75%Physical Resistance: 29.25% |
| INT | ACC: 195 | Critical Hit Rate: 19.5%Critical DMG Increase: 39% | ACC: 48.75EVA: 146.25 | Magic Resistance: 29.25%Physical Resistance: 9.75% |
| DEX | ACC: 146.25EVA: 48.75 | Critical Hit Rate: 19.5%Critical DMG Increase: 39% | EVA: 195 | Magic Resistance: 19.5%Physical Resistance: 19.5% |
Limit Break
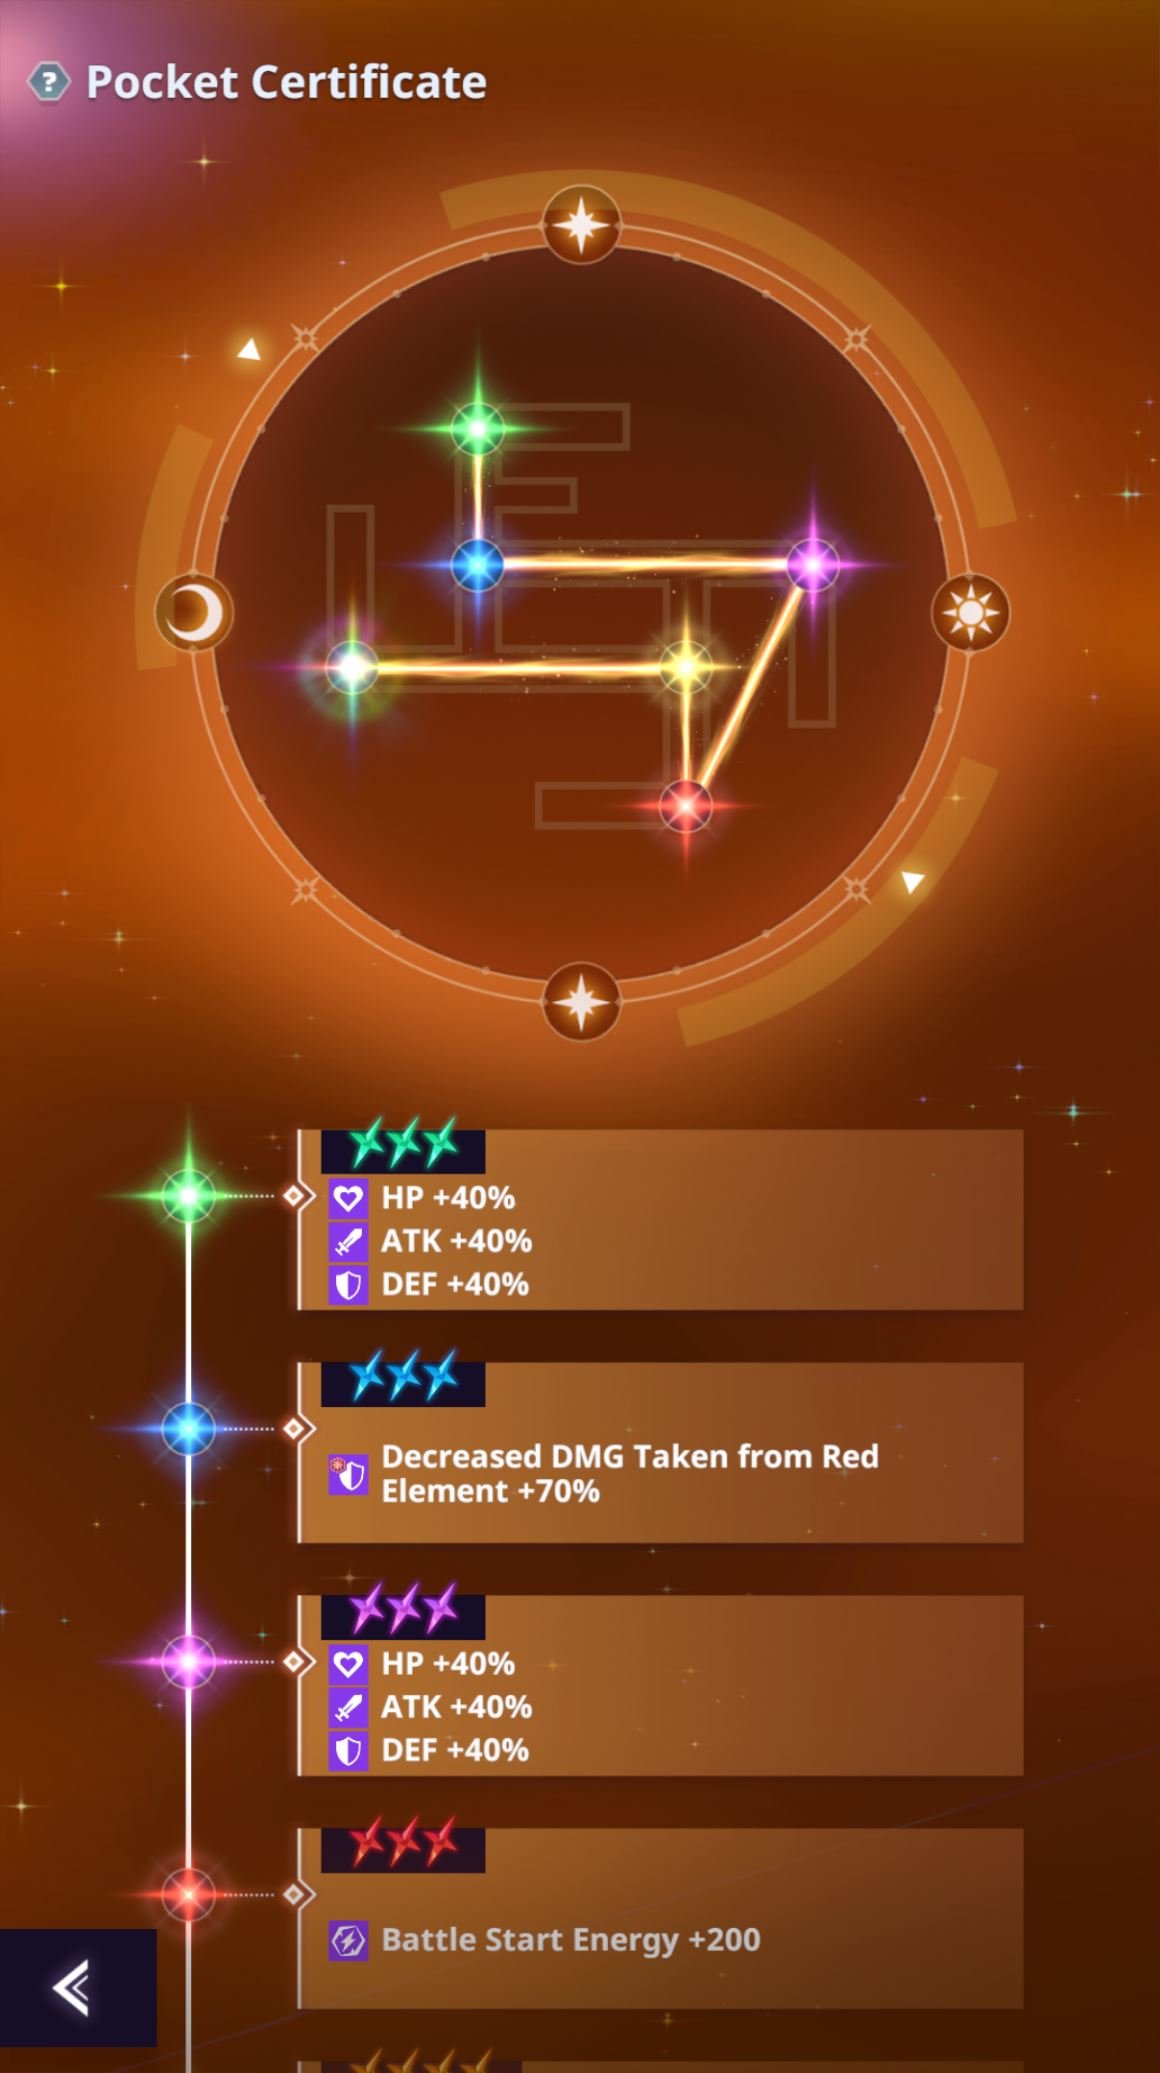
You will need to pull a unit a total of 22 times to get them from 0 Dupe to Rainbow 5. There are different tiers for Dupes: [In Order]
Stats
There are a variety of Stats that a unit has, we are going to look at the most important ones and provide a general overview. Unfortunately, this game tries its best to hide information on how their damage formula and stats work, so most of the things we are going to mention are going to come from experience and testing. I might do a dedicated guide for stats at a later date.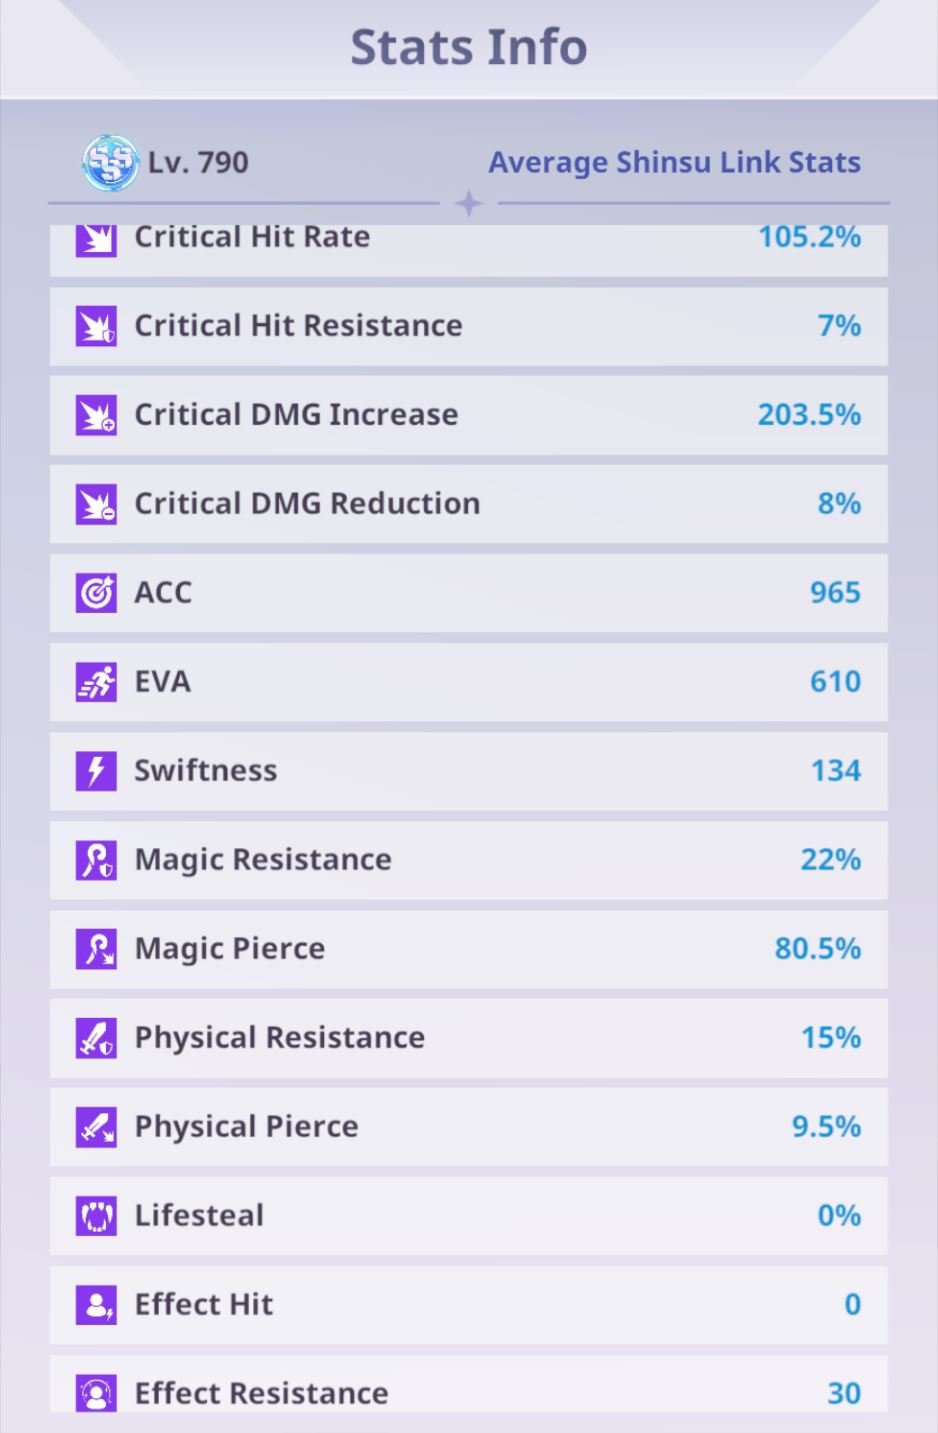
| Stat | How does it work? |
|---|---|
| Critical Hit Rate | Makes your attacks crit. It does NOT work on Max HP% damage.If the enemy has Critical Hit Resistance, subtract that from your Critical Hit Rate. |
| Critical DMG Increase | When you crit, this is the multiplier that determines how much more damage you deal.There is a hidden +50% that is not shown in the number in the stats.If the enemy has Critical DMG Reduction, subtract that from your Critical DMG Increase. |
| ACC | Probably the most important stat in the game.If your ACC is equal or Higher than the enemy EVA, you will always hit.If your ACC is lower, you will start missing a lot of hits. |
| EVA | When your EVA is Higher than the enemy ACC, you will start to dodge their Attacks.It becomes more consistent when your EVA is 200+ higher than the enemy ACC, before that it will feel extremely inconsistent.It becomes really effective when it is 400 higher.There is NO 100% dodge coming from EVA |
| Swiftness | This stat is also extremely important, it dictates the Animation Speed of all of your attacks and reduces the Cooldown of your Active Skills.It is usually recommended to have at least 100, but on a lot of units the more you have the better. |
| Magic/Physical Resistance | Magic/Physical Resistance reduce the Damage taken from the respective Attack Type.It is effective up to 99%, which means 1% damage is always dealt to you.This is the reason why it stops working at around 350 deficit, at that point the damage is high enough to still oneshot you.Excess Resistance it is still useful, it helps mitigate Resistance Decrease debuffs and Pierce, as they are subtracted from the total amount.It does NOT work on Max HP% Damage. |
| Magic/Physical Pierce | When you hit an enemy, your Pierce value is Subtracted from their respective Resistance value.Resistances can go in the negative, so there will always be a damage increase even when your pierce is higher than the Enemy resistance. |
| Effect Hit/Resistance | They work like ACC and EVA, but for Status Effects and Debuffs. |
Shinsu Link Levels
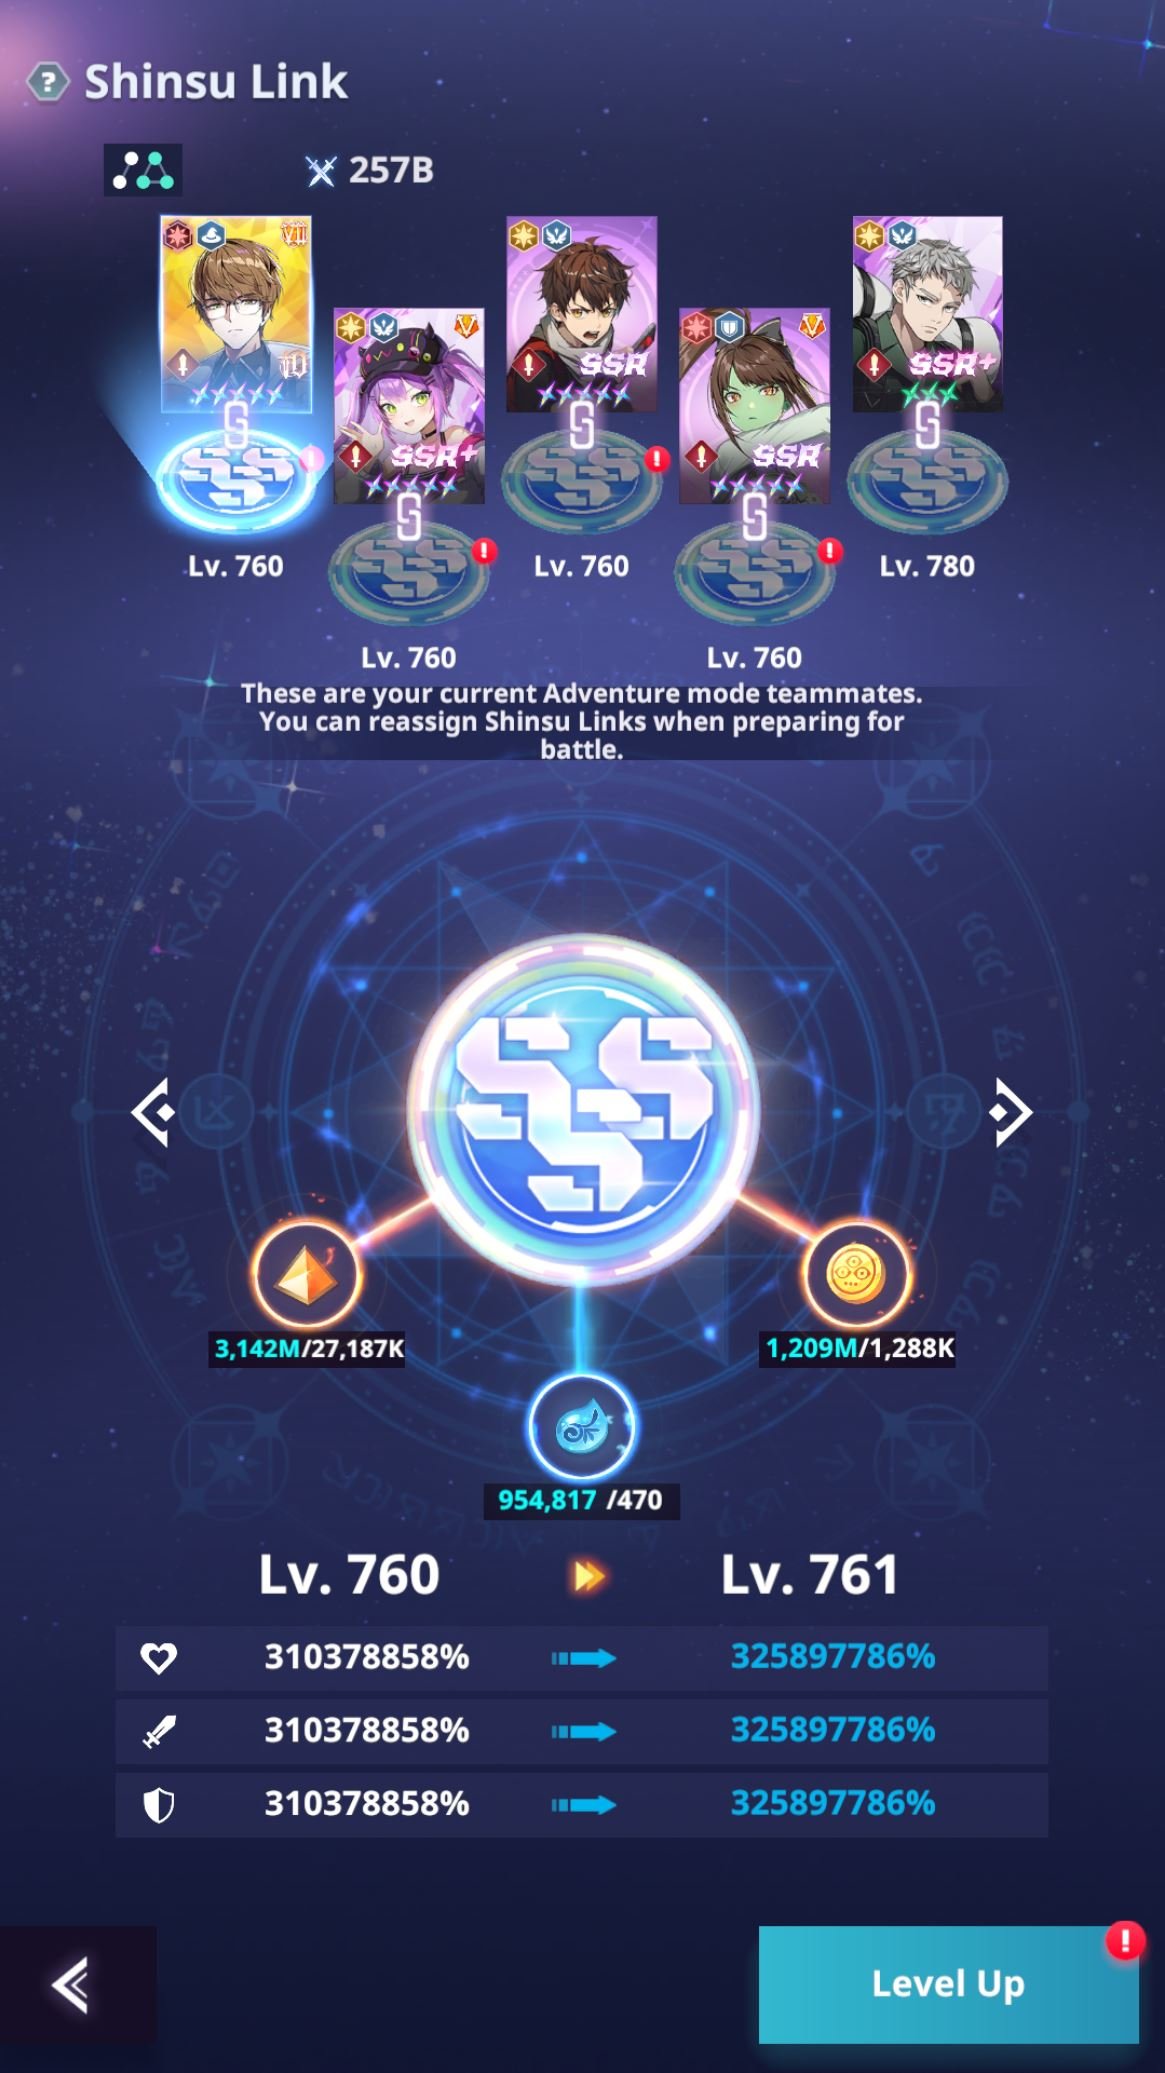
In this game you don't level up your units, you level up the slots that make up your team. To level them up you will need 4 materials:
Note: Make sure to have one link 20 Levels higher than the others at all times!This will help when you need to make a specific unit the highest ATK unit in your team.Two links twenty levels above are ok, if you are into bossing and you have Albelda R5, otherwise stick to one.
Bag
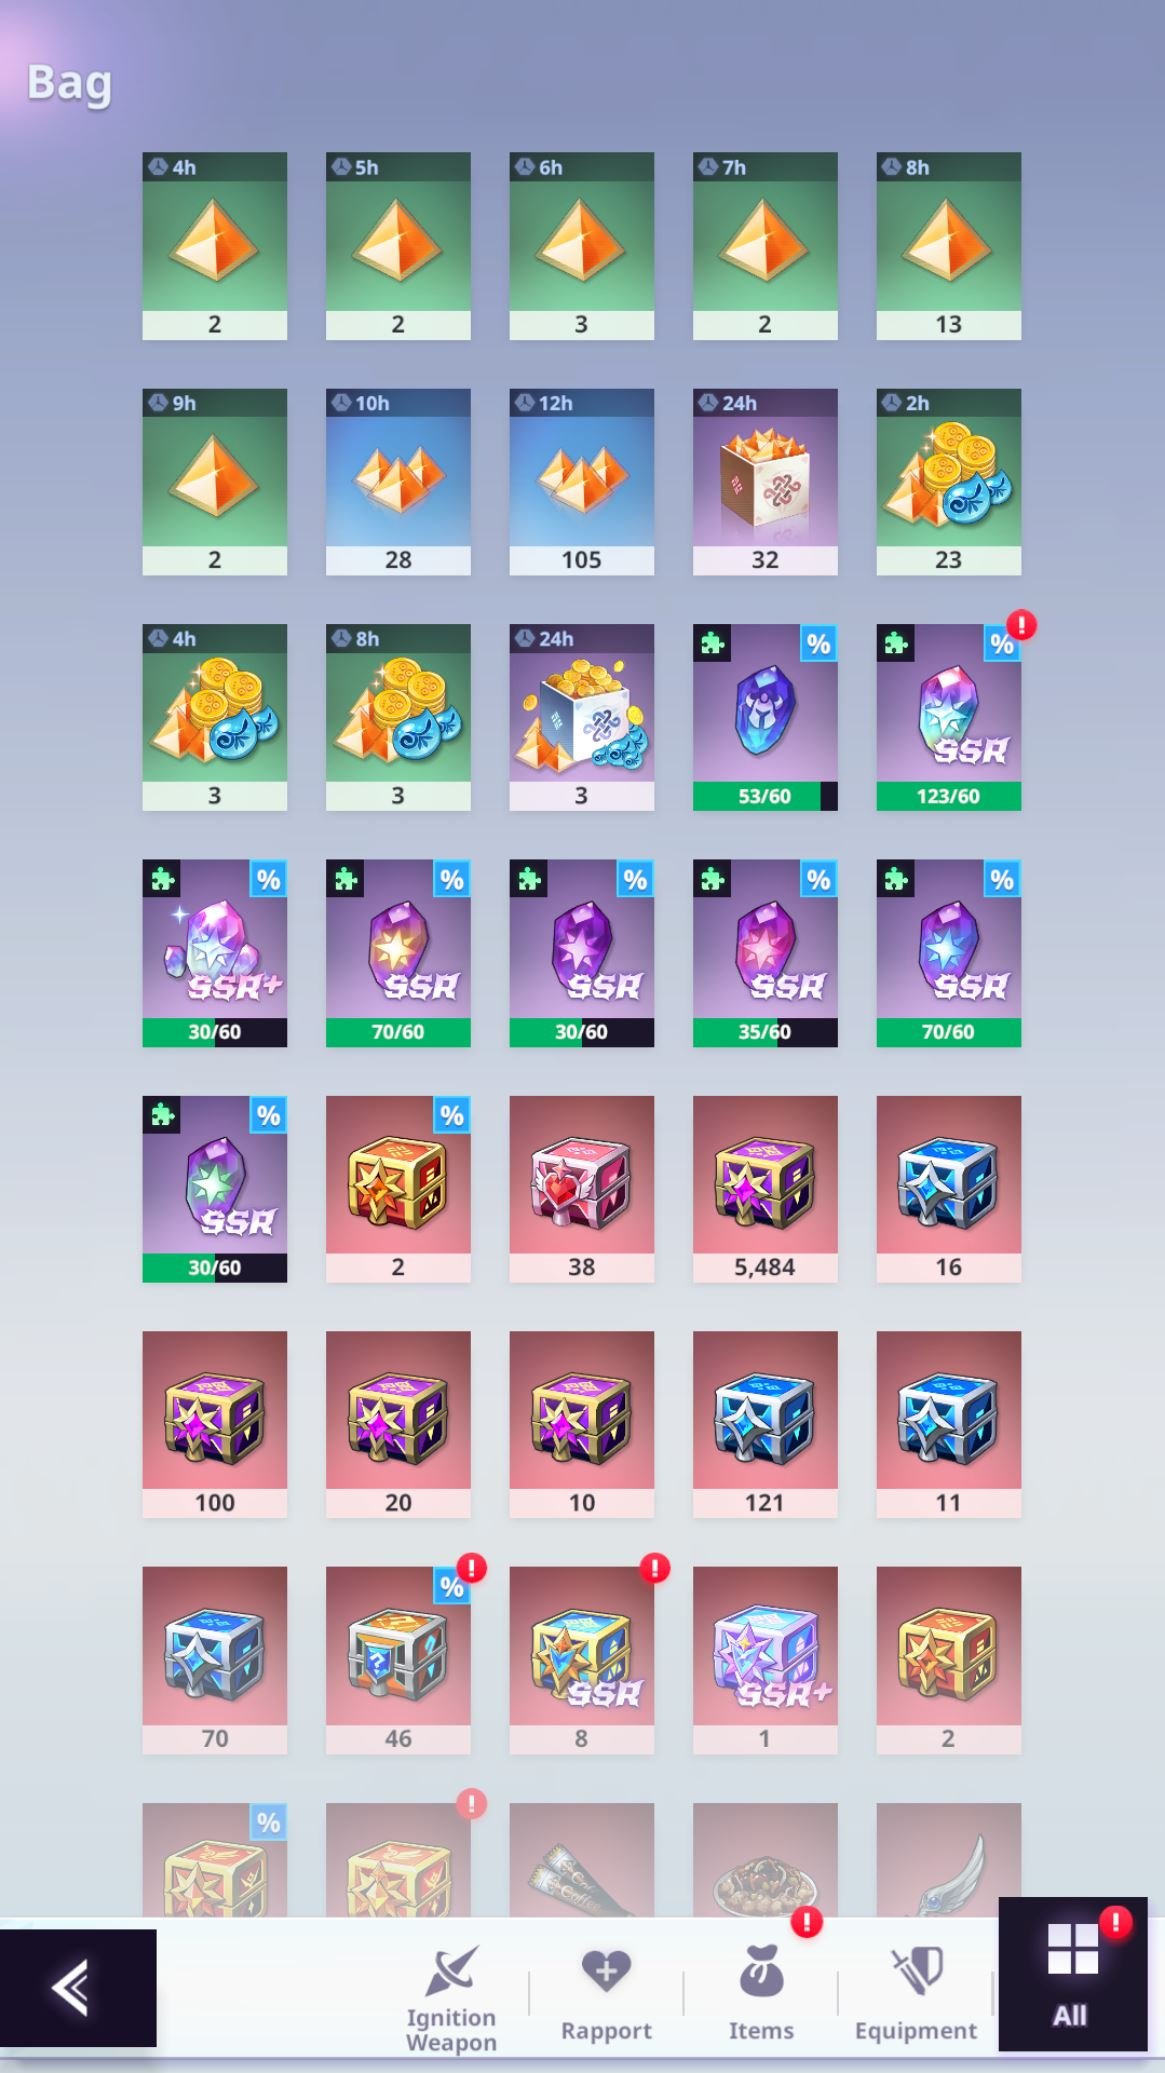
There are a couple of items in the bag that you should be aware of:
Additional Content Unlock
Below you will find a table with the content that you will unlock in the initial floors and which materials/rewards they will provide to you. Sections will follow with more information and points of attention.
| Content | Unlocked at | Source of |
|---|---|---|
| Agency Service Center | F3-12 | Shinsu, Suspendium and Coins |
| Archive | F3-20 | Additional Stats (ACC, EVA, Swiftness, etc.), AFK Loot improvements and more |
| Workshop Store | F4-20 | Instruction Manuals, Revolution Mats, Tri-Essence Crystals, SSR+ Copies, Master Keys and more |
| Alliance & Alliance Store | F4-20 | Alliance Coins, Revolution Mats, Master Keys, Black Market Tickets, Suspendium and more |
| Trial Area | F5-20 | Suspendium, Black Market tickets, Normal Summon tickets, Shinsu, Master Keys, EE Extracts and more |
| Tri-Essence Facility | F5-20 | Additional Stats (Swiftness, ACC, EVA, etc.) |
| Guardian's Test | F7-20 | Normal Summon Tickets, Gifts, Tri-Essence Crystals |
| Mock Battle Facility | F9-20 | S-rank Equipment and Coins |
| Astrolabe | F10-20 | Link EXP, Coins and Shinsu |
| Conquest Mode | F13-20 | Gifts, Suspendium, Shinsu, Link EXP and Coins |
| Underground Laboratory | F15-20 | Suspendium, Data Shards and Underground Pass EXP |
| Research Lab | F15-20 | Additional Stats (ATK%, HP%, DEF%) |
| Revolution | F16-20 | System to strengthen your units |
| Secret Floor | F18-20 | Ignition Weapons |
| Trial of Origin | F20-40 | Black Market tickets, Master Keys, EE Extracts and more |
| Arena | F24-20 | Suspendium, Link Growth Materials and more |
| Hard Mode | F30-60 | Link EXP, Coins, Shinsu, Pioneer Remnants |
| Ranker Arena & Arena Store | F34-20 | Arena Coins, Instruction Manuals, Revolution Mats and EE Extracts |
| Floating Ship | H1-60 | Additional Stats |
Trial Area
This content is unlocked at F5-20 and further expanded at F20-40. It is made up of two parts:
Trial of Chaos
The Trial of Chaos will require you to deploy 1 team (2 from trial 1000+) and there are no restrictions. This will give you a great amount of Suspendium and other resources like Normal Summon tickets, Black Market tickets (only from trial 400 to 600), Link EXP, Coins, Shinsu, Master Keys and Revolution Mats. You should see the Trial of Chaos as a content you do on the side and that you can easily auto, there is no time restriction on it and you don't have to worry too much about clearing it quickly, leave it in auto when you are done with the other more important things and you go about your day.Trials of Origin
The Trials of Origin are separated into 5, one for each Color, and you can only deploy units of the matching color. Like the Trial of Chaos, you will need to deploy 1 team below trial 1000 and 2 above that. These Trials can only be cleared a limited amount of times each day, so it is important that you do all the ones that are available to you. The initial rewards are nothing too important, but starting from Trial 355+ you obtain 1 BM tickets every 5 trials, which counting all the attempts you have in a week it is a total of 60 BM / week. This number increases to 3BM every 5 trials at trial 600+, for a total of 180 BM / Week, an really high number, so DO NOT skip these!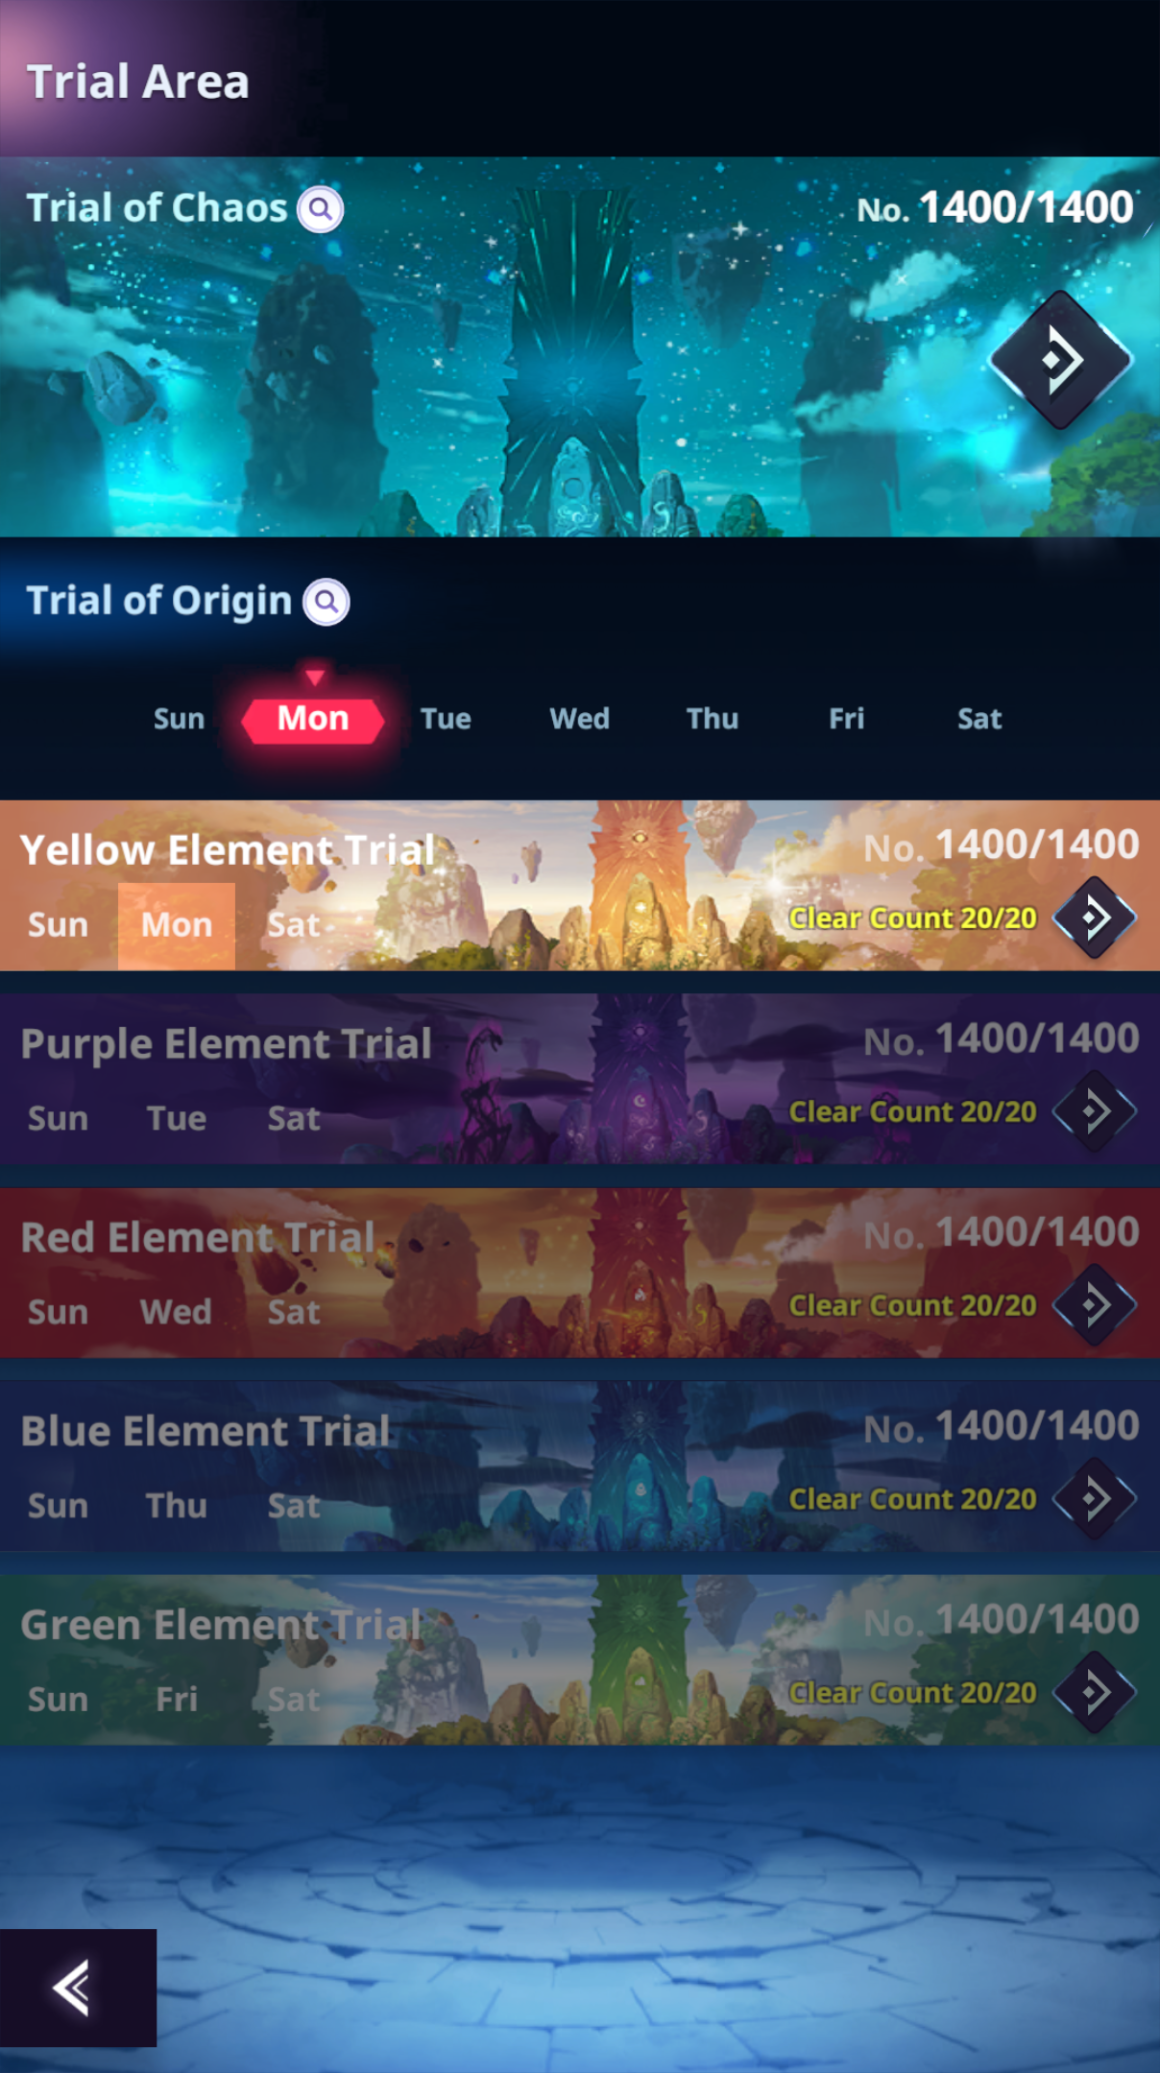
Workshop Store
This content is unlocked at F4-20 and expanded at higher floors. It is made up of 6 different tabs:
Normal
NEVER buy anything here!! The only exceptions are the 24h coins and the 24h Link EXP, everything else is a trap and it's not worth your suspendium. If you are F2P, I wouldn't even buy those two, just ignore this tab entirely.Alliance
The Alliance Store now has access to some cool items, like Black Market tickets, 24h Link EXP boxes and Green Revolution Mats. You can exchange for things you need, but I would prioritize those. They are quite expensive, so don't expect to get them too often.Arena
The Arena Shop is good to buy the Instruction Manuals needed for the Origin Orb, and as soon as you don't need them anymore you can save. Revolution Mats are not bad, but are really expensive, this Shop will also get a rework for sure, so I would wait until then.Gem
This shop is pretty decent.Once your links are at max Limit Break and your units have the Carrier unlocked you can buy some items using the Soul Crystals you have to spare.(I would NOT exaggerate because you will need Soul Crystals for the Shinsu Core upgrades once you are at link level 1000+) When you get dupes of already Maxed units you will receive gems of different rarities that can be exchanged here for other items. Items worth buying are listed below, I would avoid the rest:Pioneer Shop
Please refer to the dedicated section.Race
You can obtain Race points during the Race events, the higher you rank the more points you obtain. Those points can be spent here, and I will say most of the things here are a bit on the expensive side. I would focus on buying the Revolution Ore here and ignore the rest, their cost is too high for what they give you. ONLY buy Revolution Ore when you actually need it, otherwise just save your points, they might rework this again!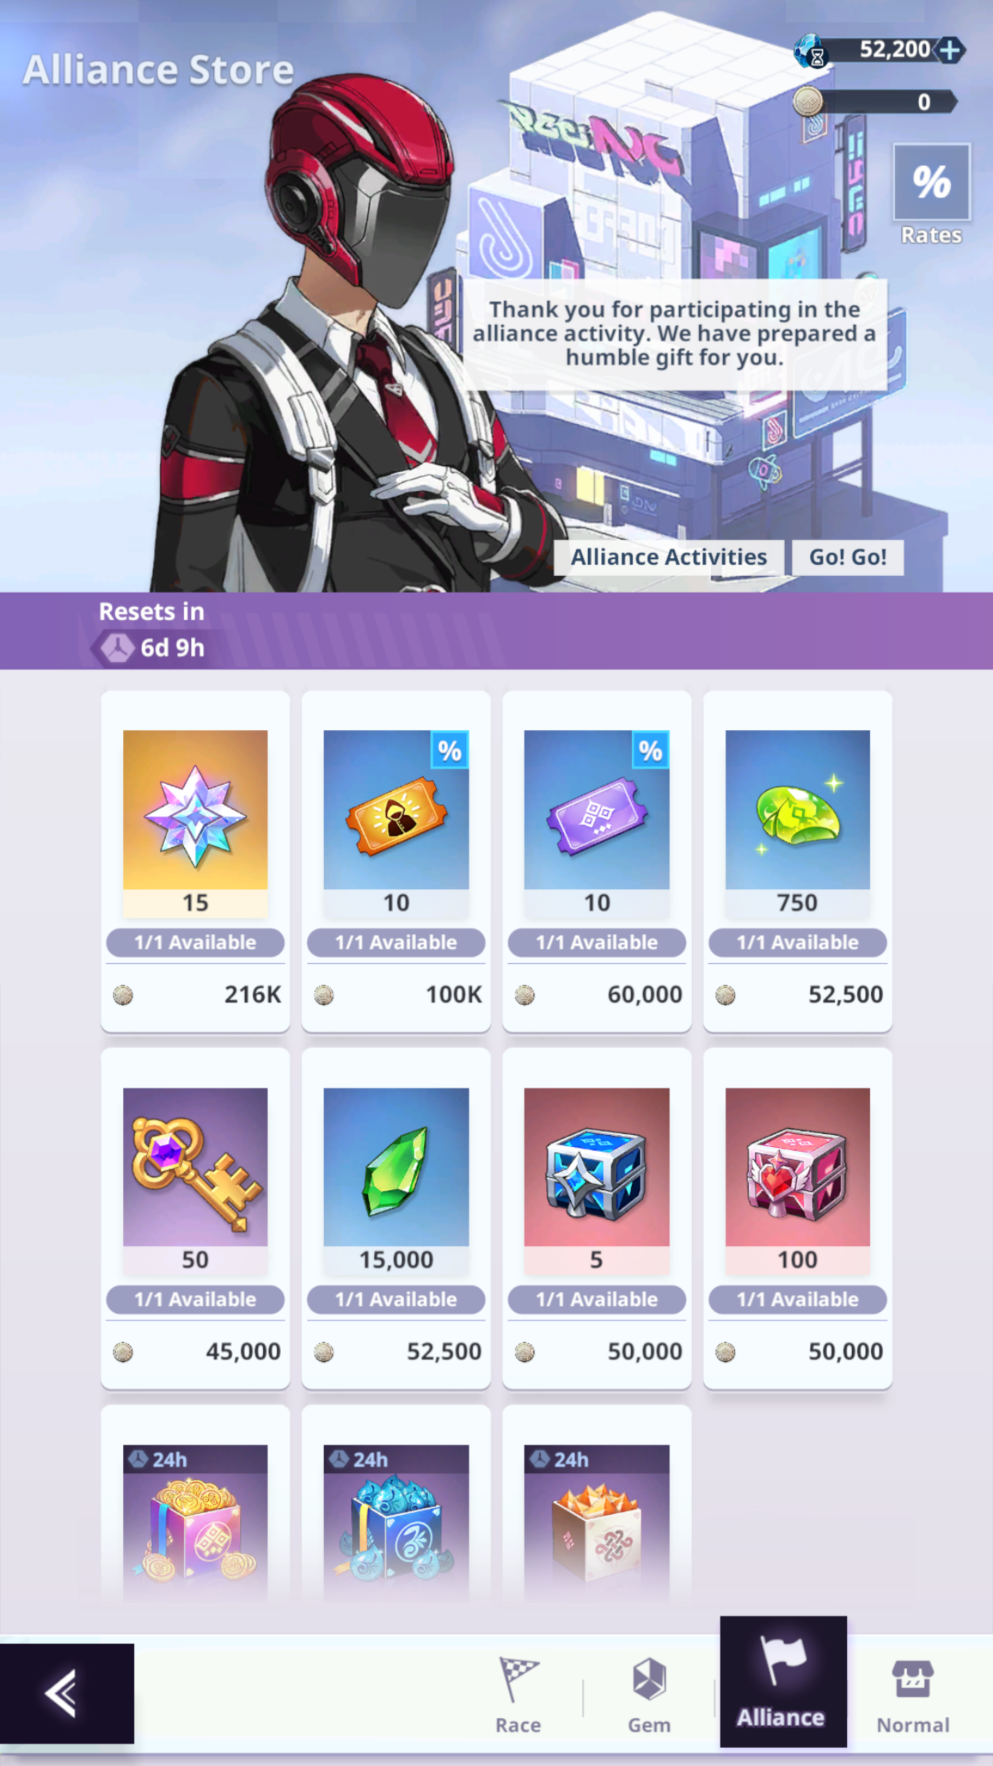
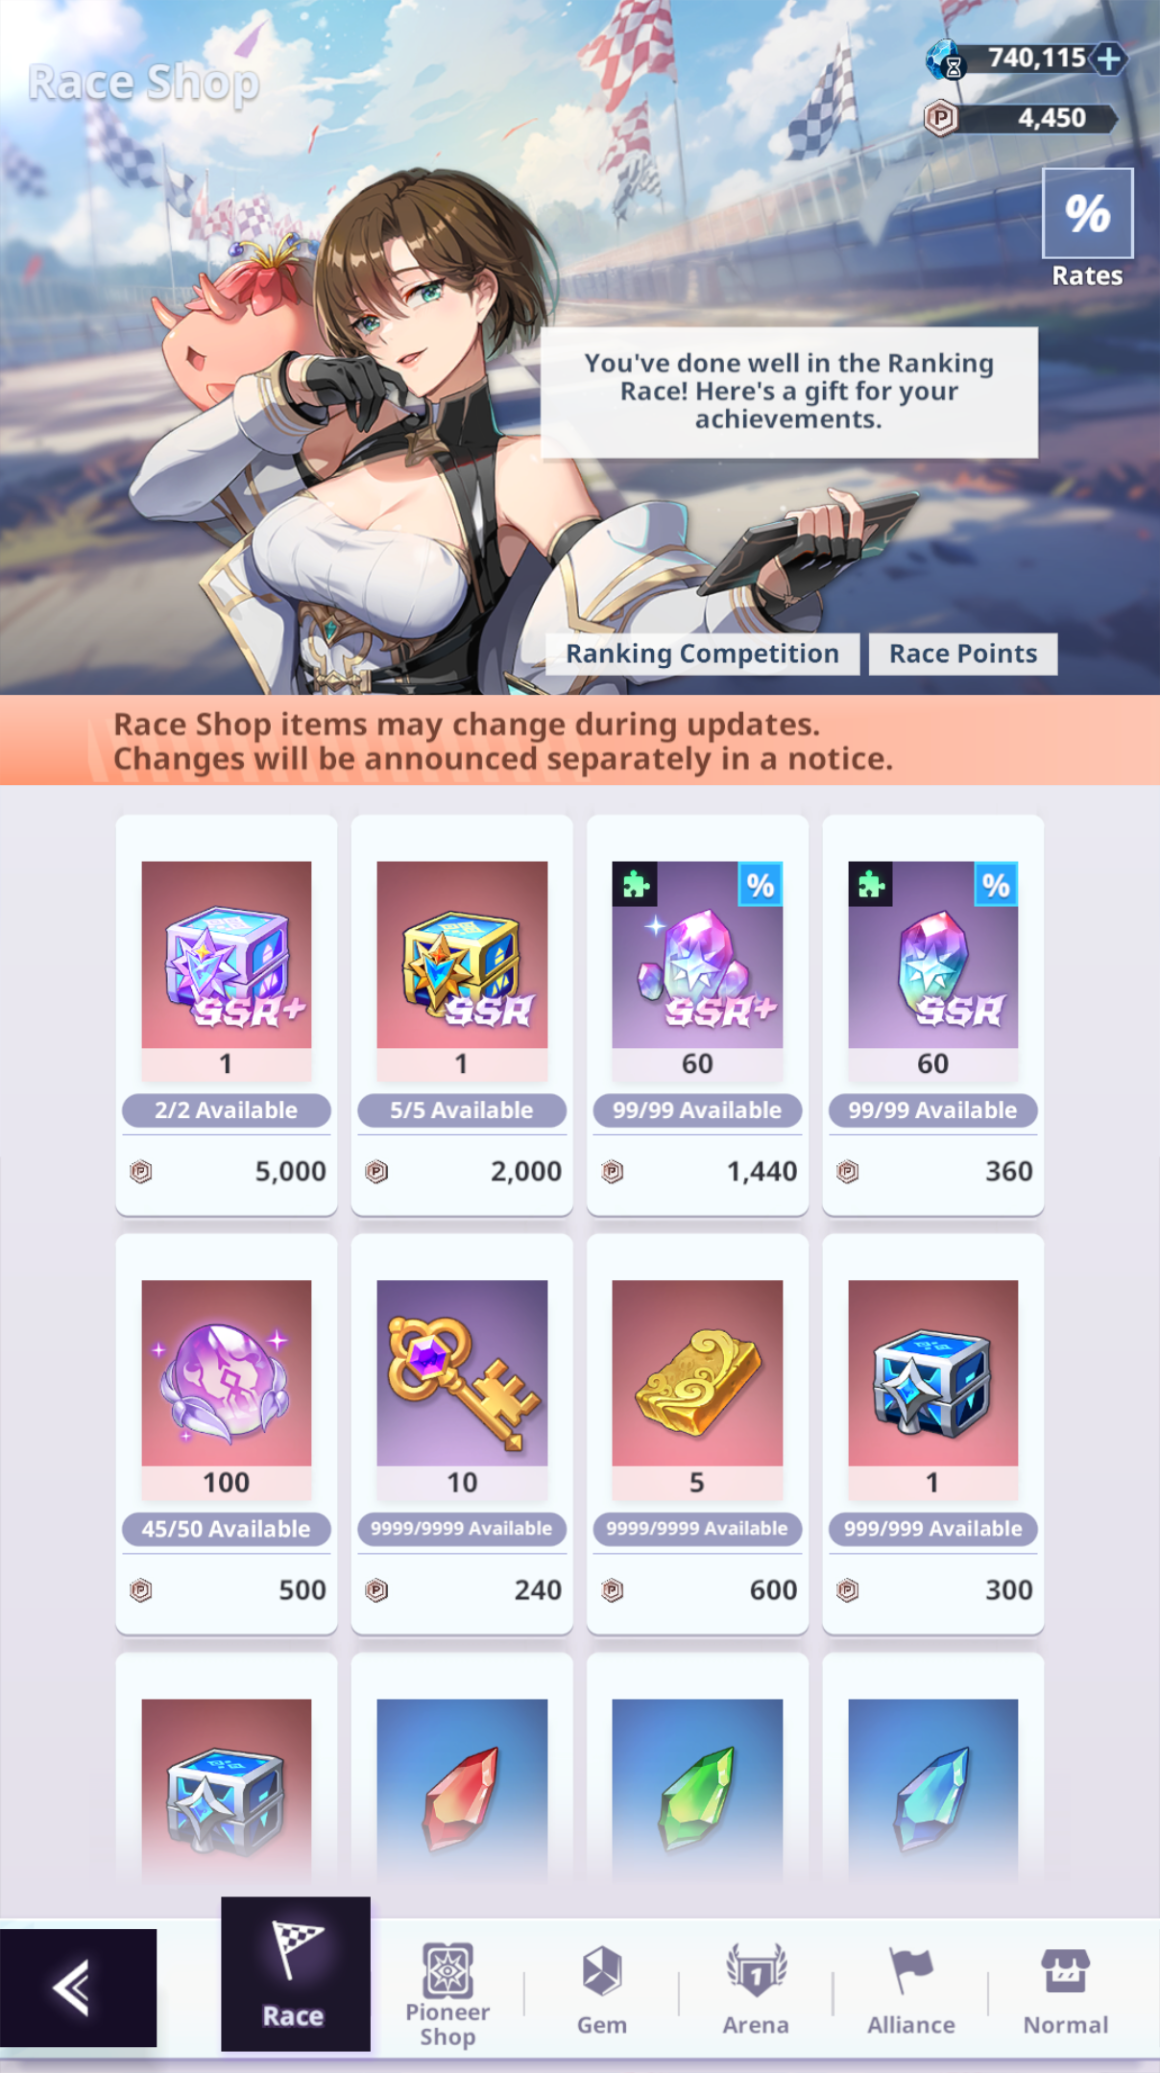
Note: You can refresh the Shop items using suspendium, but this is not recommended unless you are a whale and you know what you are looking for.
Pioneer Shop
How to get the Pioneer Remnants?
The first source of Pioneer Remnants is the reward for clearing each Hard Mode Floor [12K Pioneer Remnants per Floor]. The second source of Pioneer Remnants is the AFK Loot. The number of Pioneer Remnants obtained from AFK loot increases based on your Progress in Hard Mode. Below some references of the amount of Pioneer Remnants you get at different stages:What to spend them on?
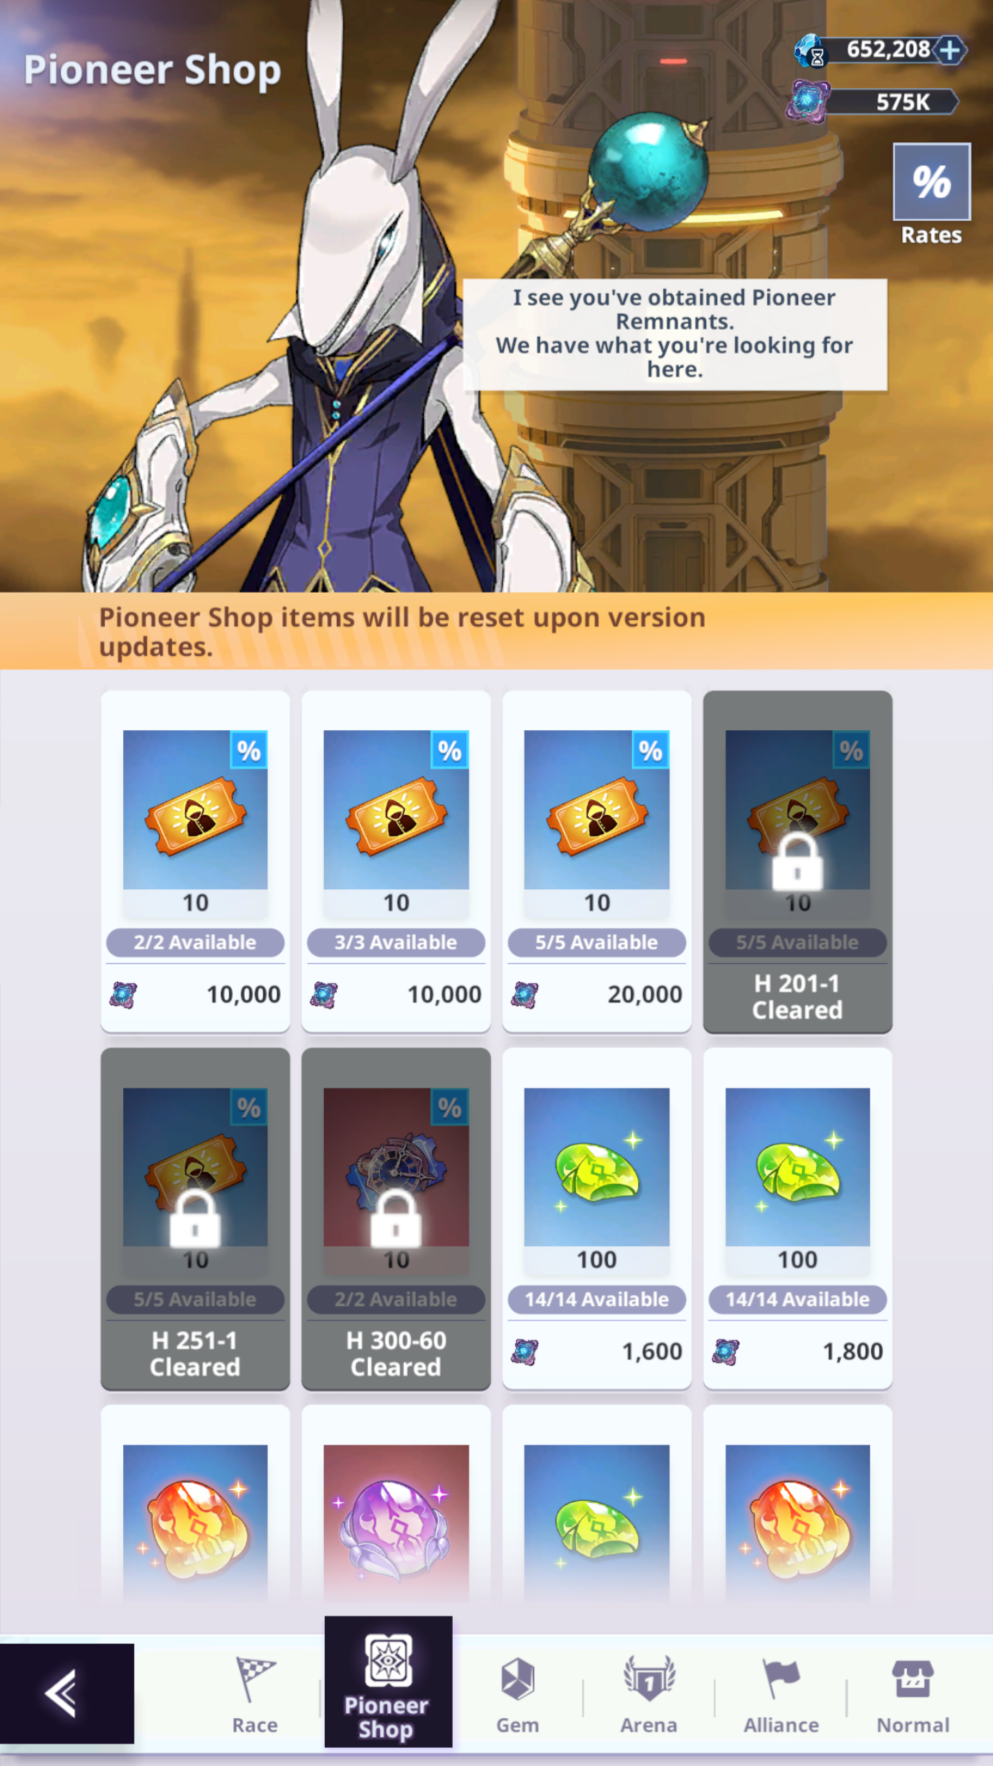
This will depend on your accout overall situation, but in the early stages you should focus mostly on the Black Market Tickets and that's it. Once you unlock Inferno Tower (Hard Mode 300+), the amount of Pioneer Remnants you get increase a lot and you can consider a lot more items. Some items you can consider in this scenario are:When does the Pioneer Shop resets?
The content of this Shop resets every 14 days on the day of the update.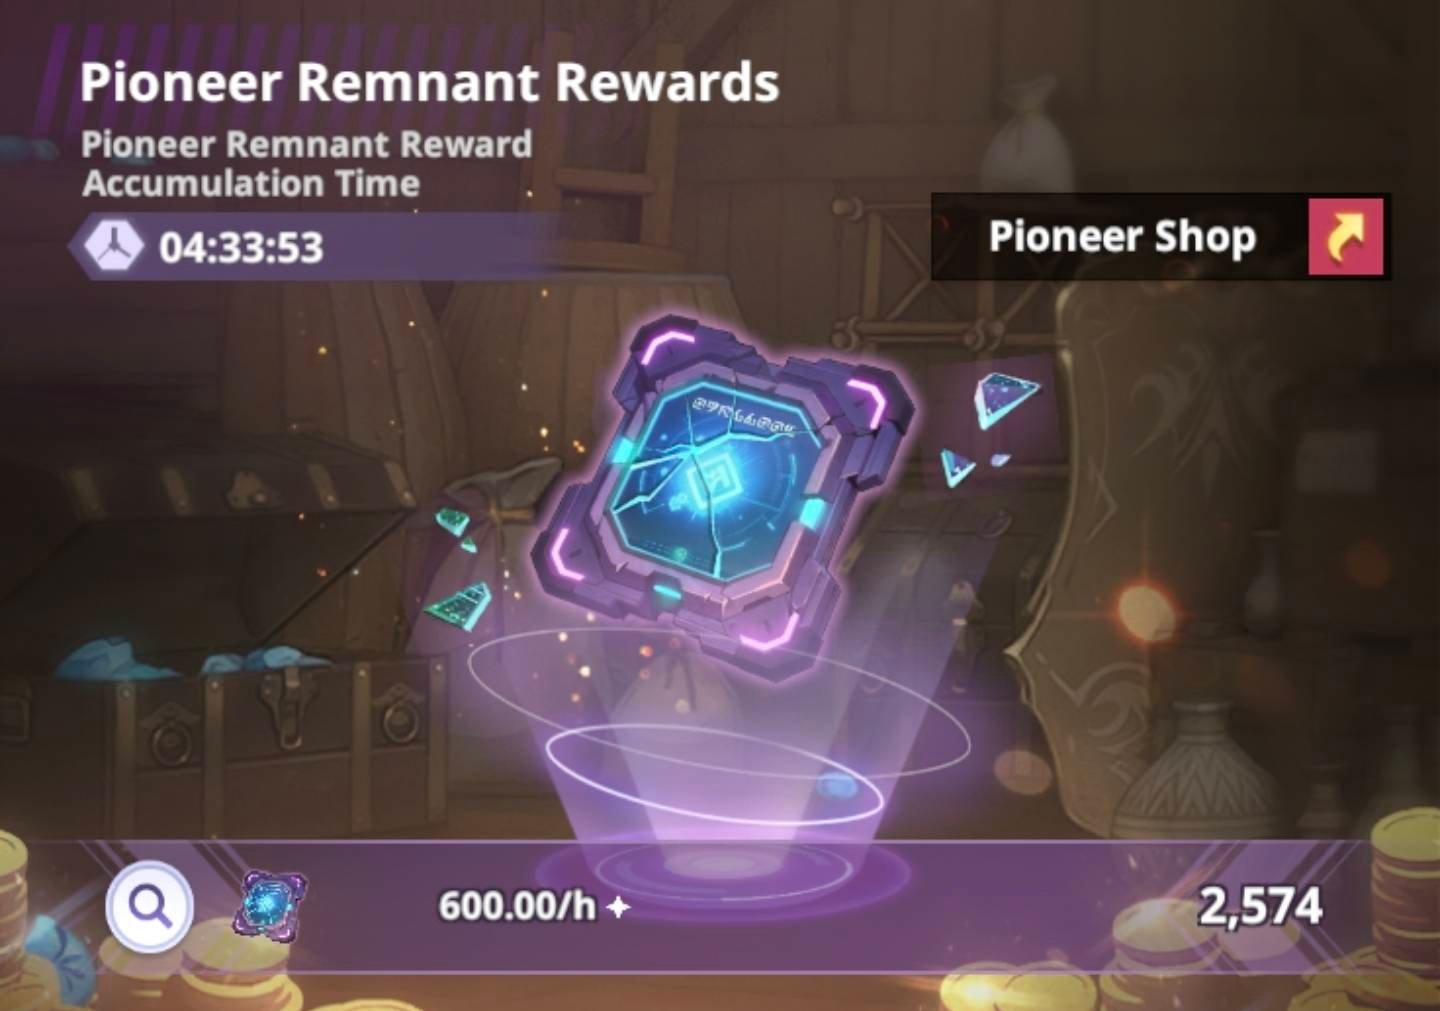
Conquest Mode
This content is unlocked at F13-20 and will be a decent source of Gifts, Link EXP and Suspendium. You can Auto Clear this content using the tickets provided with the Weekly Missions, but it is recommended that you Manual Clear it at least once every time you clear an Adventure Floor, as the Link EXP rewards will increase. A more detailed guide on this content will be released separately at a later date!
Archive
This system is unlocked at F3-20 and will be important to provide additional Stats to all of your units. Below is a table with the Stats you can gain when a unit meets the right investment level:
| Condition | Stat |
|---|---|
| Unlock the Unit | +4 ATK |
| Proficiency Lv. 10 | +1 DEF |
| Rapport Lv. 6 | +1 ACC |
| Exclusive Equipment Lv. 30 | +1 EVA |
| Limit Break Lv. 12 | +0.2 Swiftness |
| Limit Break Lv. 16 | +3 EVA |
| Limit Break Lv. 21 | +3 ACC |
| Revolution Tier 3 | +2 ACC |
| Revolution Tier 6 | +3 ACC |
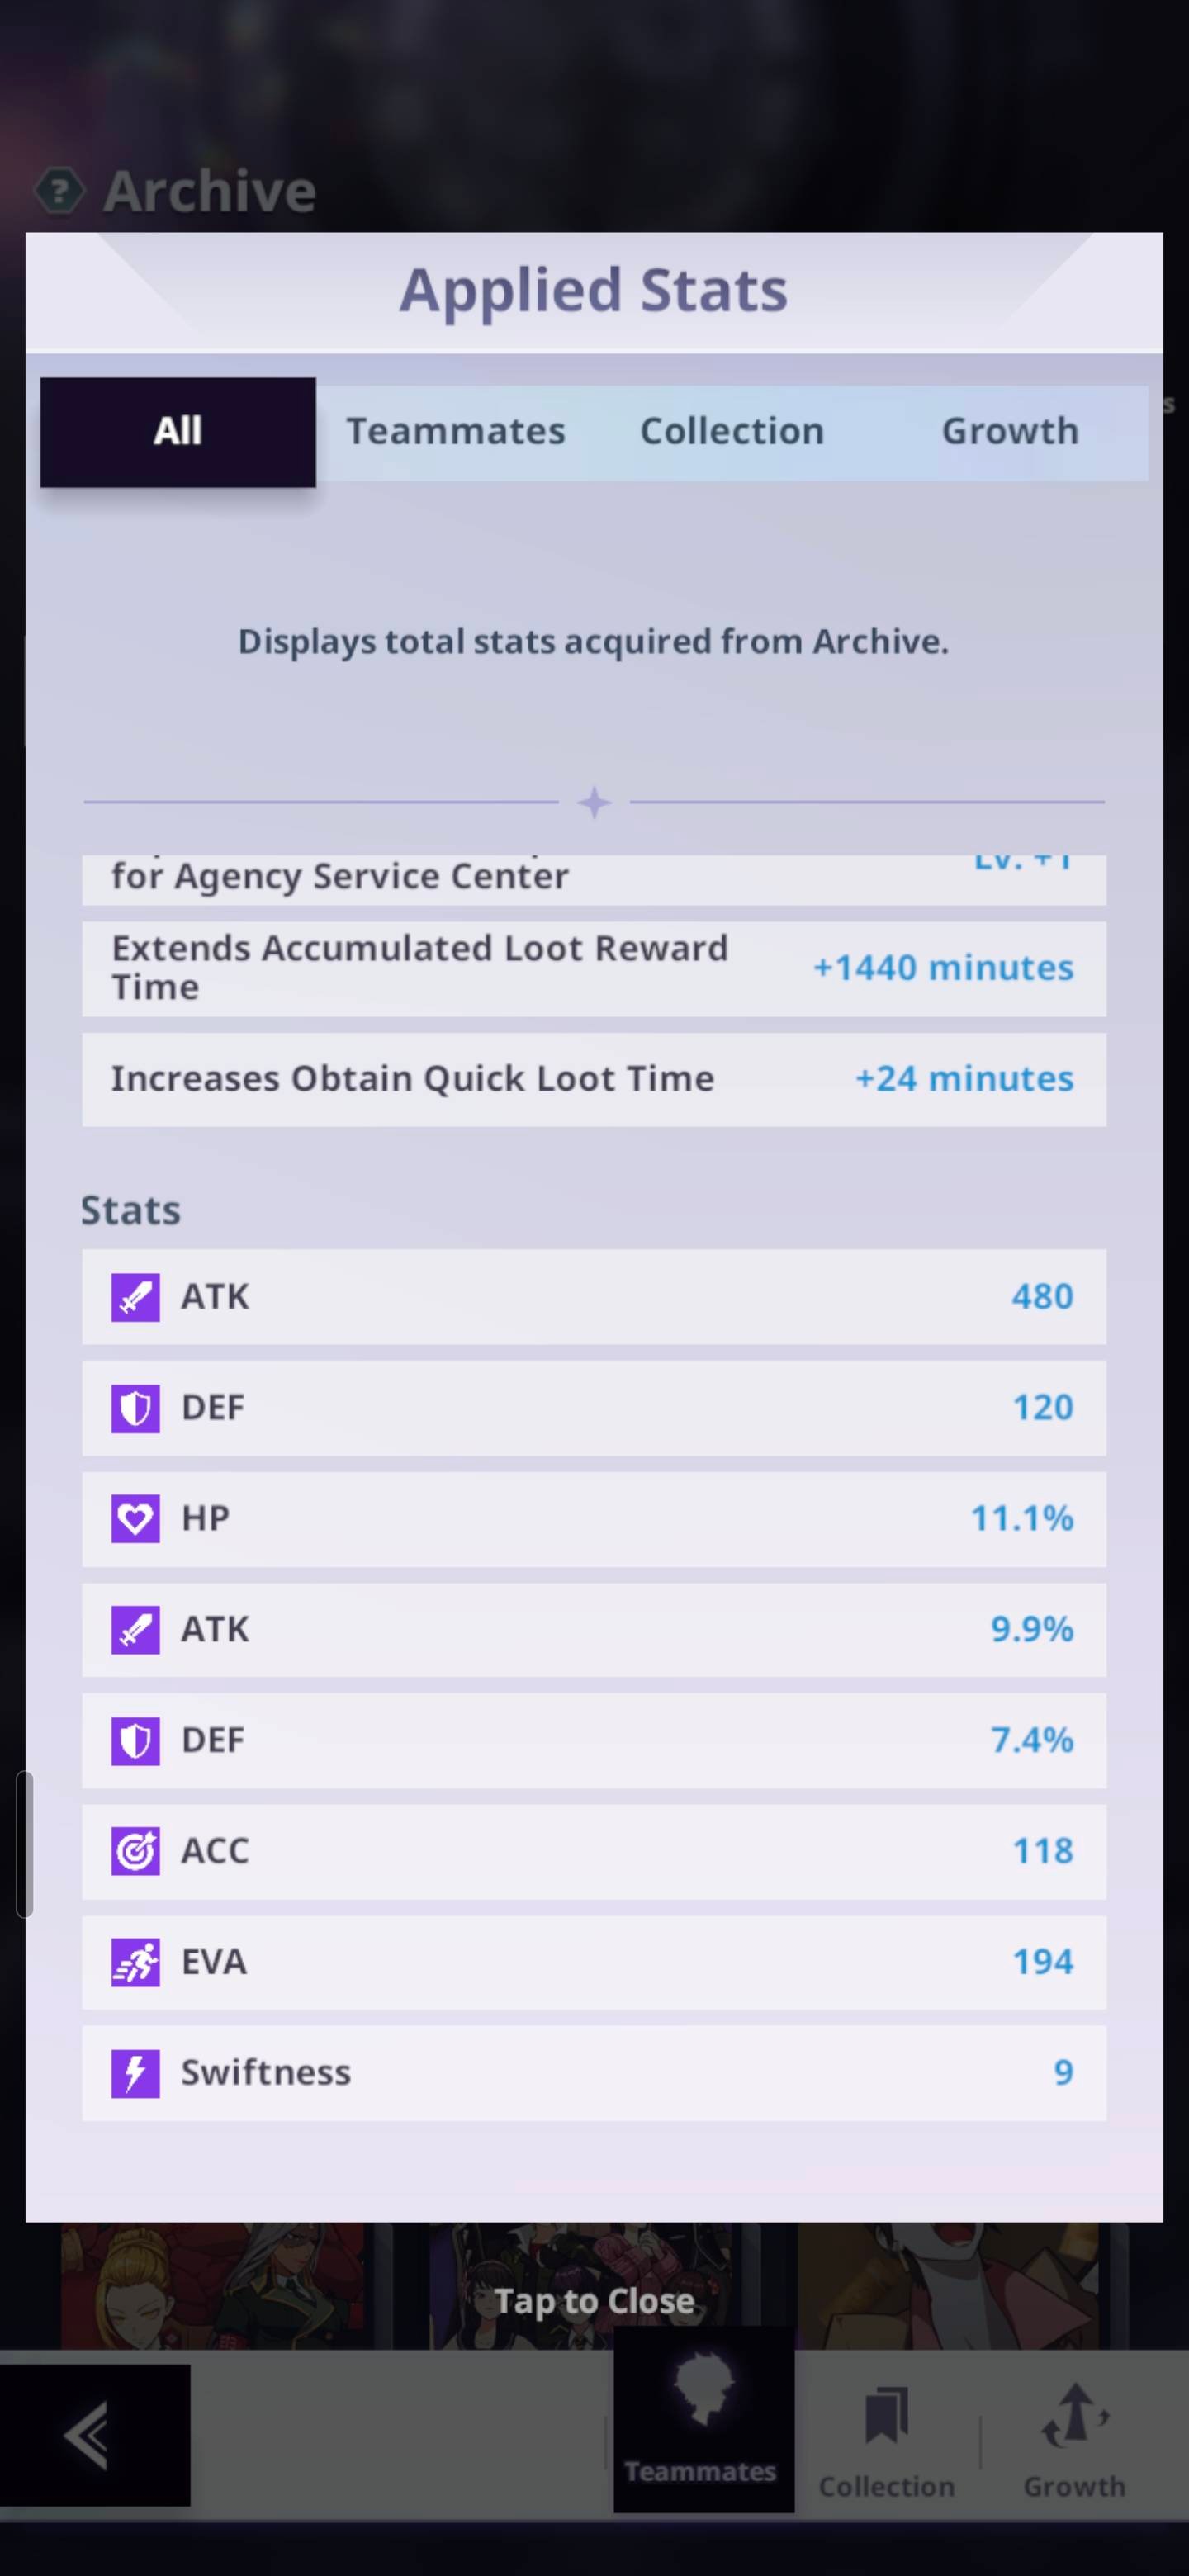
Mock Battle Facility
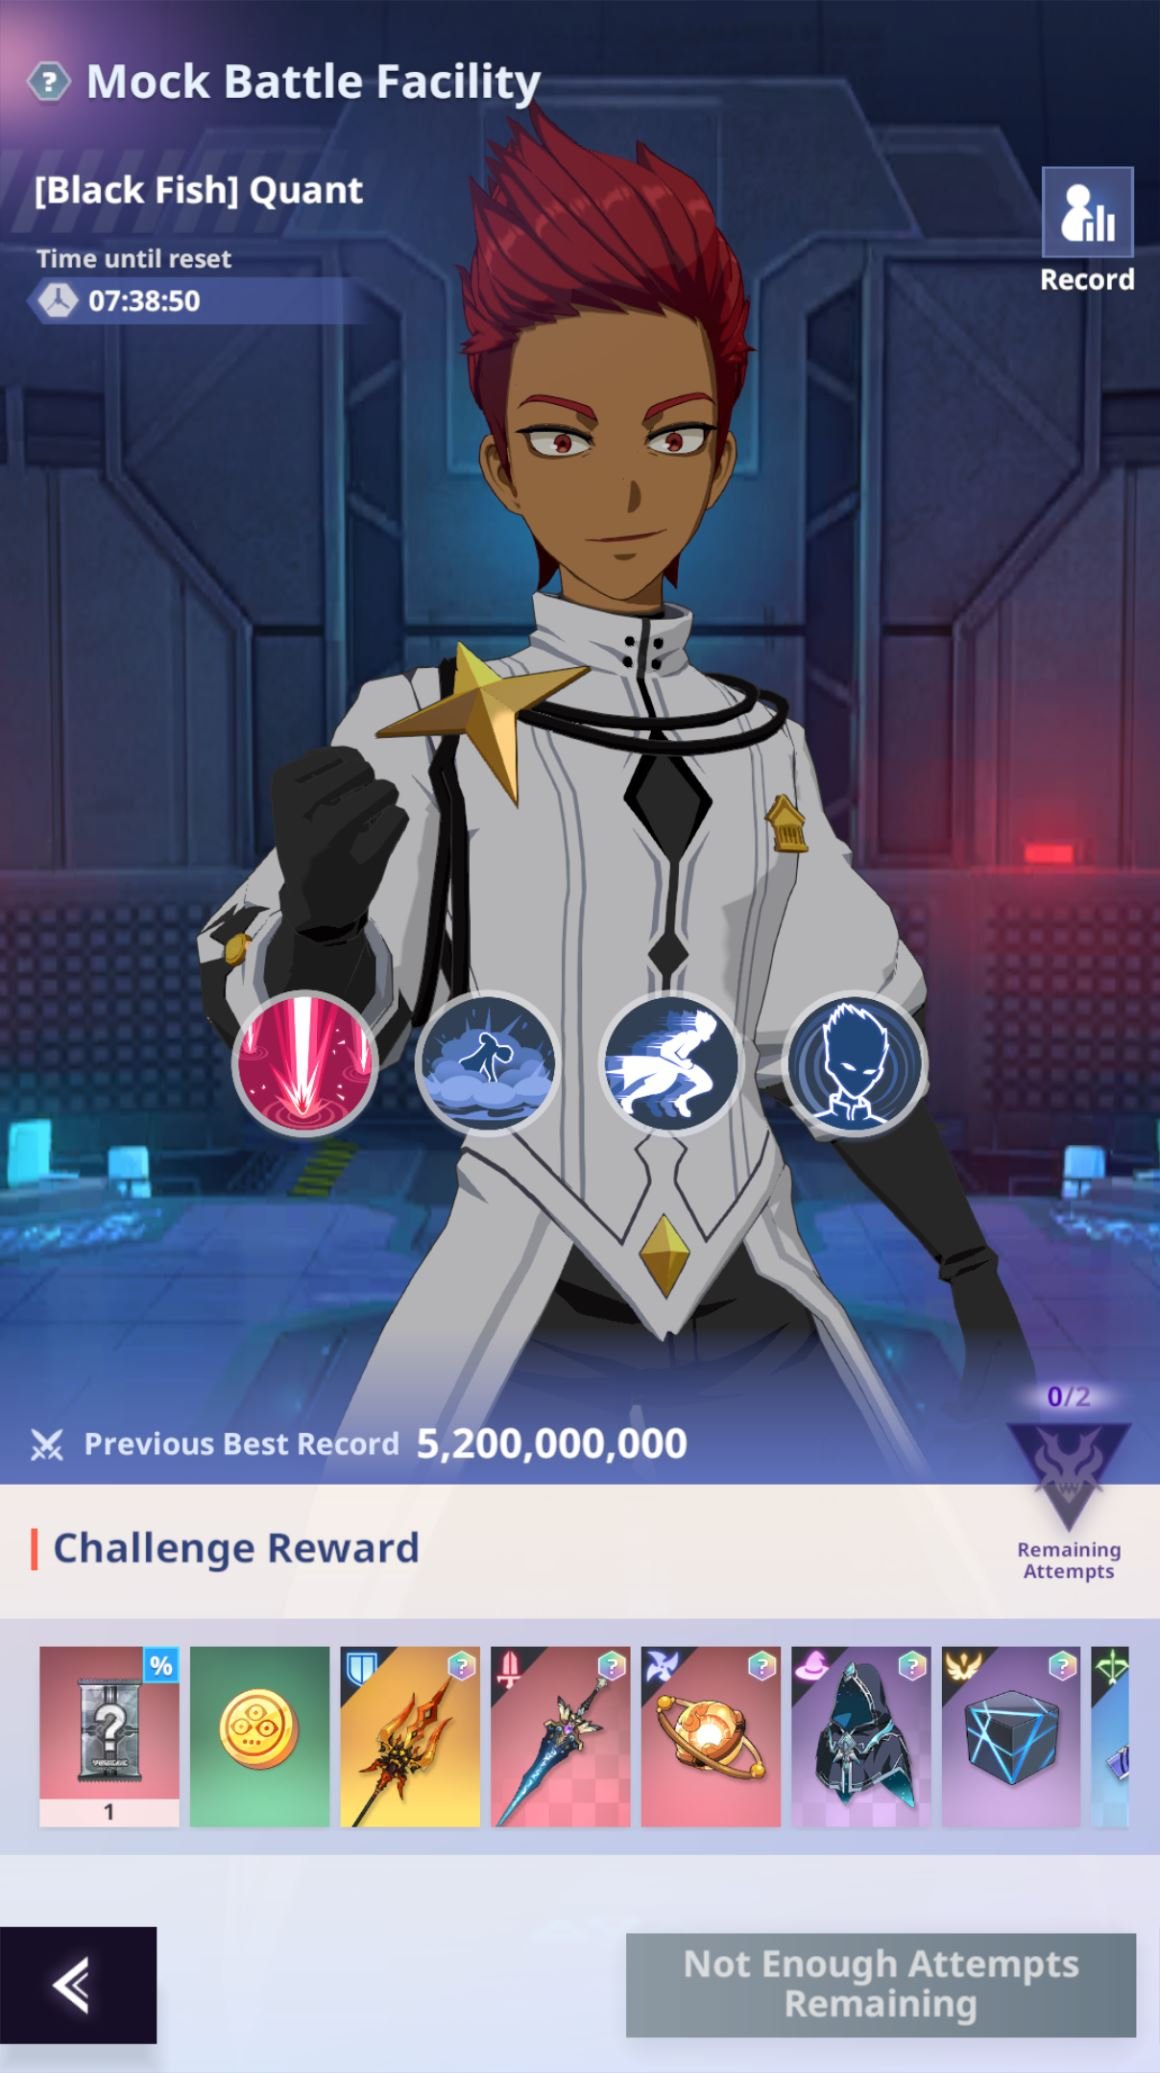
This system is unlocked at F9-20 and will be important to earn Coins and S-rank Gear for your units. You can achieve Max Damage (5.2B) in this fight once you are around Link Level 280, which is not hard to reach with the recent changes they implemented. Simply deploy your Revolution Bam team and you are good to go. Once you achieved Max Damage, you can simply Auto Clear it in the future and forget about it.
Underground Laboratory
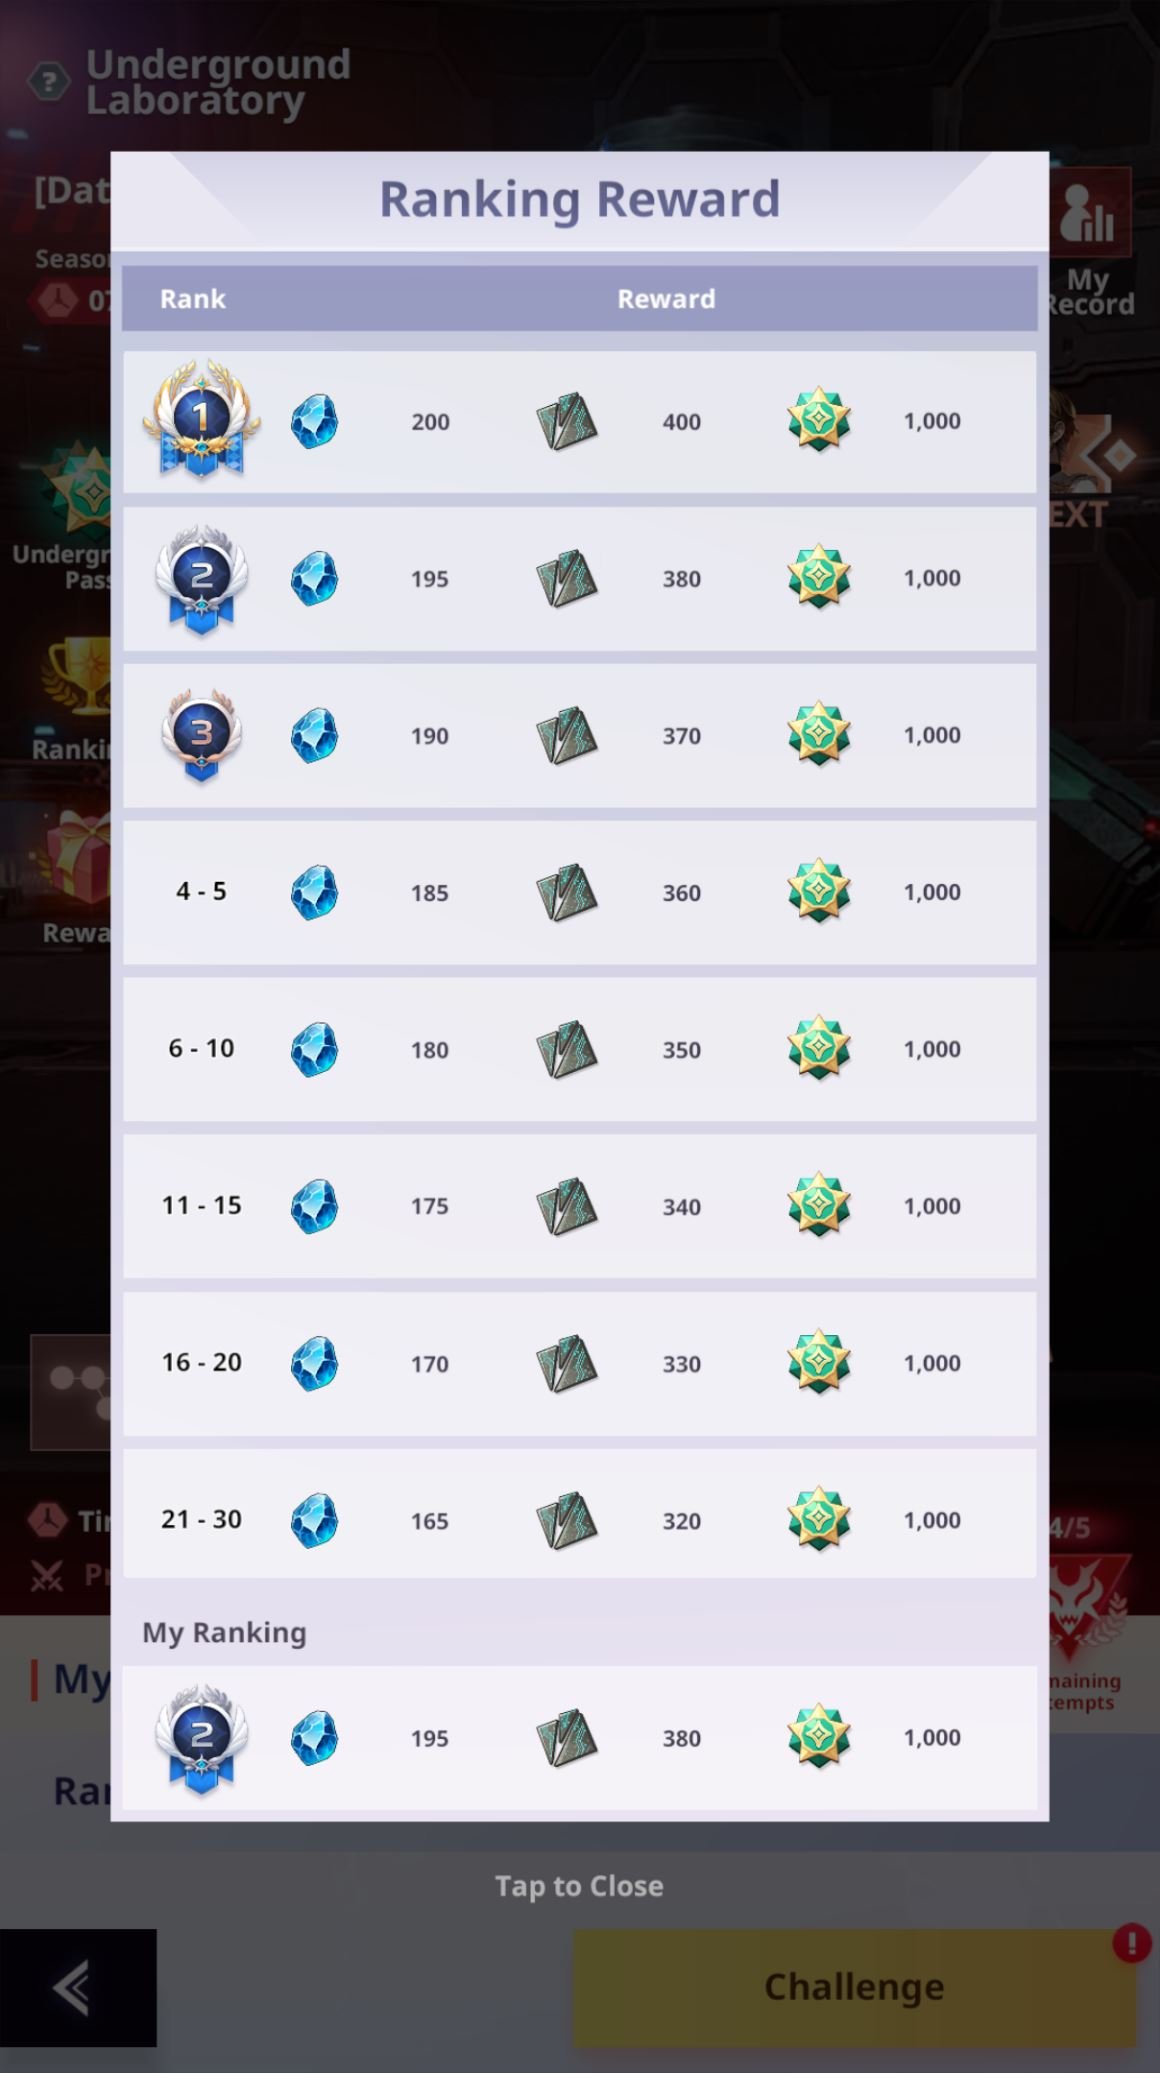
This system is unlocked at F15-20 and will earn you some Suspendium and Data Shards. There are 5 Enemy Bosses, you get to fight a different one every 2 days:
Research Lab
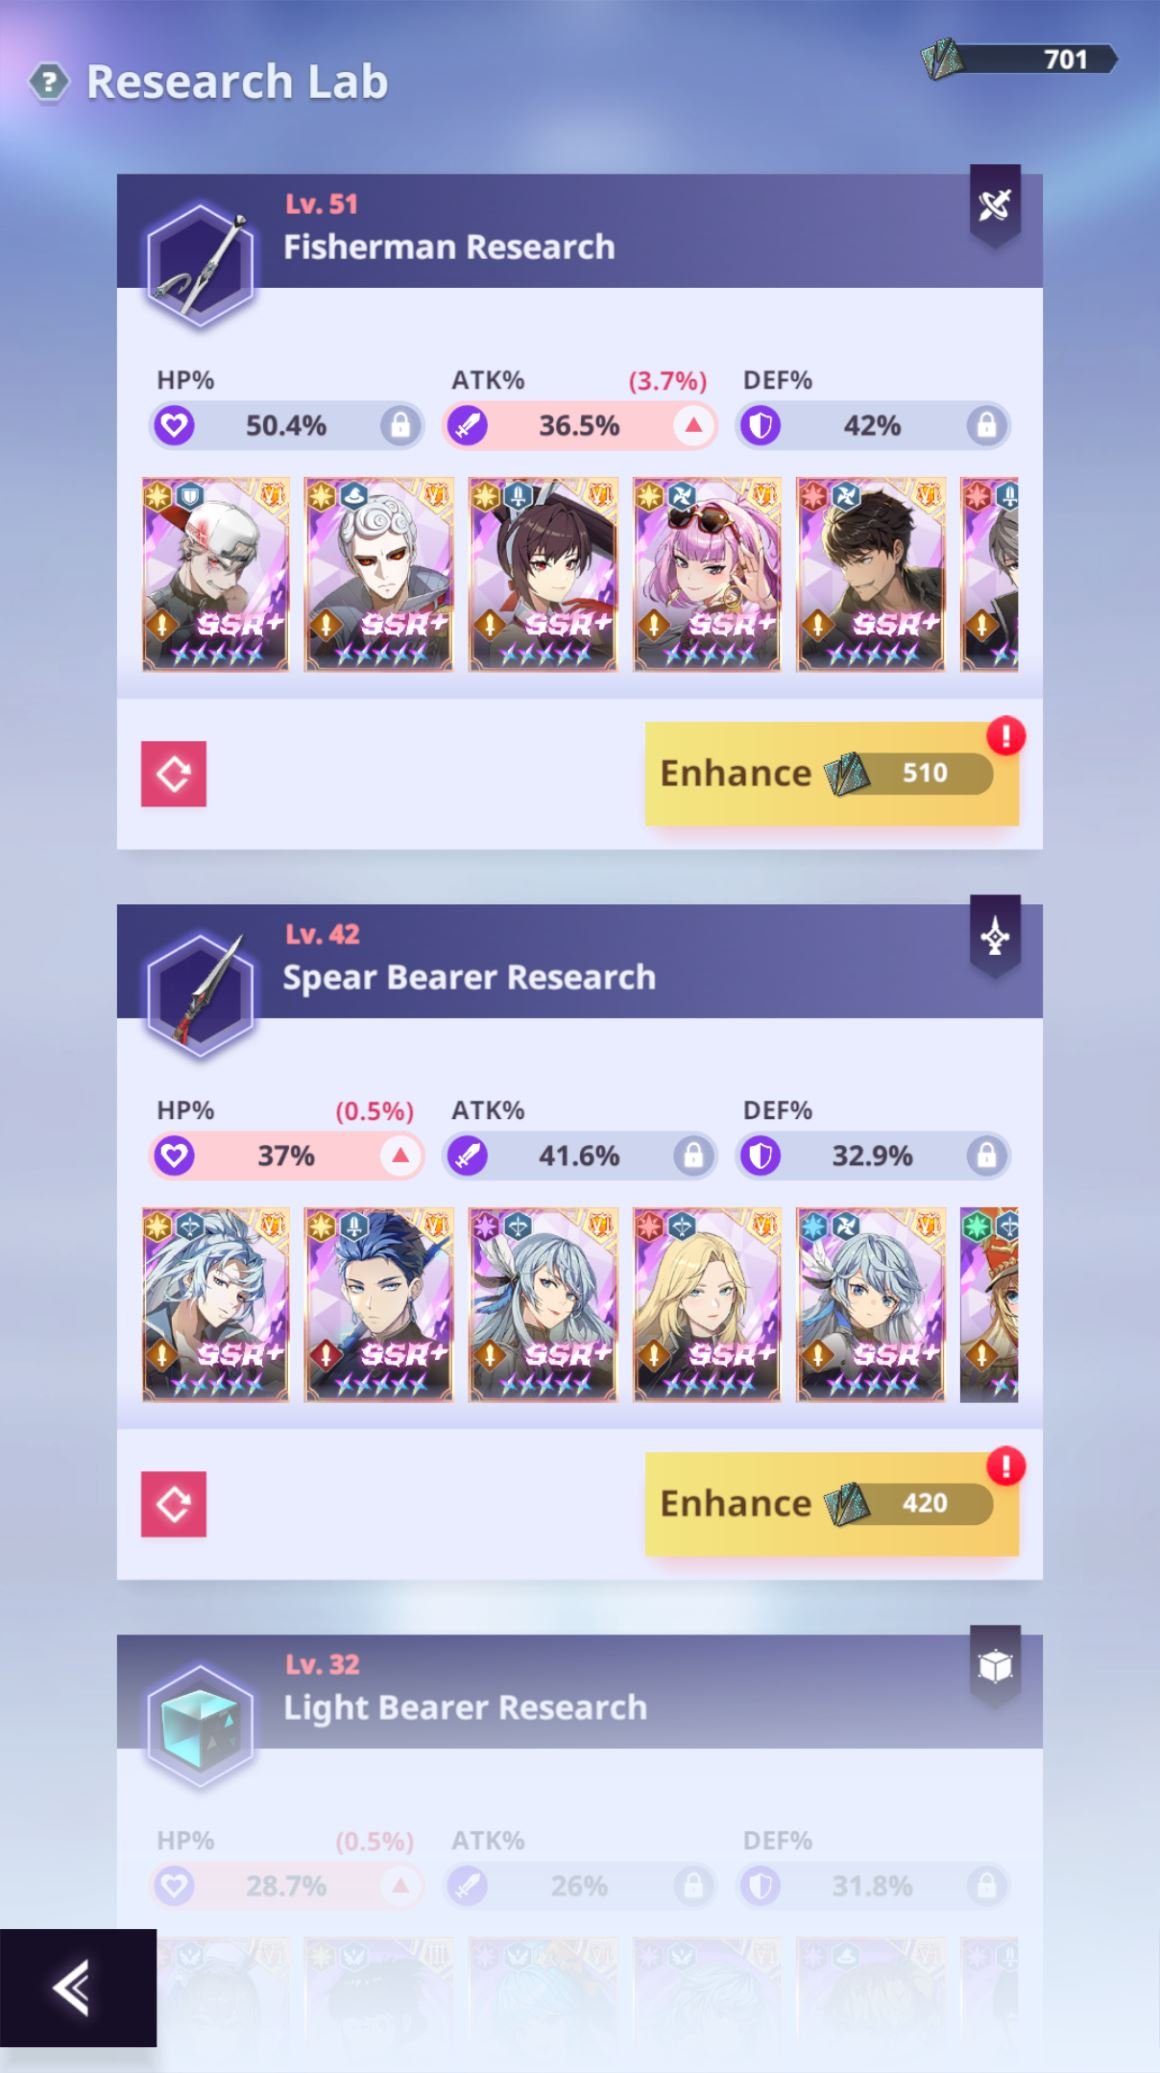
This system is unlocked at F15-20 and will use Data Shards to increase ATK%, HP% and DEF% of different roles. Every unit will be a part of one of these 6 roles, you can check the unit profile to know which one:
Arena
This is a part of the PvP Content that we have in this game. If you are F2P, I can already tell you that you won't go far in any of them.Spending money is going to massively boost your performance and it's NOT a gap you can fill easily. From my point of view, not competing in PvP will NOT be a big problem, what is important is that you at least participate in it!. These are the basic PvP Modes that we have:
Regular Arena
This is the default Arena, you deploy one team and you fight the other people in your server to raise in the ranking. The "Season" lasts for 2 weeks and will give some Black Market Tickets and Revolution Ores as a reward. Every day you gain some Suspendium based on your ranking, nothing massive though. Just remember to do the 5 Free attempts each day for free rewards and ignore the ranking part. In defense deploy any decent team that you normally use for Adventure and it will be enough.Ranker Arena
In this Arena you deploy 3 teams and fight other people in your server, like the previous one, but here you don't get any relevant rewards from the Free Daily attempts and can be ignored. Also in this case the "Season" lasts for 2 weeks, and the higher you are in the rankings the more points you earn. At the end of the season, if you are within the Top 20 you are eligible to join High Ranker Arena. This mode gives you the Arena coins use in the Arena Shop tab of the Workshop Store.High Ranker Arena
Mode for the best 20 of each Server, it will follow a classic Tournament style PvP event. You will need to deploy 7 team, not all of 5 units, and will do 1 fight per day until the Tournament is over. The higher you rank, the more Suspendium you earn and also some additional rewards (like Borders etc.).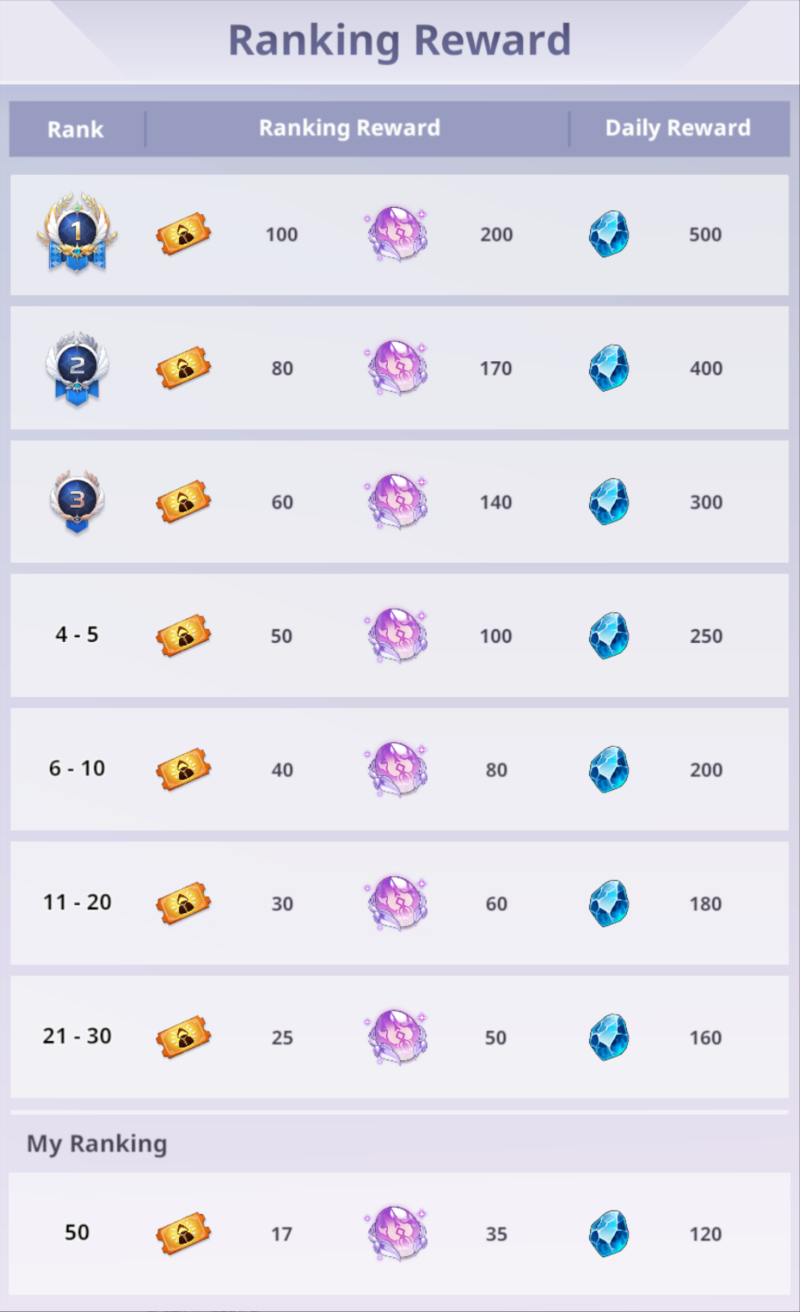
Agency Service Center
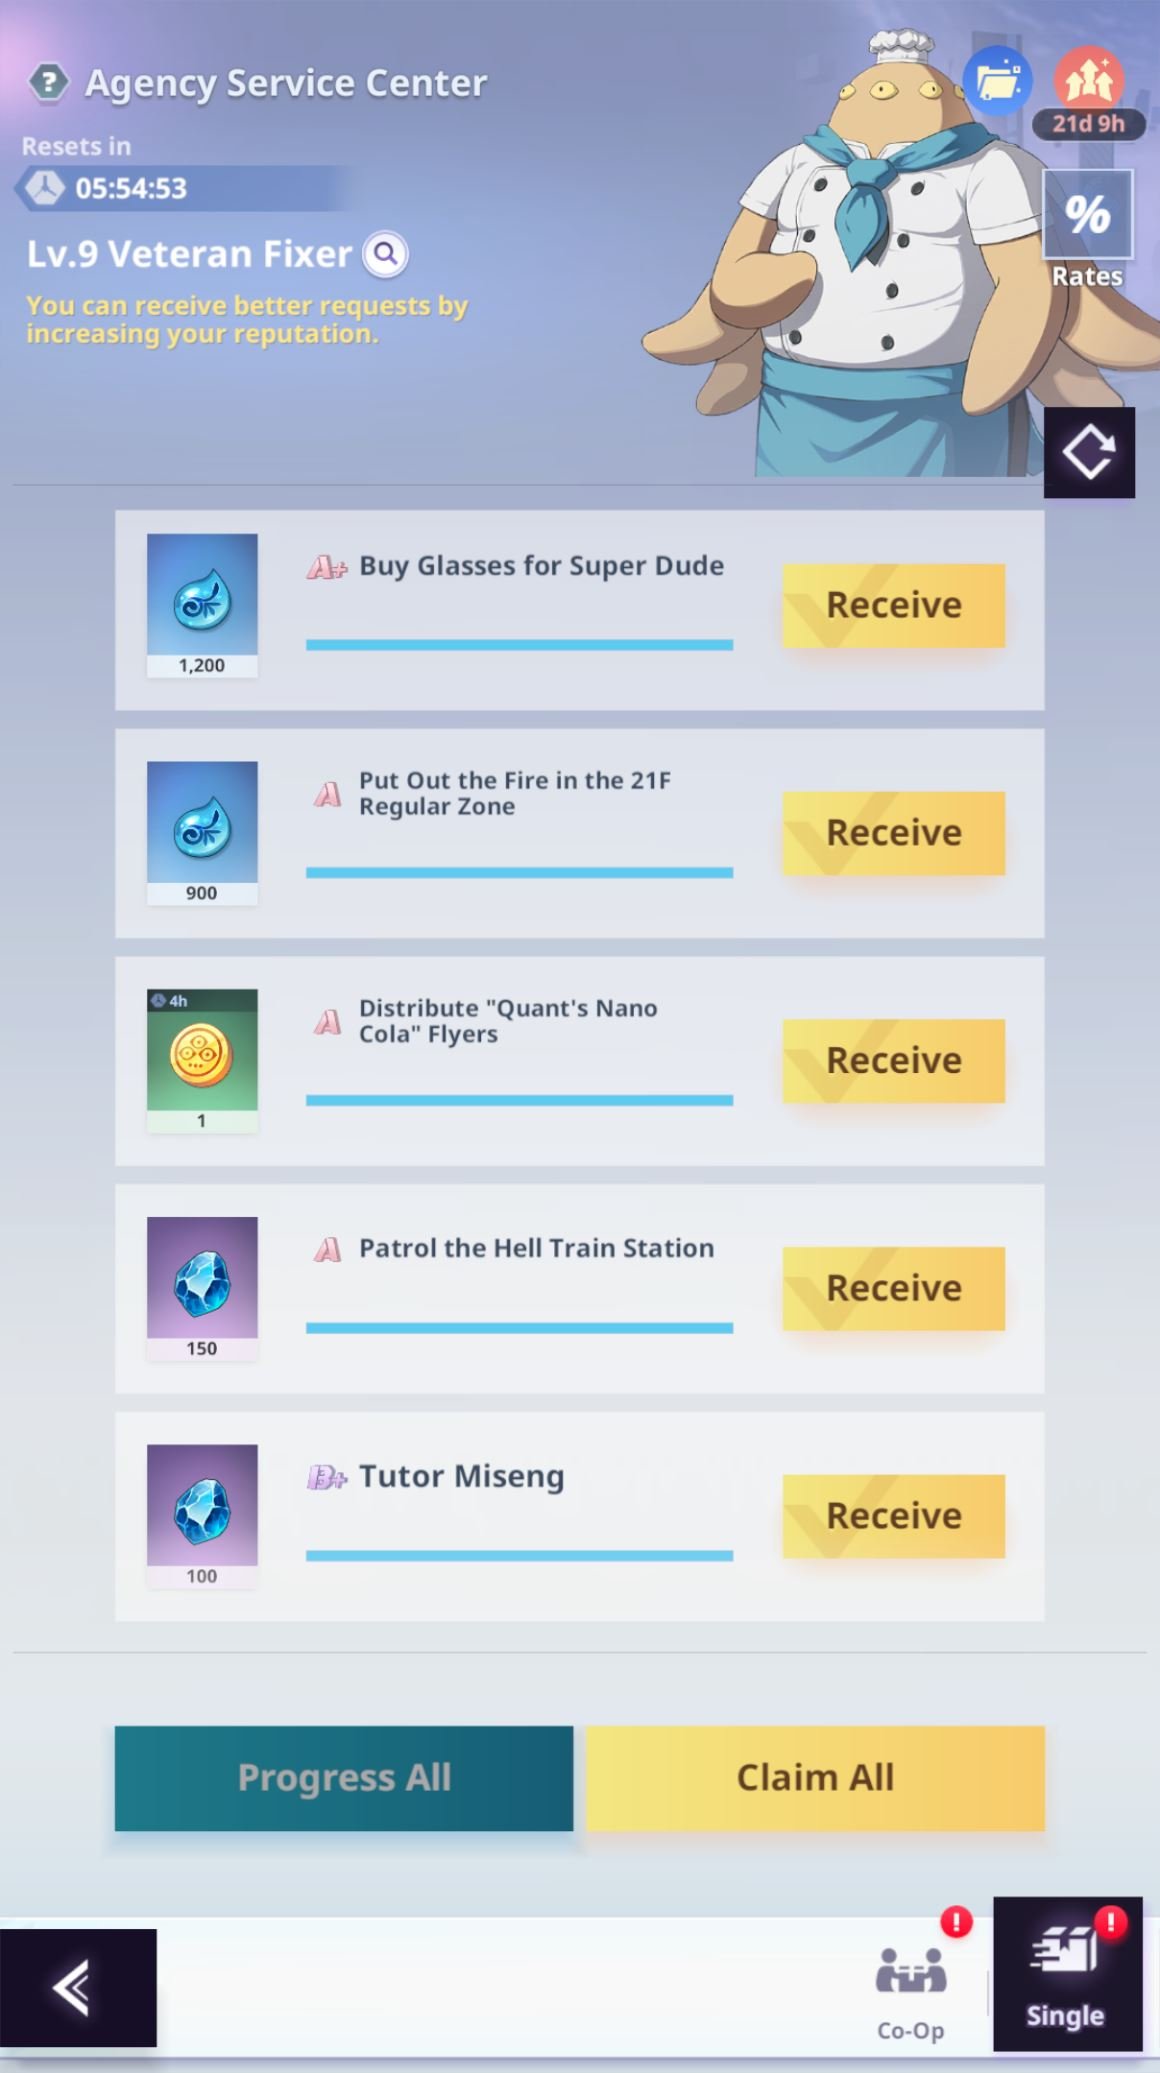
This system is unlocked at F3-12 and will be a good source of Suspendium, Shinsu and Coins. The requests you receive give different rewards and have different rarities, you will find the details about their chances of showing up by clicking in the Rates button in-game. The more requests of a certain rank you complete, the higher your Reputation Lv will increase, the current Maximum is Lv 9. There is the option to spend 100 Suspendium to refresh the requests that have not been started yet. I would recommend NOT to do any refreshes until you are at least Lv 8, and even then do not exaggerate. At times there is an event that doubles the rewards from the Agency, this would be a good time to reroll. Aim for requests that give Suspendium and Shinsu, if you need it, and ignore the rest. Make sure not to spend more suspendium than the one you earn, or this woul have made very little sense.
Tri-Essence Facility
This content is unlocked at F5-20 and will be a crucial system to increase the performance of your units. Refer to this guide for detailed information!
Guardian's Test
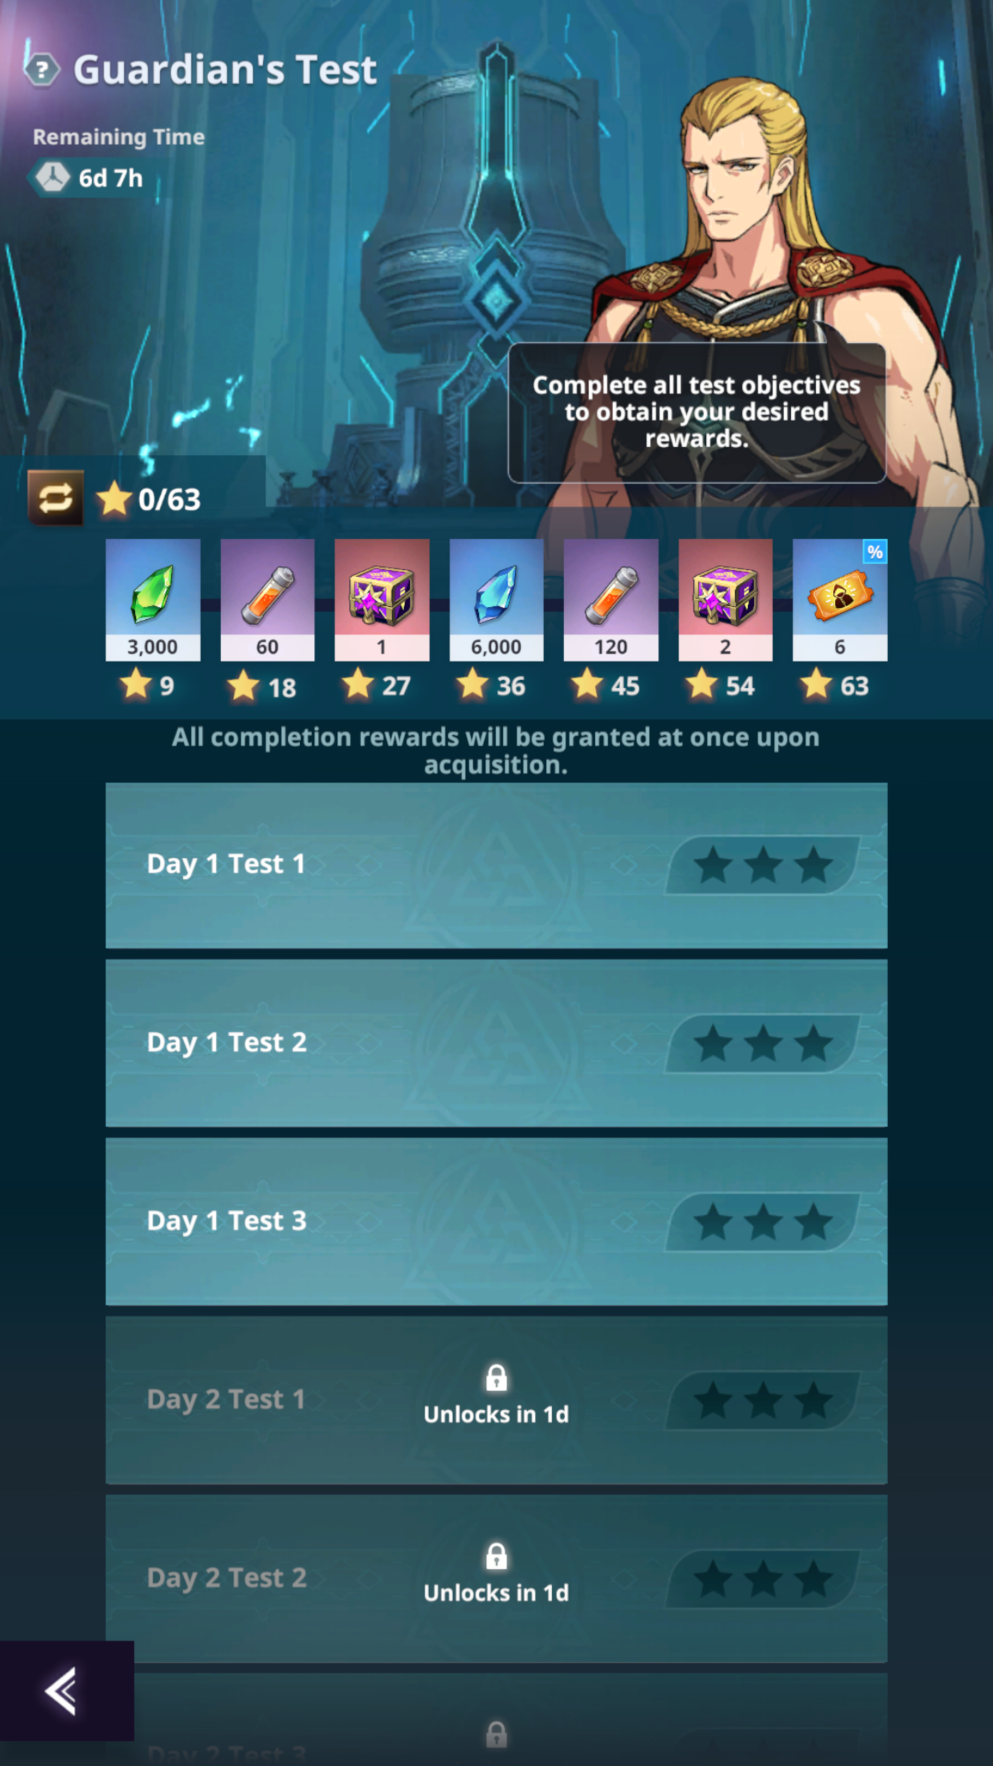
This system is unlocked at F7-20 and it resets weekly. You can pick the rewards you want from a selection, and when you complete all the tests (they are just simple fights) you will get them. Early on I recommend getting EE Materials, Premium Instruction manuals and the Tri-Essence Facility Crystals. After you are done with those, move to Link EXP, Coins and Data Shards. Always select the 6 Black Market tickets as your last reward. You can do all of them at once on Sunday, or do them every day, however works best for you.
Astrolabe
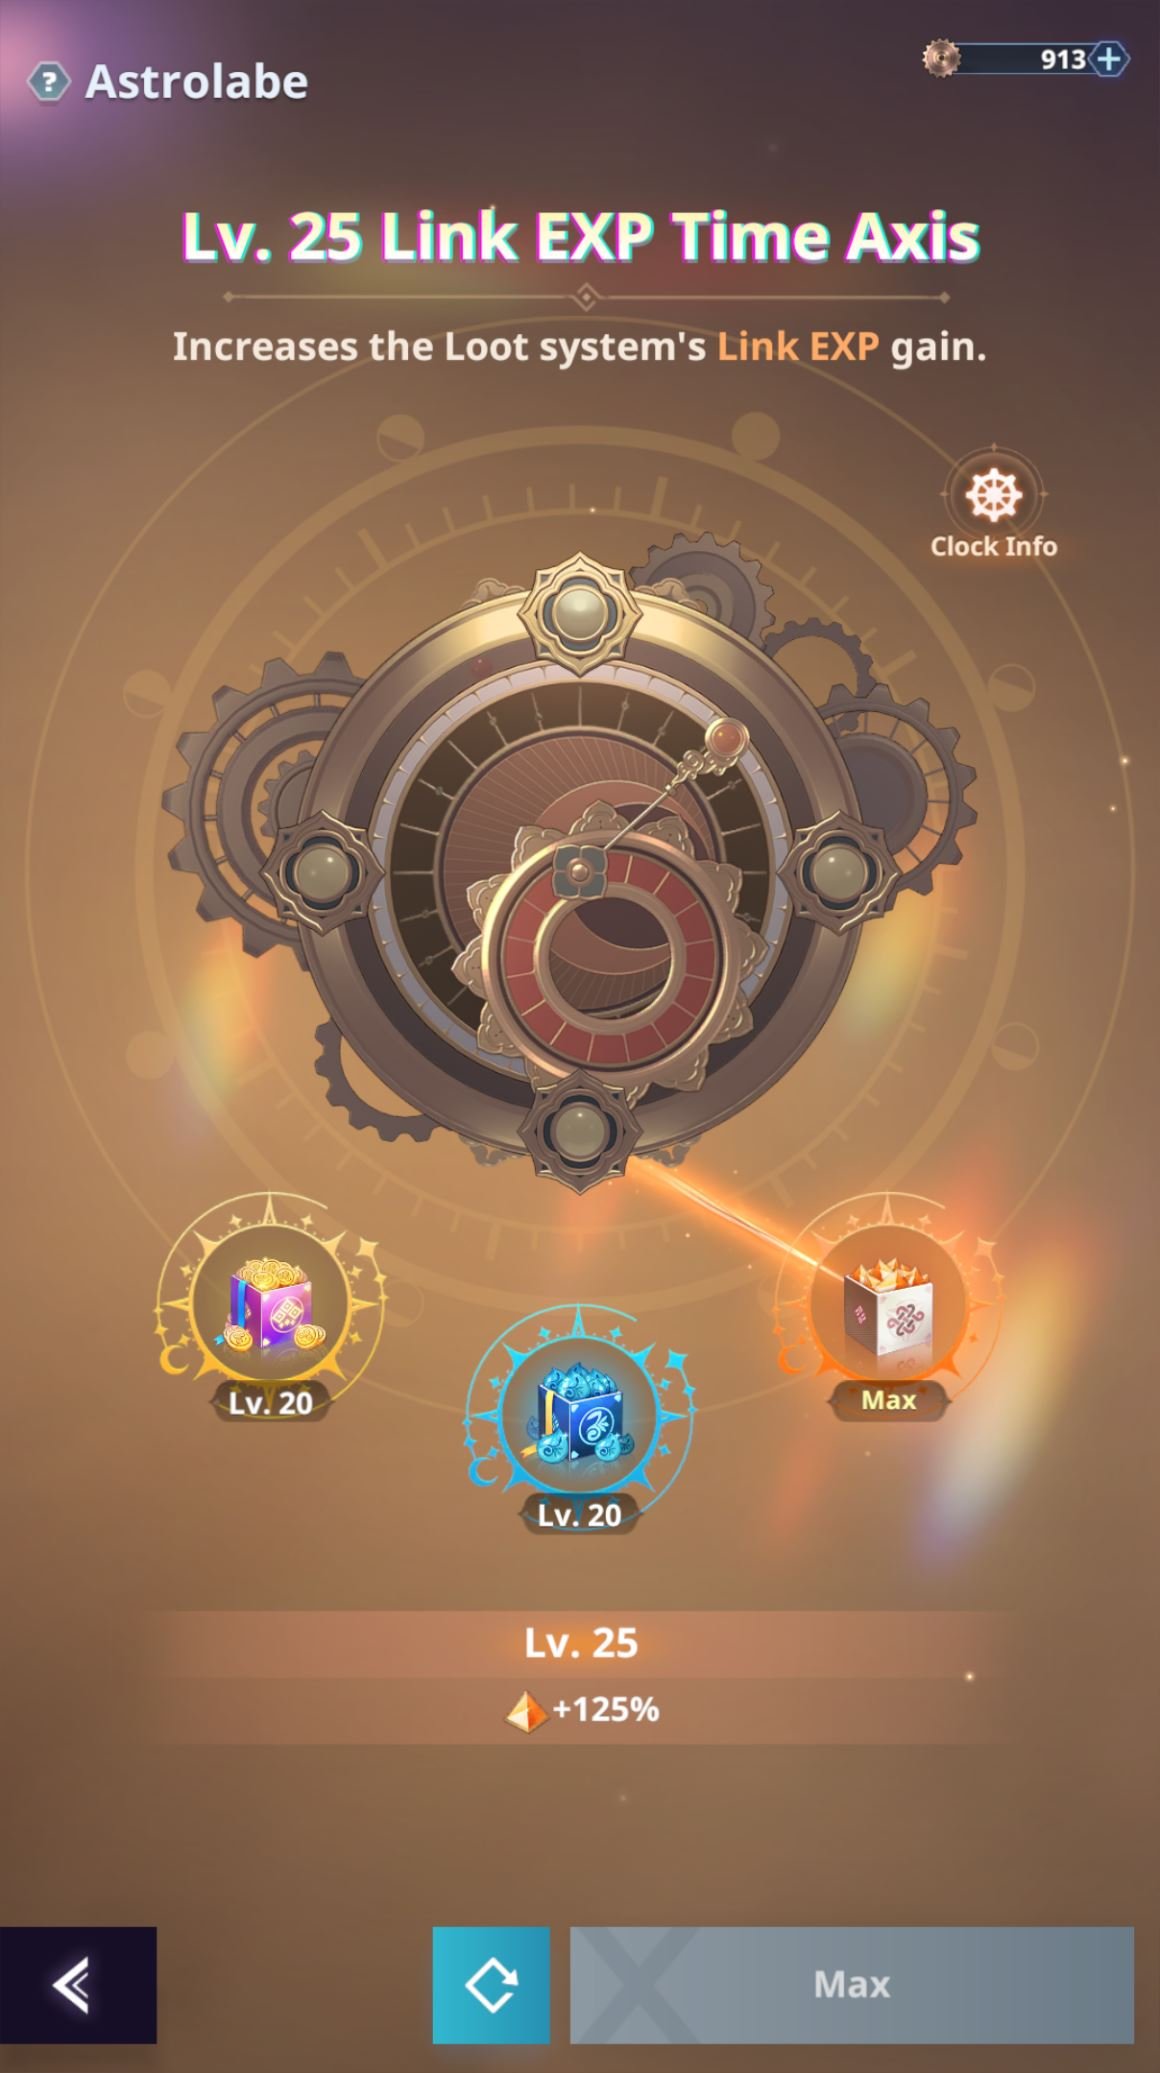
This system is unlocked at F10-20 and it will increase the amount of Link Growth Materials you earn from Loot. The Astrolabe Keys used to upgrade these "nodes" are obtained only from Limit Breaking your units, so this will be a slow process. Loot is the main source of Link EXP, and this resource is most of the times the bottleneck that will prevent you from upgrading your links, which means it is the one we will level up first. Level Link EXP as high as you can, then invest in Coins and lastly in Shinsu. Considering that the upgrade cost increases with level, the way I like to approach it is to keep Link EXP at 3 times the level of Coins and Coins at 3 times the level of Shinsu. (Rounded down) Something like: Link EXP Lv 9, Coins Lv 3, Shinsu Lv 1. If needed, you can always reset any of the "nodes" by paying 400 Suspendium.
Origin Orb
This system is unlocked as soon as you limit break one link to A rank. The Origin Orb is divided into 5 trees, one for each Color. Unlocking nodes in a tree will provide buffs to the units of the respective Color. Every tree is divided into 2 parts, with the first half being up to the +10 Swiftness node. Starting from the second part, you will need to invest Suspendium, and it would be best to use the Expirable Suspendium that is given during some events. These are the upgrade costs for 1 tree:
| Part | Soul Crystals | Instruction Manuals | Suspendium |
|---|---|---|---|
| 1 | 3850 | 19 | 0 |
| 2 | 11000 | 42 | 22000 |
| Total | 14850 | 61 | 22000 |
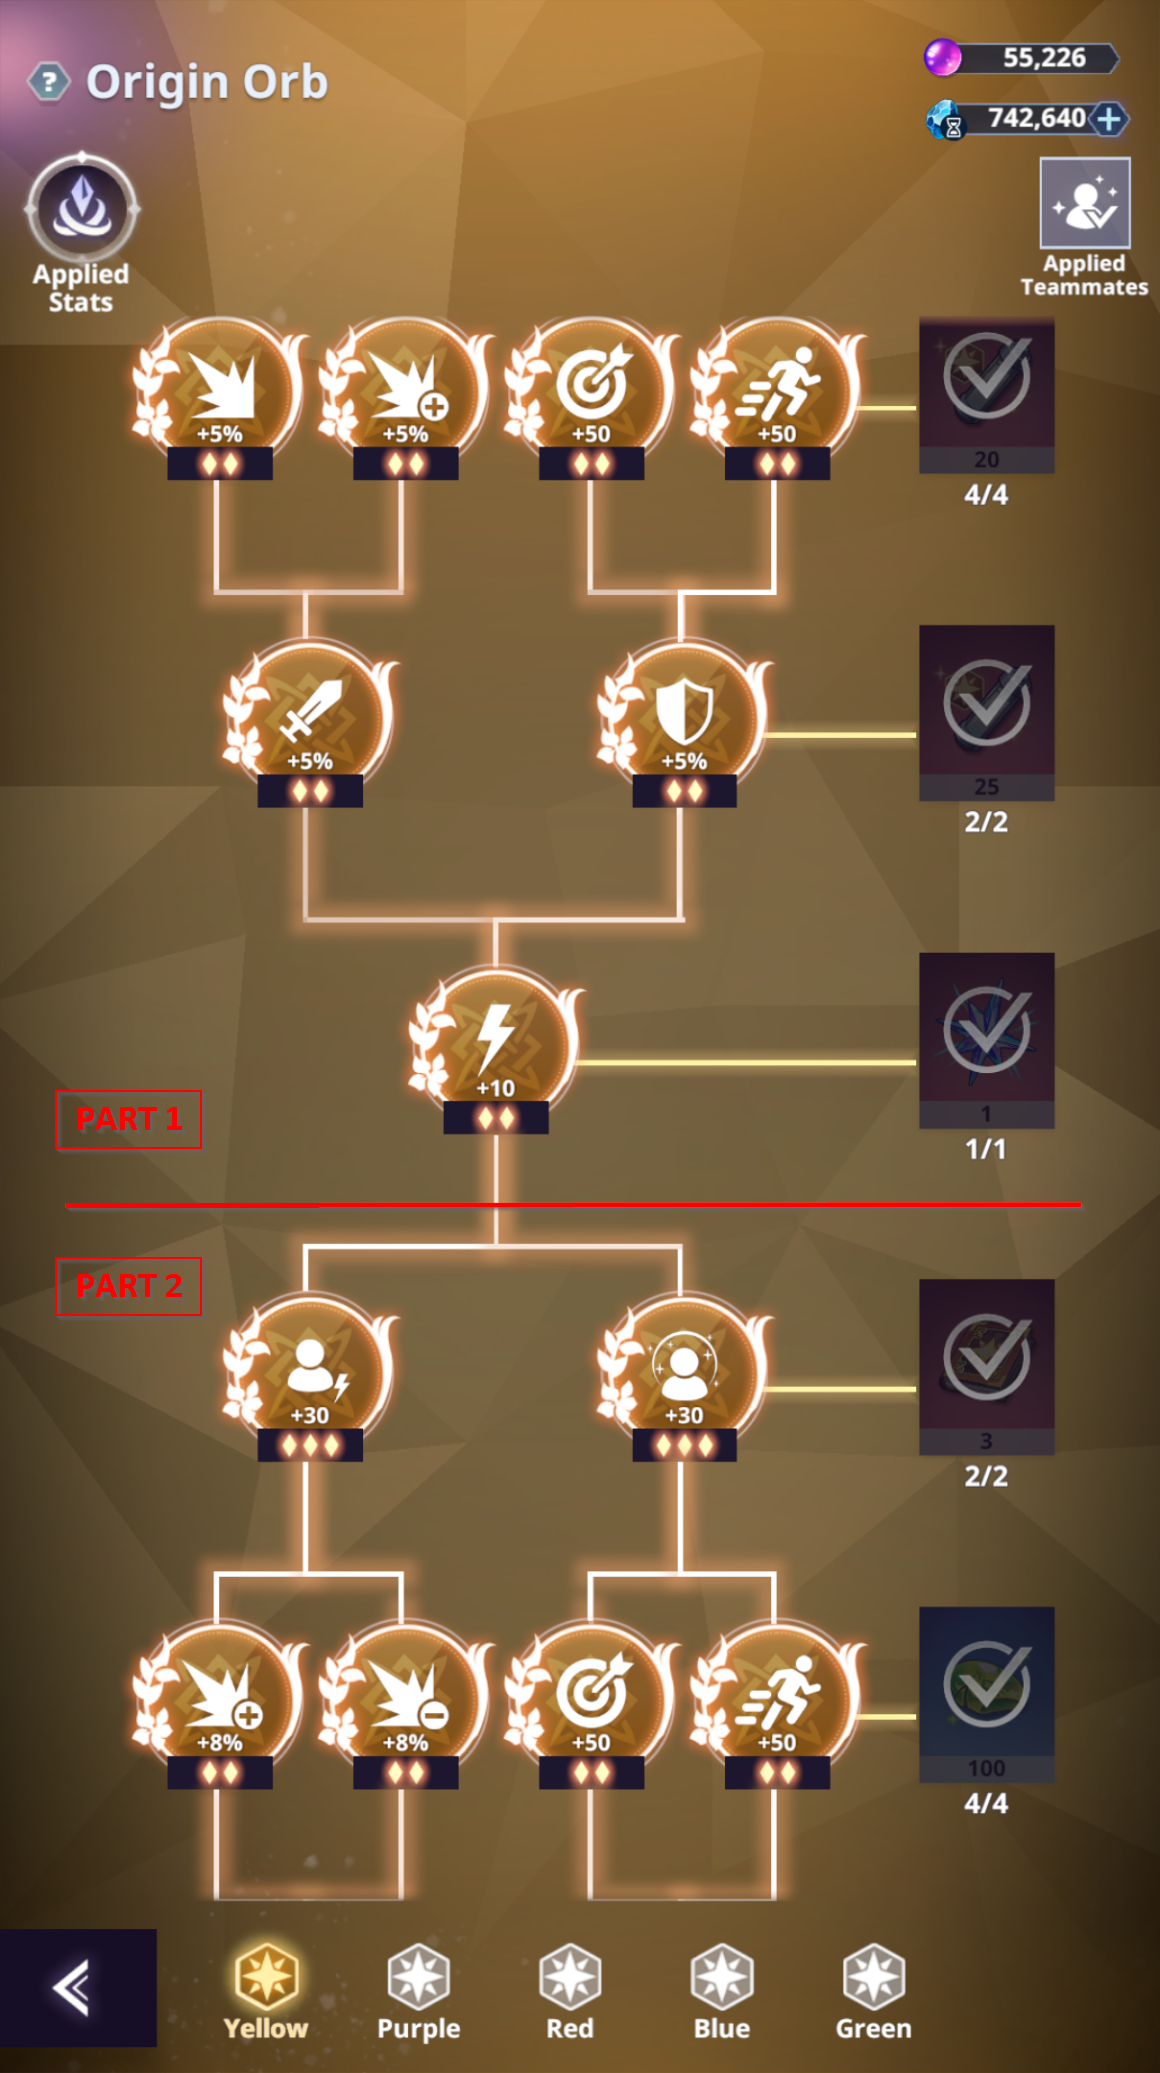
Note: It is recommended to work on Part 1 for all trees before moving into Part 2.
Secret Floor & Ignition Weapons
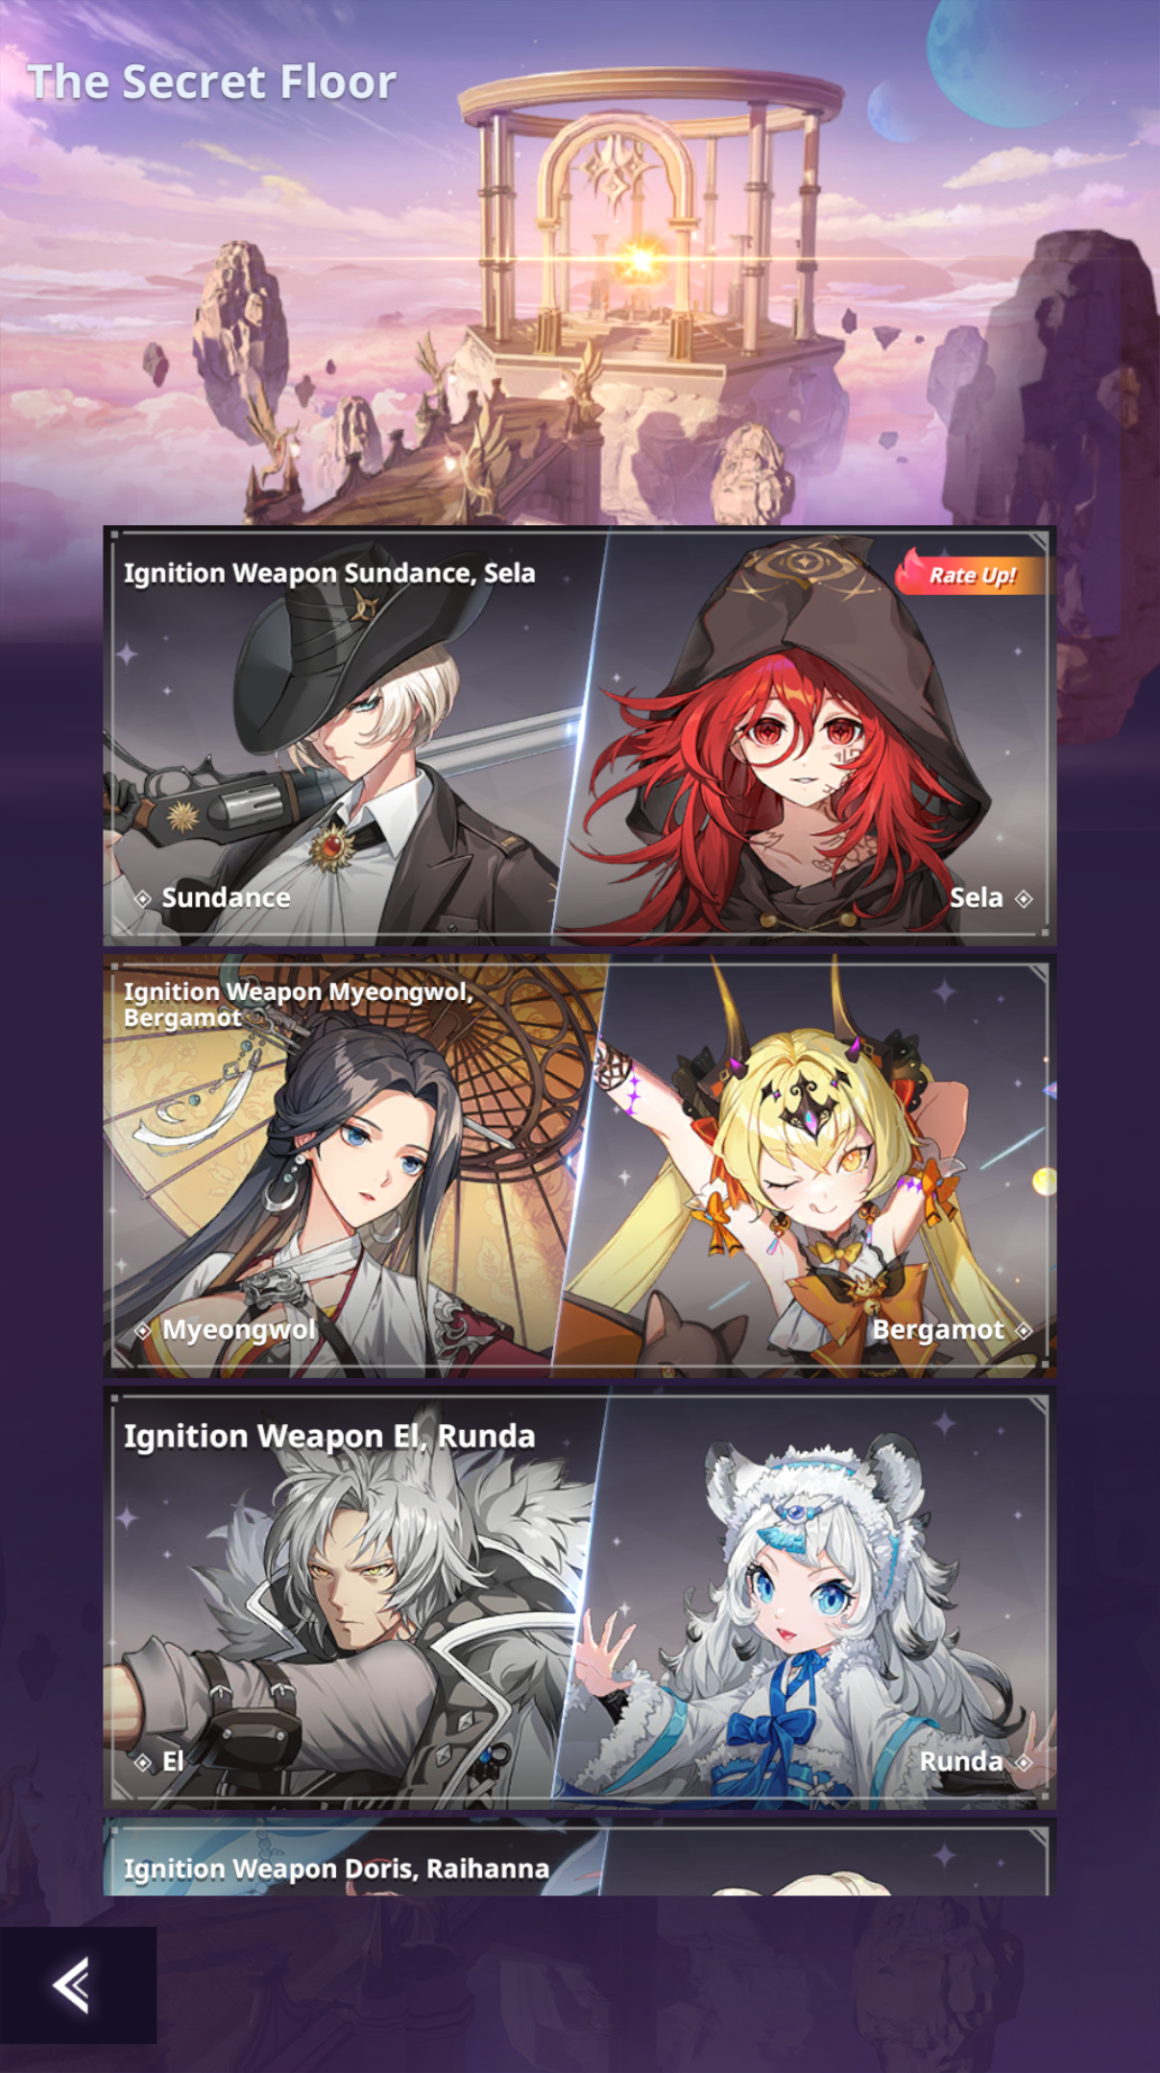
You will unlock the Secret Floor upon reaching F18-20, and here you can farm Ignition Weapons to give to your units. There are different Secret Floors, and each of them will let you obtain one of the two featured Ignition Weapons when you successfully clear it. You have 3 free clears every day, and for any additional clear you will have to use a Master Key. Ignition Weapons come in different rarities: C, B and A. Each week, a Secret Floor will have a Rate Up event that will give you higher chances of obtaining A rank pieces. B and C rank pieces can be safely fed into other pieces to provide them with EXP. DO NOT upgrade B and C rank pieces.
Note: DO NOT get rid of B and C rank Bari Pieces initially, especially Slot 4 and 5.
Note: Higher restraints DO NOT equal higher rewards, only do 50 Restraints for the Weekly rewards and then clear them at 8 Restraints for the Auto Clear function.
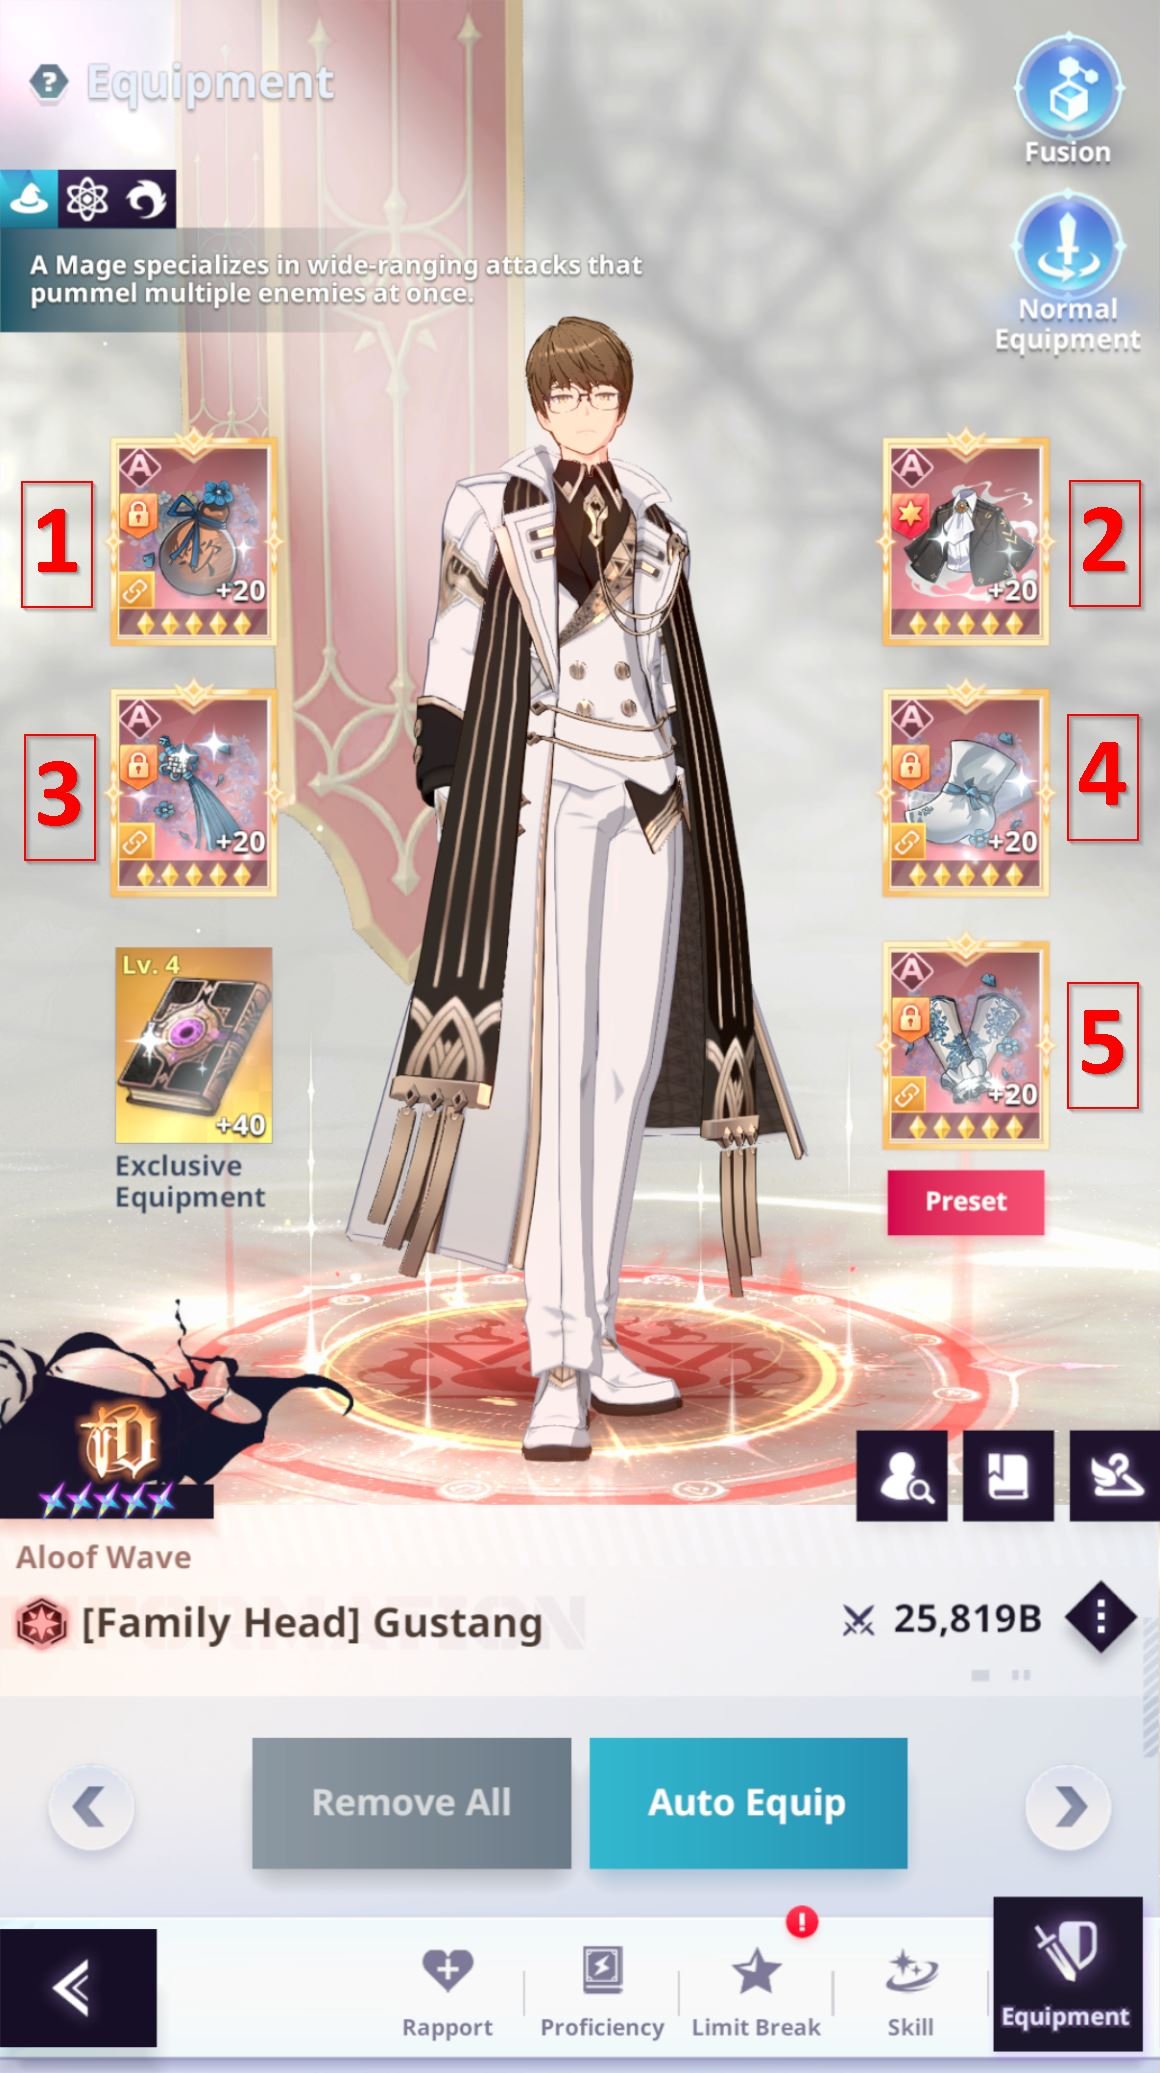
To give an IW to a unit, you should upgrade their Exclusive Equipment to +20 and then spend 100 Soul Crystals to unlock the Carrier. In the carrier you can equip up to 5 IW pieces, from Slot 1 to 5. When you have pieces of the same IW, a 2-set or 4-set effect can be activated. Having 5 pieces of the same IW is unnecessary, as there is no 5-set effect, and this will allow you to run a "off-set piece" with better stats. Slot 1, 2 and 3 have a fixed Main Stat, but Slot 4 and 5 can have different ones: [In bold those that are normally useful]
Slot 4
Slot 5
Note: Slot 4 and 5 have a lower chance of dropping, and normally one of the two is picked as the off-piece for this reason.
Fusion
If you go in the Equipment tab of any Unit you will see a Fusion button in the top right corner. This feature will give you the option to fuse 3 IW pieces you don't want/need into a different IW piece of your choice. I see this feature as being more useful early on, but will quickly become more annoying than helpful.Note: Considering how rare Slot 4 and Slot 5 pieces are, it is recommended that you ONLY fuse for one of those two slots.
Upgrading your Ignition Weapons
At first you should focus on upgrading the IW sets ONLY for your carry units. On everyone else you can simply run 4 NOT upgraded Bari pieces of any rarity, regardless of the stats.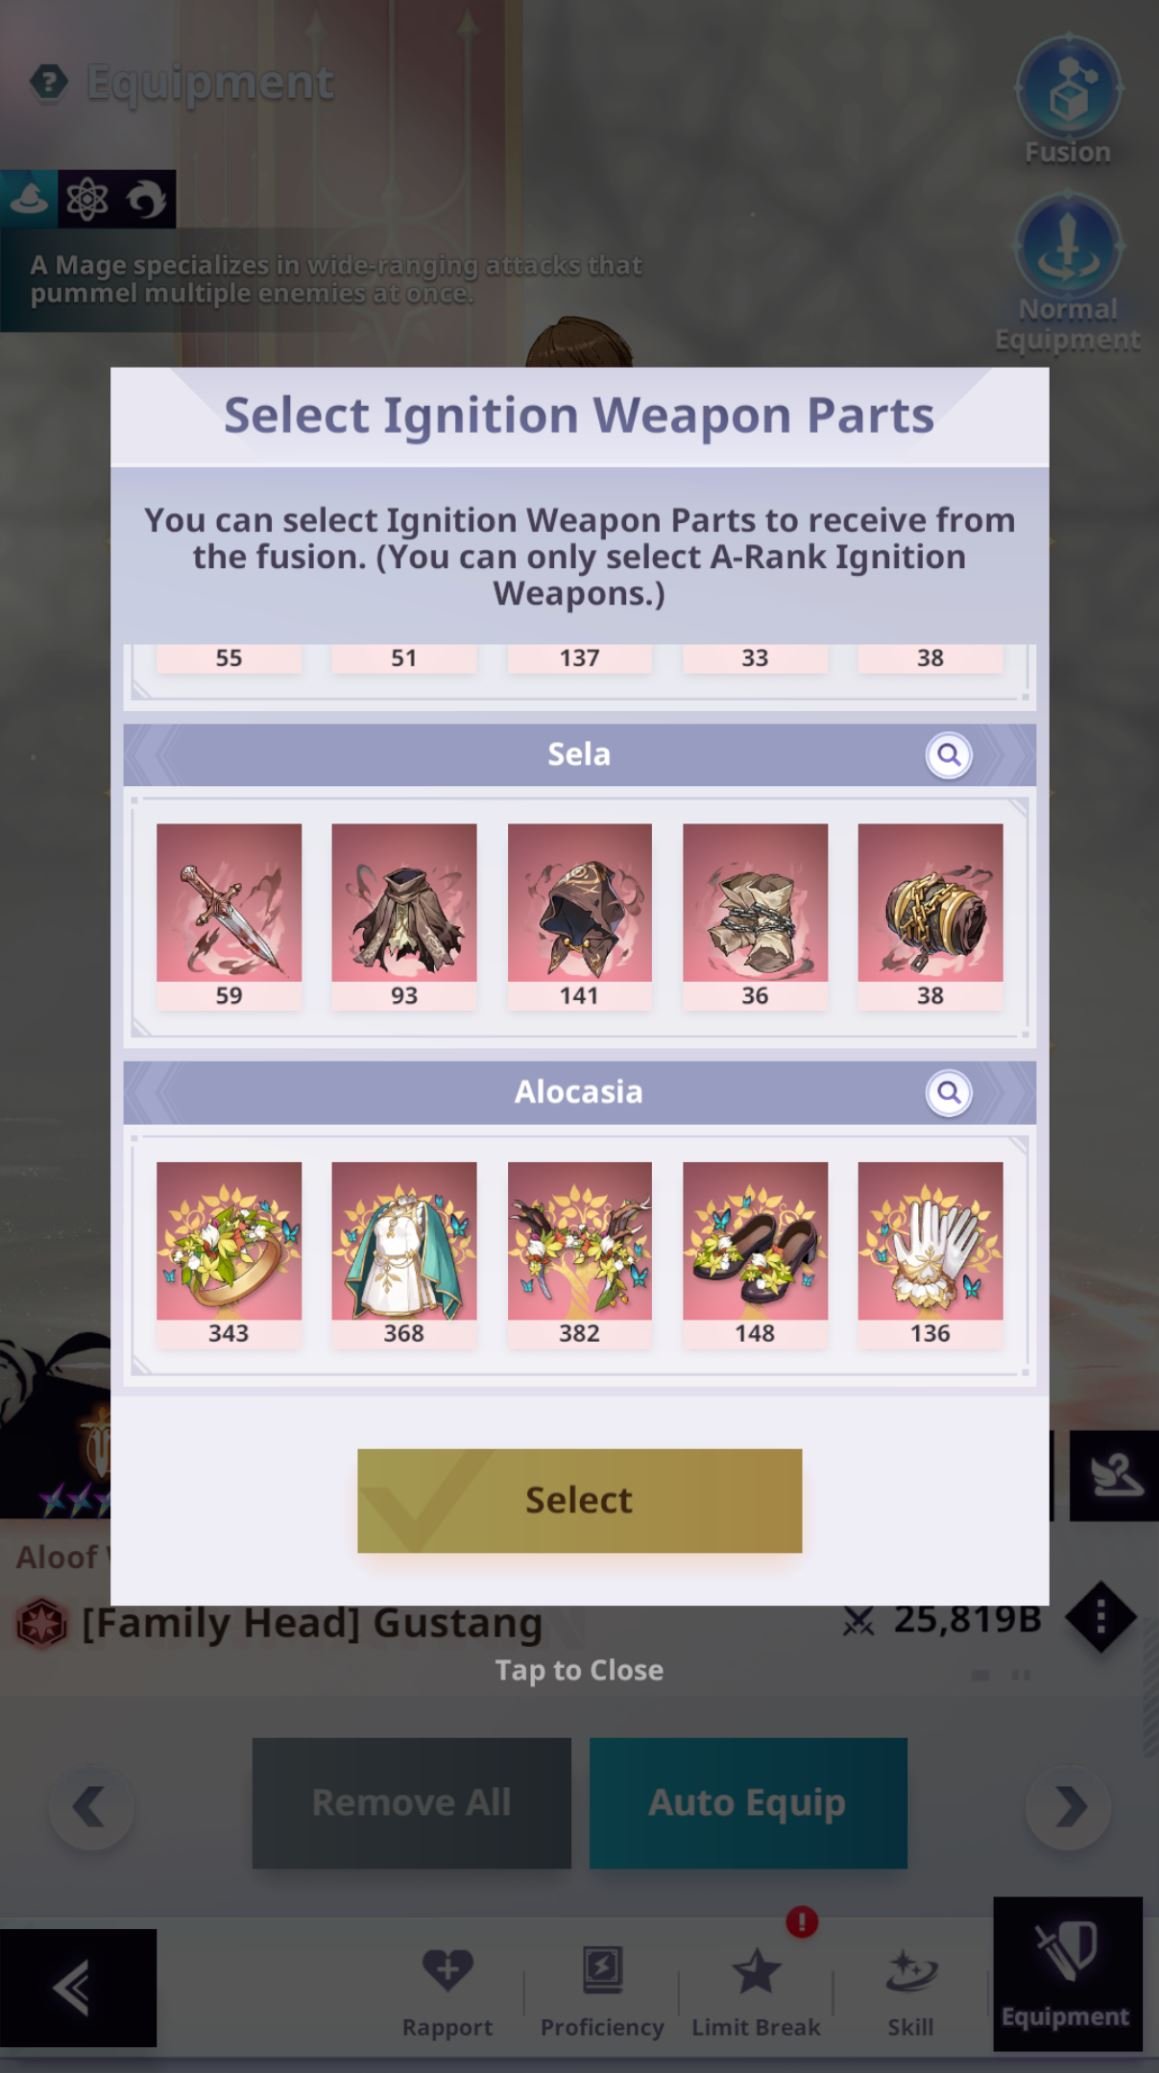
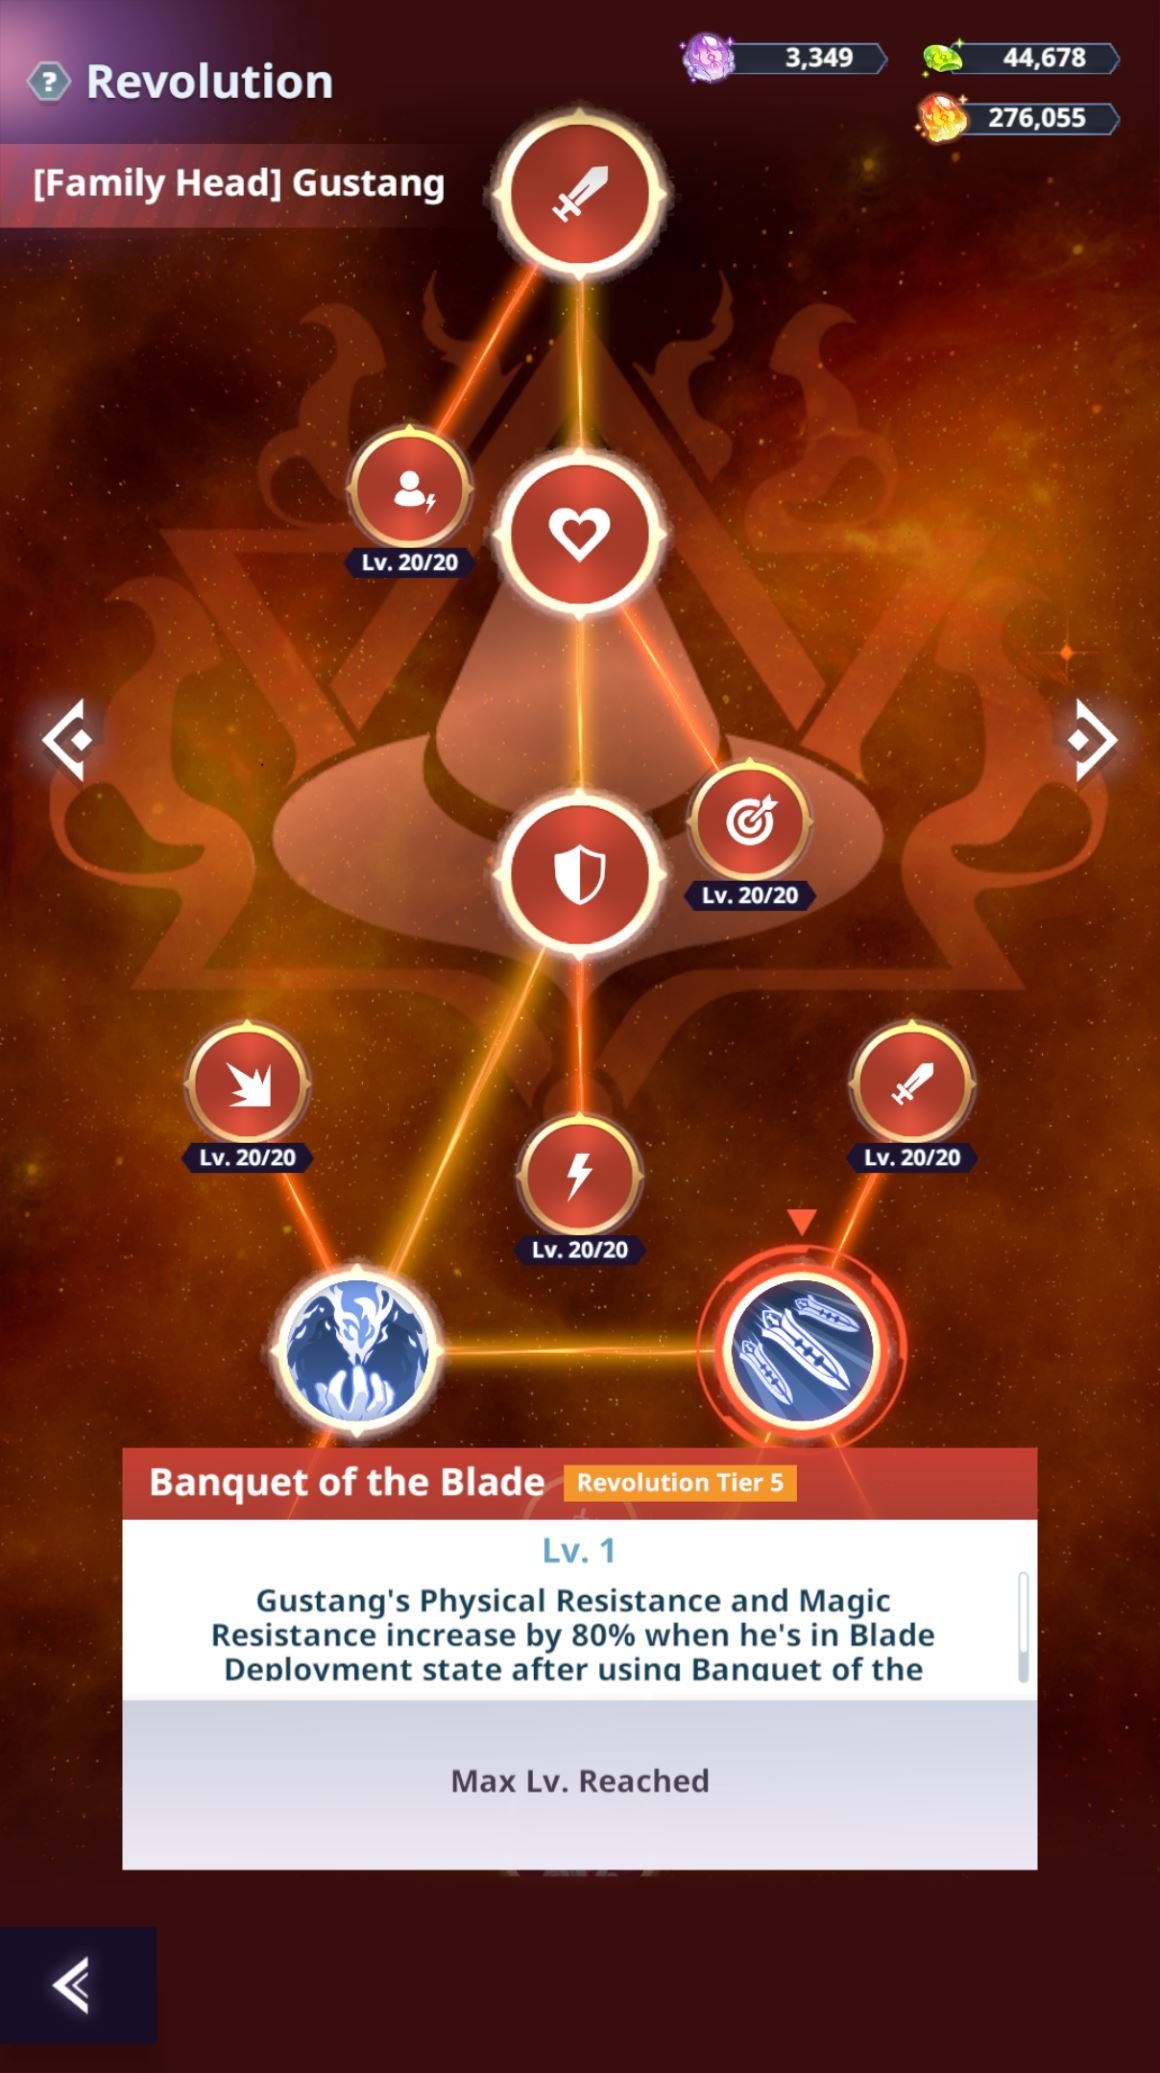
Revolution
This system will be unlocked once you reach Floor 16-20. Revolution is unique to each Unit and each of them might need a different amount of investment.
Note: You can find information on which Revolution a unit needs in the Investment Guide section of a Unit's page.
Note: Even if Revolution 6/8 Main Node gives stats ONLY for Arena, the Subnodes ALWAYS apply regardless of the game mode.
Daily Checklist
Checklist to use as a reference to see if you remembered to do all the things that you are supposed to do every day.
- □ 5x Free Summons
- □ Friendship Points
- □ Mock Battle Facility (including Event Bosses and Underground Laboratory)
- □ Agency Service Requests
- □ 3x Secret Floor
- □ 5x Regular Arena
- □ Alliance Check-in
- □ Claimed Quick Loot
- □ Trial of Origin
- □ Claim Free Rewards from the Shop
- □ Events with Daily Free Attempts (e.g. Data Tower)
- □ Guardian's Test (Resets Weekly)