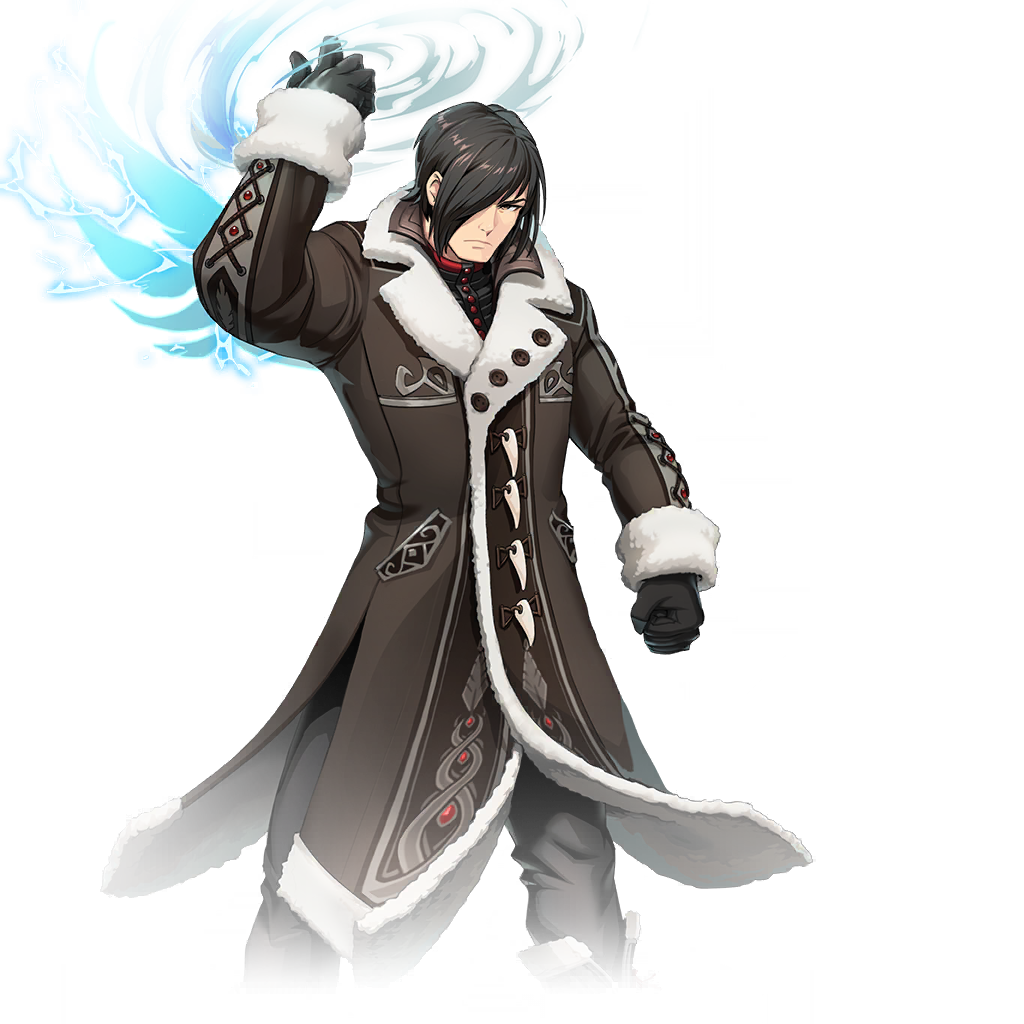
[Wings of Destruction] Horyang
Rankings
Horyang's kit is underwhelming. He had a niche use in the old Alliance Expedition boss fight, but now he is pretty much useless.
Rapport Item
Special Move - Transform Wing: Shield
Horyang dashes to the ally with the lowest HP, Knocking Back all enemies he collides with. When he arrives near the ally, he creates a barrier for that ally and himself equal to 1 600% of his ATK, lasting 10s, then Provokes nearby enemies for 10s. Horyang gains Status Effect immunity while Dashing.
Active Skill - Indomitable Will
Horyang gains Status Effect Immunity and increases Physical and Magic Resistance by 80% for 16s.
Active Skill - Living Ignition Weapon
Horyang releases a wave of power, Paralyzing nearby enemies for 2s and strengthening his right arm. He uses his strengthened right arm in the next basic attack to deal 380% of his ATK as DMG 3 times in a row to enemies in a fan-shaped area, Stunning them for 1s.
Passive - Awakened Devil
Horyang decreases the enemy's ATK by 4% for 5s when attacking them. (Max: 5 stacks)
EE Stat
Physical Resistance
Level 1 Effect
The DEF of allies whose barriers from Transform Wing: Shield were removed increases by 10% for 10s.
Level 2 Effect
Horyang decreases the ATK of enemies Provoked by Transform Wing: Shield by 10%.
Level 3 Effect
Horyang recovers 4% of his Max HP and increases the ATK coefficient of the barrier by 20% for every enemy Knocked Back by Transform Wing: Shield.
Level 4 Effect
Horyang's DMG Taken decreases by 20% while the Transform Wing: Shield barrier is active.
Revolution 4: Transform Wing: Shield
Allies granted a barrier from Transform Wing: Shield's effect gain Status Effect Immunity.
Revolution 5: Awakened Devil
When attacking an enemy, decreases the target's DEF by 8% for 10s. (Max: 5 stacks)
Revolution 6 [PvP ONLY]
Increases HP by 100% and Effect Hit by 95 in Arenas.
(This buff cannot be removed with buff removal skills.)
For detailed information on which investment is needed, please refer to the "Investment Guide" section.


Notes
Myeongwol works well because his Provoke is on the Special Move, but he might have issues staying alive with this set.
Bari is your best pick if you need to improve his survivability.
Rafflesia or Runda are acceptable options as well, but generally not as effective as the other two.
Click a preset for full stat and substat details.